
In searching for a pattern for a cute Halloween goody bag that did not include the directions, "Take a Paper Bag and ..." (because that involves purchasing paper bags, and not stealing copy paper from my office), I came across this page:

Cute, but two issues: 1) the bag has the folds in the front, which makes drawing/printing a picture on it tricky, and 2) the page is in French. So I had to do a little playing.
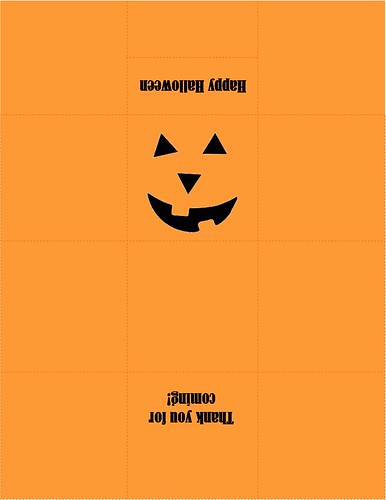
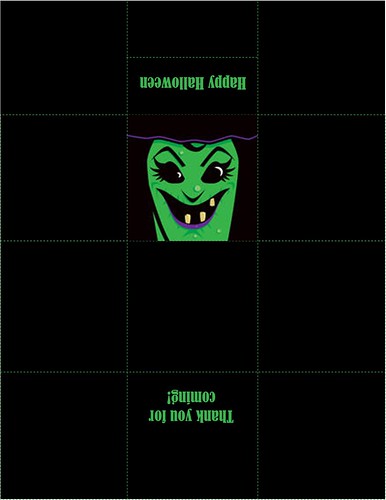
In the end it's a really simple design, as long as you fold the paper in the right places FIRST. I've re-created the French directions below, but I also designed a cute printable template. This shows exactly where to fold the paper from the beginning (flat), so once you get all triangular and you know, folded, it's not so hard. It also shows you where to place your picture, if you want a picture.
Here we go:
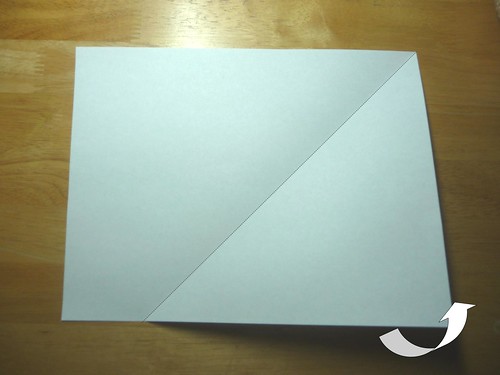
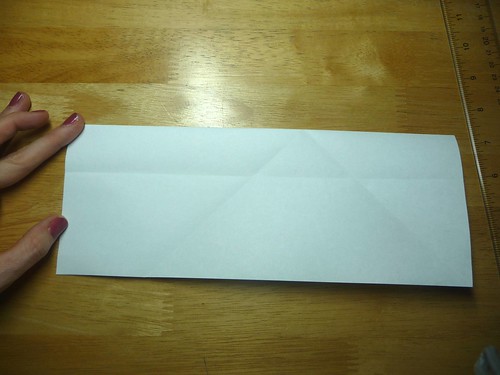
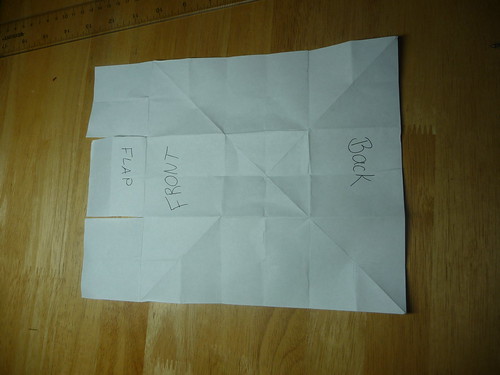
1) Start with a sheet of 8.5X11" paper (paper with pictures shown below)

2) Fold the lower-right corner up to make a right-triangle. The top edges should be flush. Unfold.
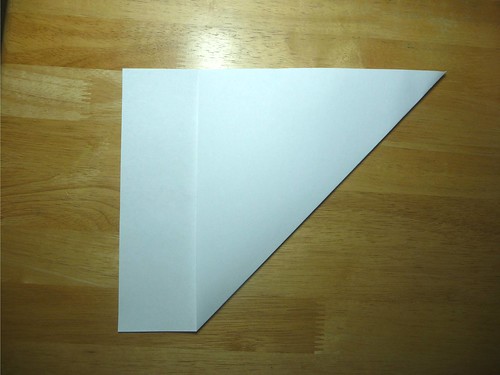
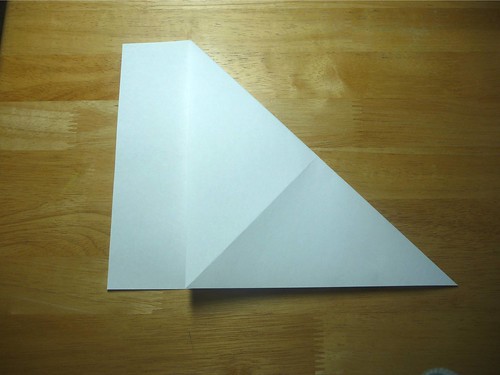
3) Fold the upper-right corner up to make a right-triangle. Bottom edges should be flush. Unfold.

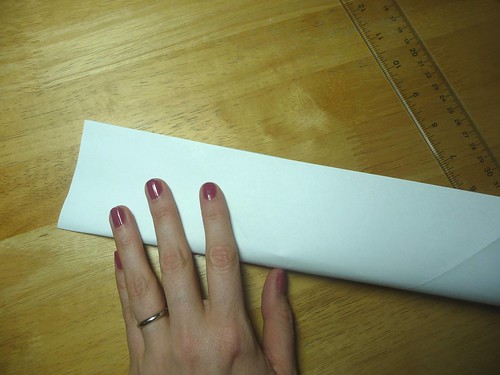
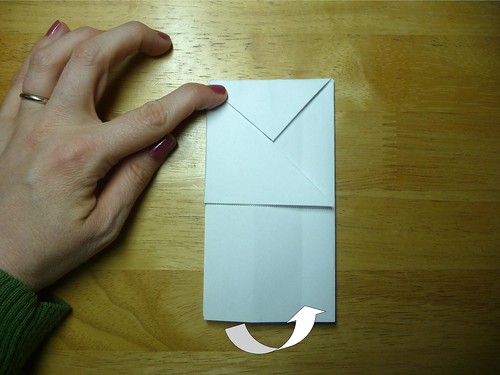
4) Fold the top edge down and the bottom edge up in thirds. Top end should be flush with seam of bottom fold. Unfold. (Later I will cause this crease the "1/3 crease")

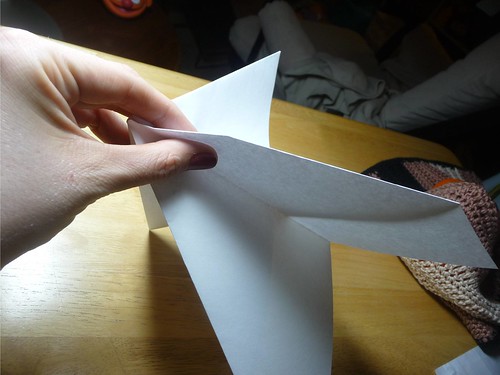
5) Turn over and fold paper in half longways (hot-dog).

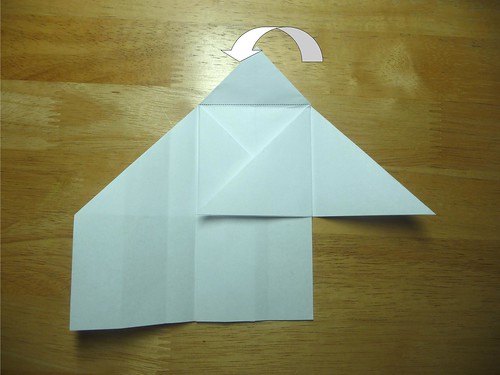
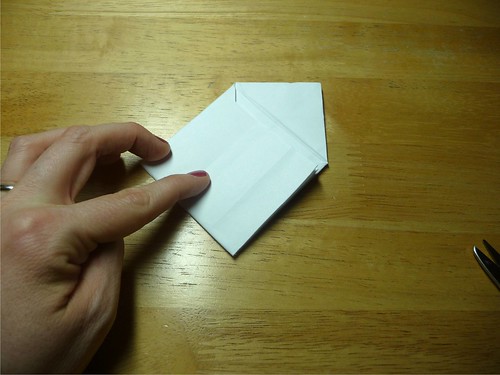
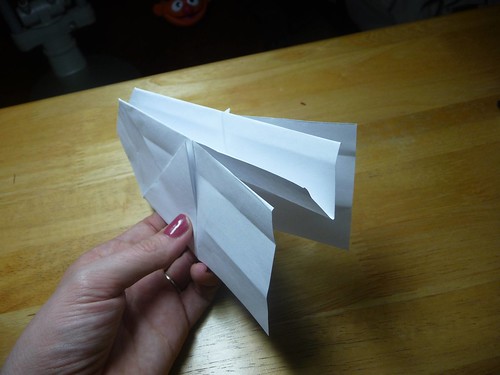
6) Pinch opposite diagonal folds and bring together. The intersection of the diagonal folds will become a point. Close into a triangle with folded rectangle on left side. (I know, that's the really tricky part. The pictures probably make more sense than my words.)

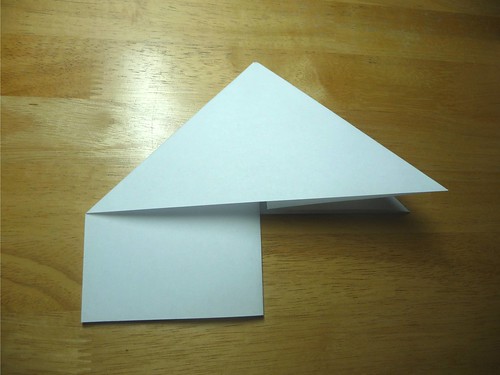
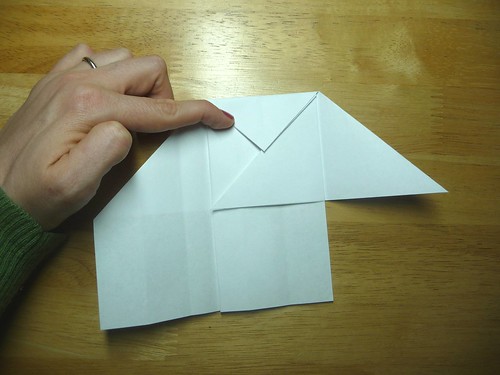
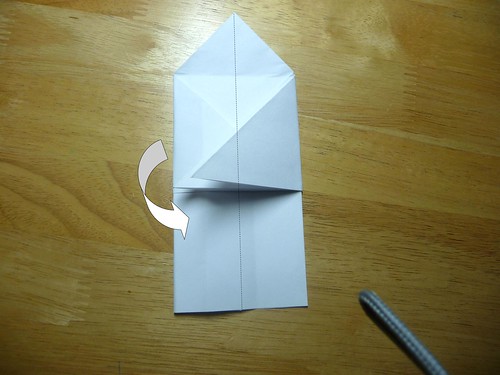
7) Fold Left flat along the "1/3 crease".

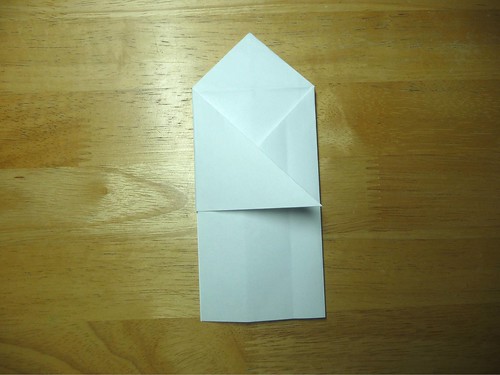
8) Fold right flap along the "1/3 crease".


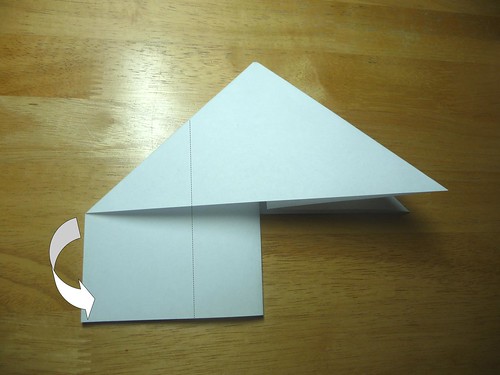
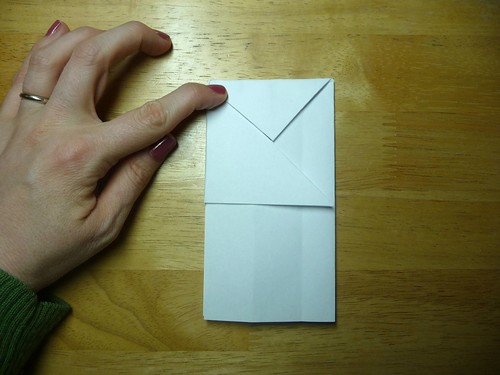
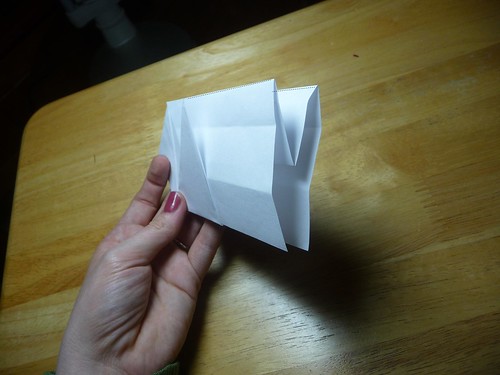
9) Fold top point down. Unfold.
10) Turn over and repeat steps 7, 8, and 9. (Later I will call these the "1/3 folds".)
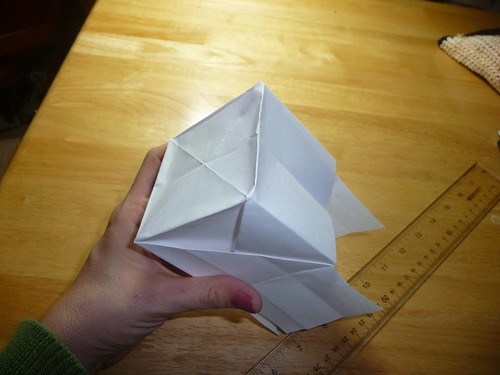
11) Fold bottom square up to crease. Unfold. Turn over and repeat.
12) Fold longways (hot-dog) to crease. Unfold. Turn over and repeat.

13) Cut along creases of bottom square.
14) Flatten top point into square, keeping "1/3 folds" together.
15) Fold the "bottom square" of each "1/3 fold" down into box.
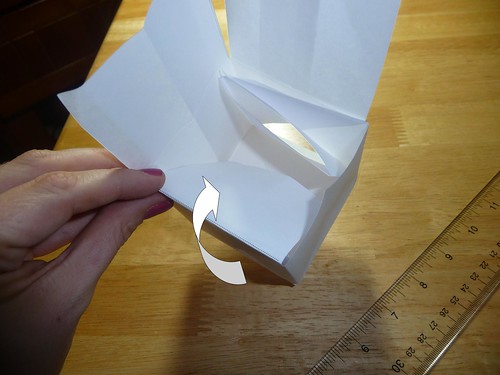
16) Fold down flap of final "bottom square".
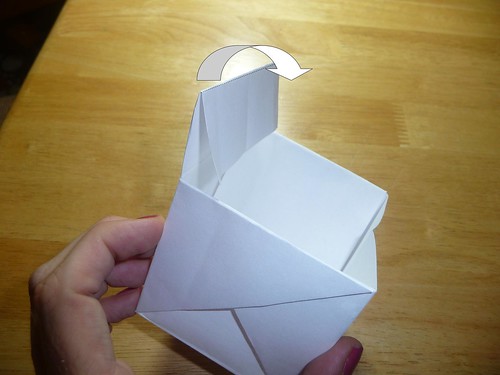
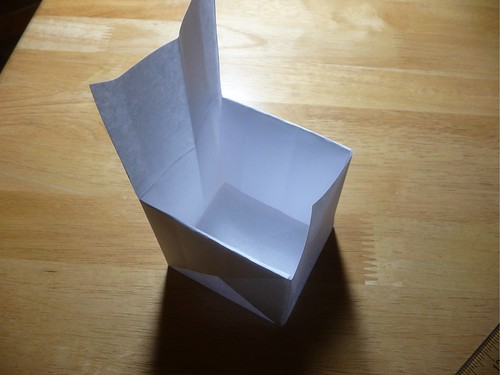
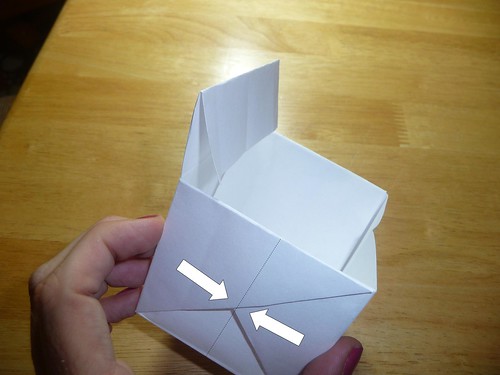
17) Fold the sides in, bringing the front and back top edges together.

18) Fold flap over.
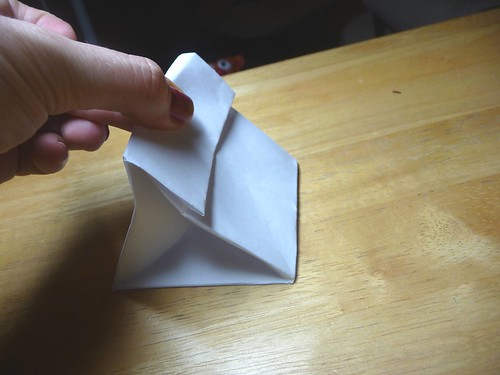
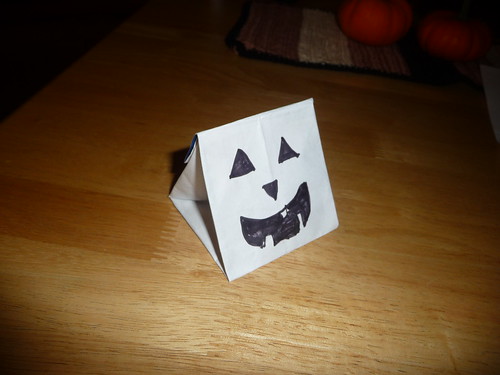
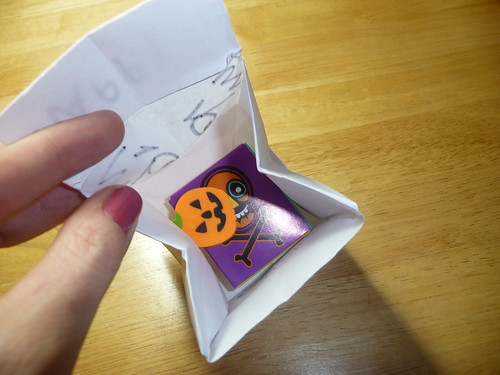
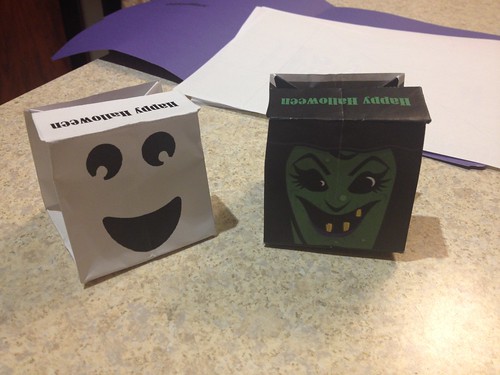
19) Decorate and fill with goodies (optional, but recommended).
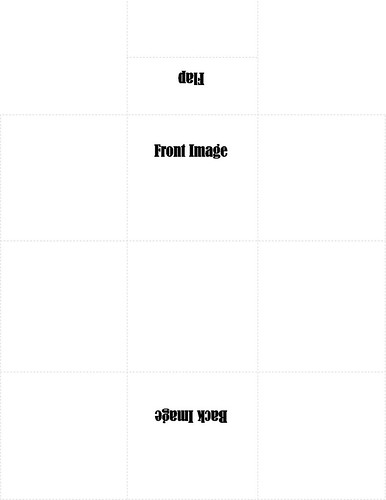
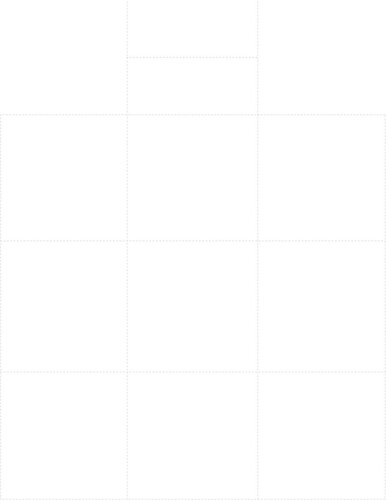
Here is a basic layout of where a picture would go.
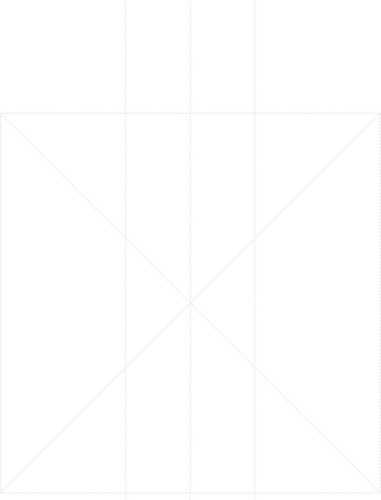
Here are some digital layers. Print at 8.5x11" paper.
Fold Lines
Layout for Image
I also have this as a MS Publisher File. If you've come across this and want to edit it yourself, lemme know and I can find a way to upload that as well.
Needs some Halloween gift bags?


Saturday, October 19, 2013
Origami Goody Bag

Subscribe to:
Post Comments (Atom)

1 comments:
Thank YOU! Just amazing!
Post a Comment