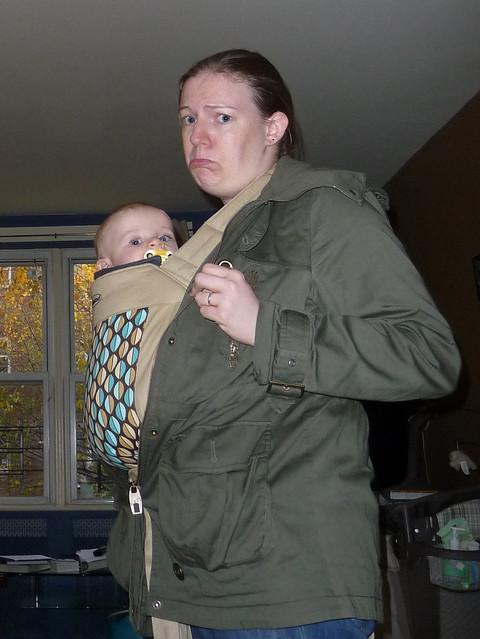
Problem: My coat doesn't fit around the baby.
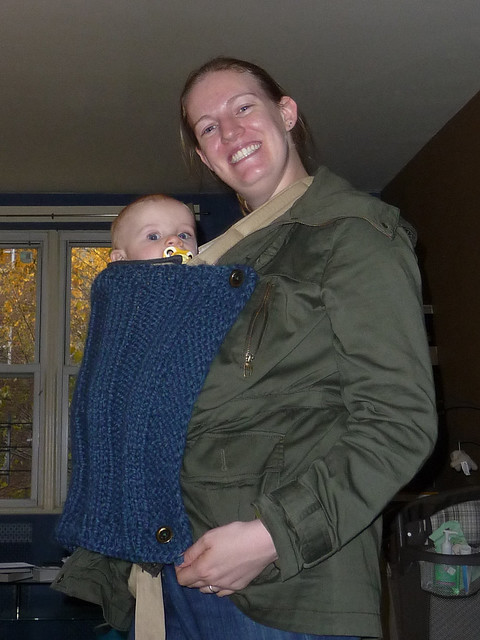
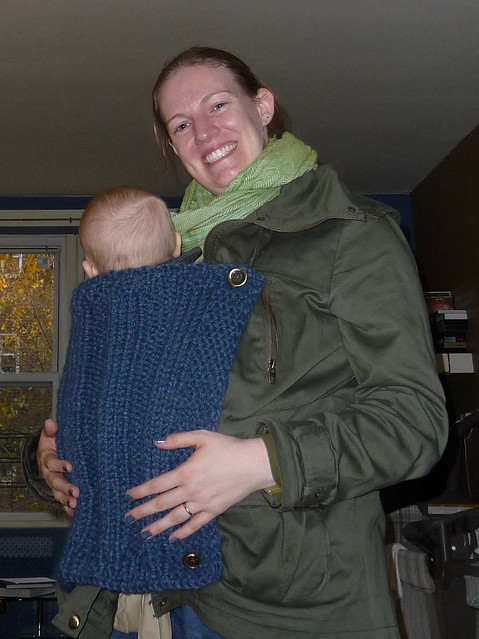
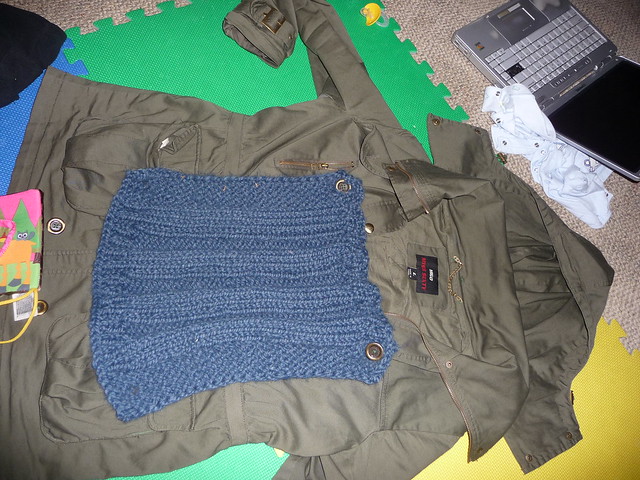
Solution: A cozy knitted panel attached to the outside which keeps me and the baby warm.
One drawback: I still can't button/zip the coat on the top, so my chest and neck are exposed. However, a properly wrapped scarf should suffice until it starts snowing.
Best part? It's super easy. I finished it in approximately 4 subway rides.
Materials:
Super Bulky Yarn. I used "Lionbrand Wool-East Thick and Quick."
Size 15 needles
4 or 6 buttons
(I used 4 buttons, but you can also do 6 for a more secure panel).
Measurements:
Put on your carrier with your baby (or a stuffed animal/pillow surrogate the matches the shape and height of your baby in the carrier) and your coat. Measure across the widest part (probably baby's bottom) and from baby's neck to wherever you want the bottom to sit (either to match your coat length, or to just below baby's legs and bottom, it's your choice). I zipped the bottom of my coat like in picture #1 above to help determine where the buttons should go, and made sure I measured the width with enough room on each side for the buttons. Mine ended up measuring about 15" wide X 19" tall.
Pattern:
Cast on 40 stitches.
*[S1, K5, K1P1, rib 28, K5, P1]
(for the remainder of the project, slip the first stitch knit-wise and purl the last stitch of every row. This makes a nice flat edge up the side).
Repeat from * for about 1.5 inches.
Button Hole Row: S1, K2, yo, K2tog, K2, K1P1 rib 28, K2, yo, K2tog, K2, P1.
*[S1, K5, K4P4 rib until the last 6 stitches, K5, P1].
Repeat from * until the pieces measures about 1.5 inches less than your desired height.
(Insert a button hole row in the middle of the piece if desired.)
2nd Button Hole Row: S1, K2, yo, K2tog, K2, K1P1 rib 28, K2, yo, K2tog, K2, P1.
[K6, K1P1 rib 28, K5, P1] for about 1.5 inches.
Bind off.
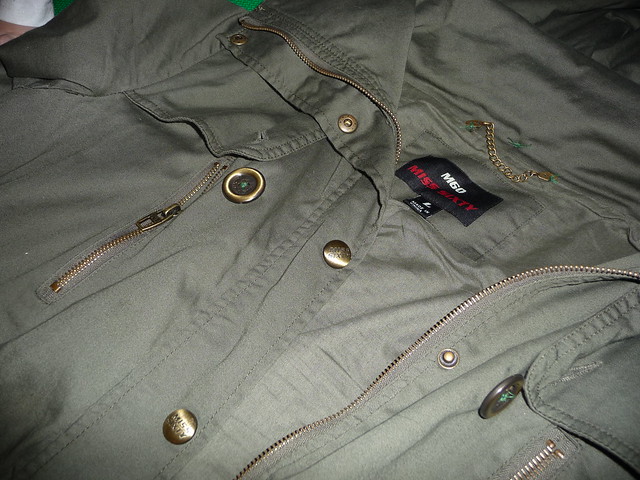
Sew the buttons onto the outside of your coat. Tip: Sew the top buttons first and try it on with your baby or baby-type lump in your carrier. Use this to pinpoint where the bottom buttons should go (I had to move the top ones twice, and I STILL have to adjust the bottom ones).
Note: this thick yarn and large needles creates very large button holes. If your buttons are too small, use an extra piece of yarn and sew part of the hole shut to make it smaller.
Put on your baby and head out into the cold!


You are so crafty! And, your before picture is infomercial-perfect! :)
ReplyDeleteHow many balls did you use?
ReplyDeleteRe: how many balls.
ReplyDeleteA little less than 1 skein of a Lion Brand Wool-Ease Thick & Quick Solids (about 95 yards).