Showing posts with label baking. Show all posts

Sunday, November 9, 2014

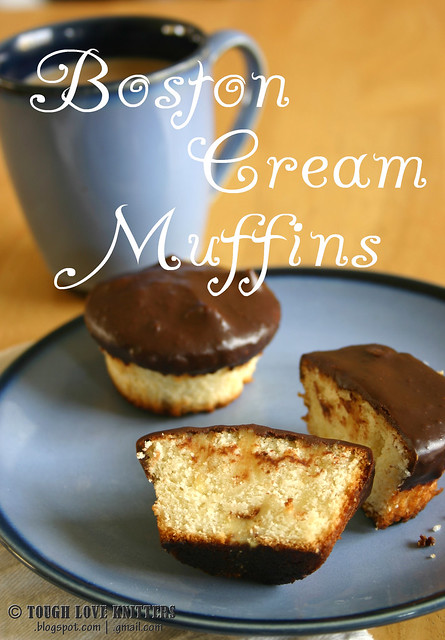
Boston Cream Muffins ...ok, ok ... cupcakes

Title

Big Y supermarket has a great muffin section -- big ol' bran muffins, chocolate chocolate-chip muffins, and ... wait for it ... Boston Cream Muffins. Big, giant, Boston Cream Muffins. They're hard to resist. But my wallet and my wastline need me to resist them. So we're implementing the very useful "Make it Yourself" rule -- if you make the food yourself, you will naturally eat more "real" food and portion-control the "not food", because "not food" is super annoying to make yourself. E.g. Apples are real food, and are really easy to "make" -- just pick them up and eat them. Home-made oreos, on the other hand, are kind of a pain to make -- the cookie dough, you gotta cut or roll the cookies really small, bake them and don't burn them, mix the filling, spread the filling, etc. Not hard, it just takes a long time. And while home-made oreos are technically "real food", since they're made with real ingredients, they're not all that good for you. But they're such a pain to make, I'm not going to make them very often. Hence, built-in portion control.

Cue Boston Cream Muffins. Now a quick internet search informed me that there is no such thing as a boston cream muffin, that they are actually cupcakes. And I'll admit, my rule is usually No Frosting = muffin, Frosting = cupcake. So the chocolate topping makes these cupcakes -- fine.

After that, the internet was super disappointing. All the recipes (except Martha) called for Cake Mix from a box, and Instant Vanilla Pudding. If I wanted this to be easy ... I would just buy the muffin from Big Y. So we did some mixing-and-matching.

Cupcakes, from Sally's Baking Addiction

Vanilla Cream Filling, from Martha Stewart

Chocolate Ganache, from Food Network


Side-Note -- since Daylight Savings Time ended last week, any sort of afternoon cooking is now done in the dark. Please excuse the bad lighting.


Vanilla Cream
You may end up needing more than these original measurements (see Finishing below), probably doubled for a 24-cupcake batch.

Ingredients
2 large egg yolks
1/4 cup sugar
2 tablespoons plus 1/2 teaspoon cornstarch
Pinch of salt
1 cup whole milk
1/2 teaspoon pure vanilla extract
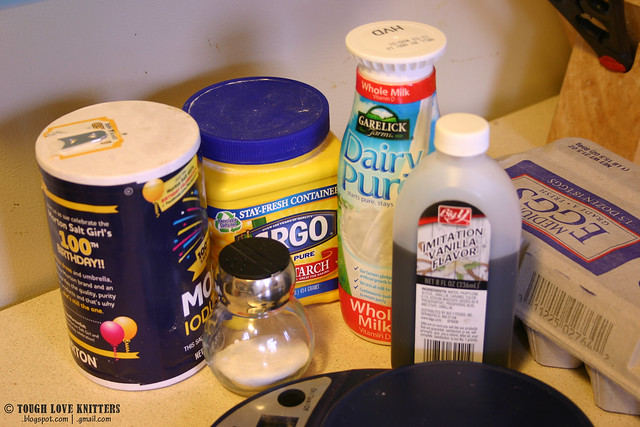
Boston Creme Cupcakes (1)

Separate eggs, and set aside whites (yummy breakfast for tomorrow!). Whisk yolks until smooth.
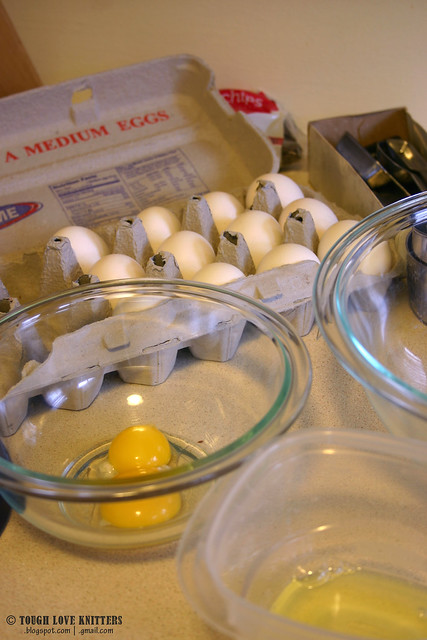
Boston Creme Cupcakes (2)

Mix sugar, cornstarch, and salt in a medium saucepan over medium heat. Add milk in a slow, steady stream. Cook, stirring, until mixture begins to bubble and thicken, about 5 minutes.
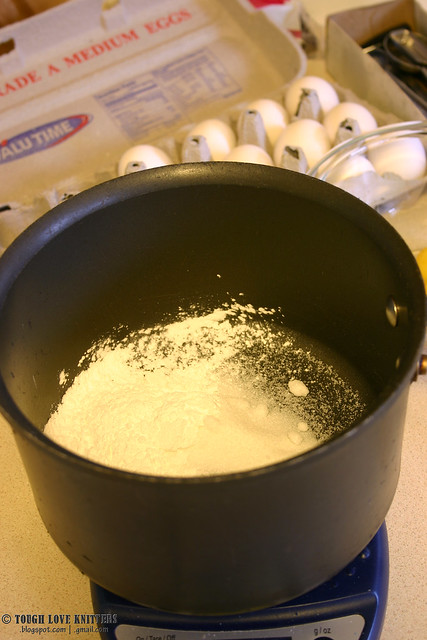
Boston Creme Cupcakes (3)

Pour 1/3 of milk mixture into yolks, whisking constantly. Return mixture to saucepan, and cook over medium heat, stirring often, until thick, 2 to 4 minutes. Stir in vanilla.
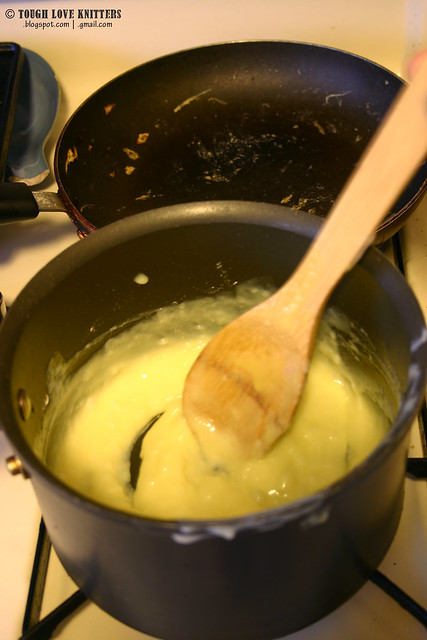
Boston Creme Cupcakes (4)

I love cooking that turns into chemistry totally amazes me. And if high school chemistry had been this yummy, I probably would have done better.

Pass vanilla cream through a fine sieve into a bowl.
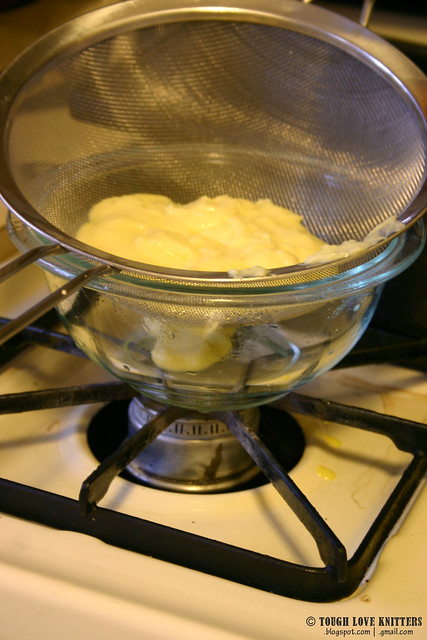
Boston Creme Cupcakes (6)

Press plastic wrap directly on surface. Refrigerate until cold, at least 1 hour, or up to 2 days.
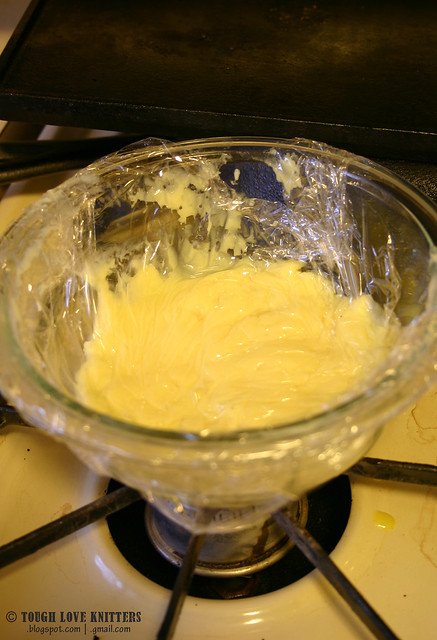
Boston Creme Cupcakes (7)

Cupcakes
These were yummy, but they did not come out of the silicone muffin cups easily. Also I reduced the recipe to make only 12 cupcakes, and the batter ended up making 19. So ... not sure what to tell you. These are original measurements, which the original author says makes 16. Maybe they're 16 really BIG cupcakes. I'd say this would make 24 normal-sized cupcakes, which means you'd probably need more cream-filling than the recipe above.

Ingredients
2  1/3 cups (292g) all-purpose flour
2 1/2 teaspoons baking powder
1/2 teaspoon salt
12 Tablespoons (180g) unsalted butter, softened too room temperature
1 3/4 cups (350g) granulated sugar
2 large eggs, room temperature and separated
3 teaspoons vanilla extract
1 cup (240ml) whole milk


Preheat oven to 350F degrees. Line a muffin pans with cupcake liners.

Whisk the flour, baking powder, and salt together in a medium bowl. Set aside.
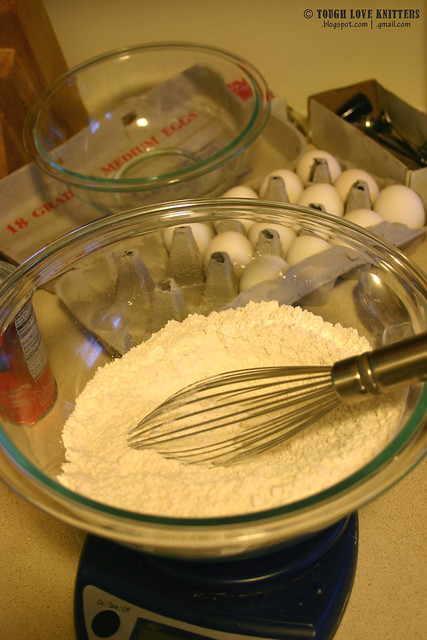
Boston Creme Cupcakes (8)

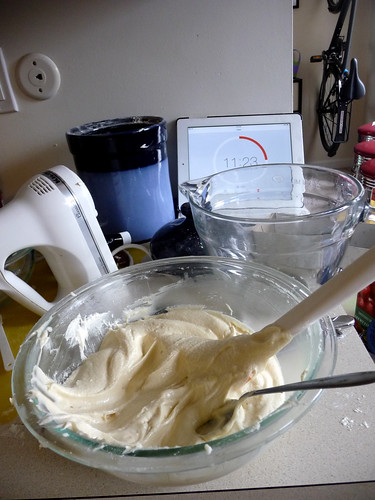
Beat the butter on high speed until smooth and creamy - about 1 minute. Add the sugar and beat on high speed for 3-4 minutes until creamed together fairly well.
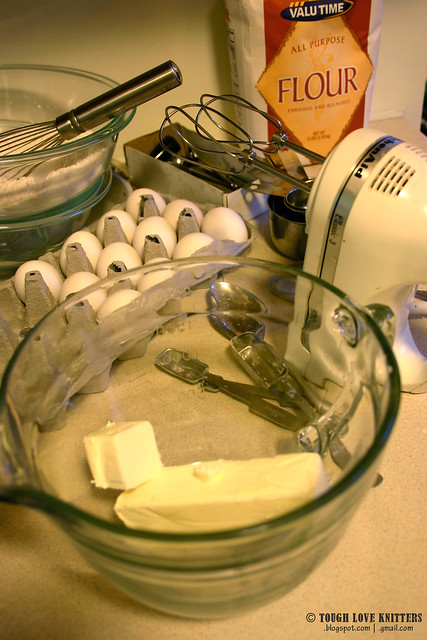
Boston Creme Cupcakes (9)

Separate eggs. Add yolks and the vanilla to butter mixture. Beat on medium-high speed until combined.

With the mixer on low speed, add the flour mixture and milk (alternate adding flour and adding milk 3 times).
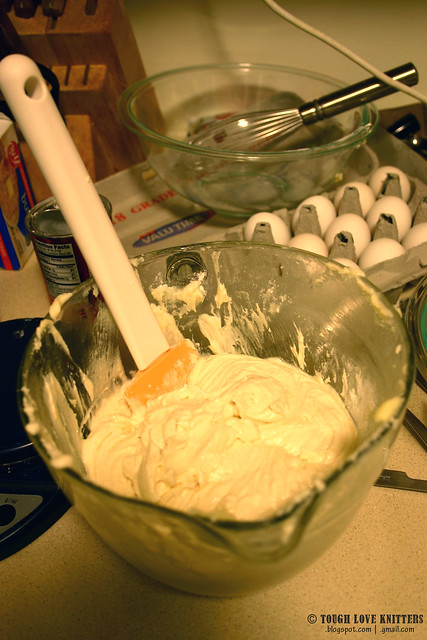
Boston Creme Cupcakes (10)

Whisk or beat the egg whites until thick and foamy, about 3 minutes. Fold into cupcake batter.

Boston Creme Cupcakes (11)

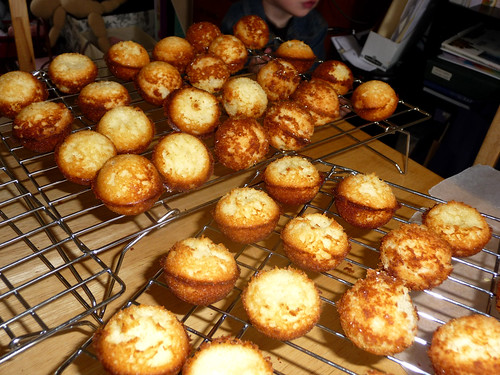
Spoon batter into cupcake liners filling 1/2 - 2/3 of the way full. Bake for 18-21 minutes or until a toothpick inserted in the center comes out clean. Allow to cool in the pan for 5 minutes, then transfer to a rack to cool completely.
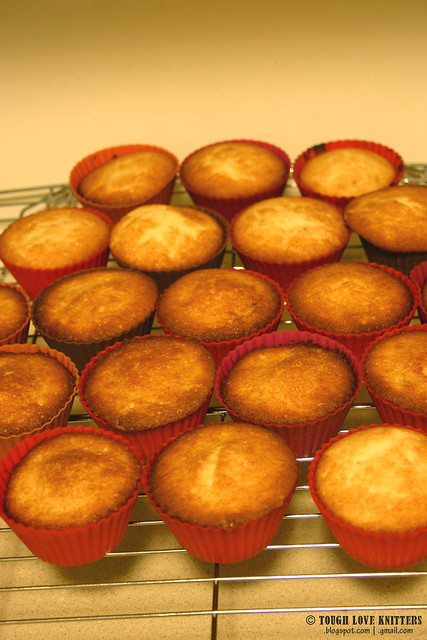
Boston Creme Cupcakes (12)


Chocolate Ganache
These are the original amounts, which made WAY too much ganache for 19 cupcakes. I'd cut this in half for a normal 24-cupcake batch.

Ingredients
1 cup heavy cream
1 (12-ounce) package semisweet chocolate morsels


Heat cream in a small heavy saucepan over medium heat until bubbles appear around the edges.

Boston Creme Cupcakes (18)

Remove from heat, add chocolate morsels to pan, and whisk until smooth.
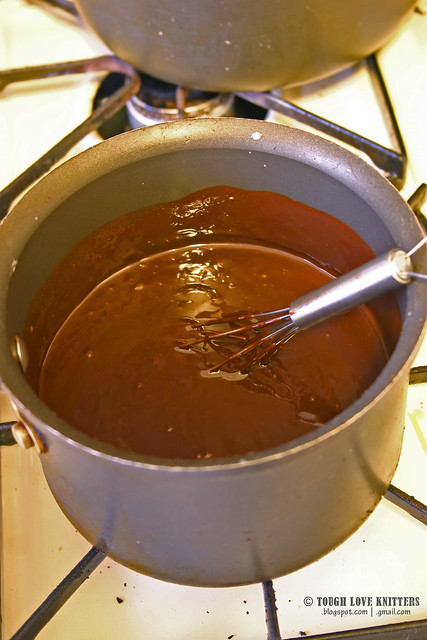
Boston Creme Cupcakes (19)

Spoon or drizzle glaze over cupcakes, or dunk the tops into the glaze (do this AFTER you put the cream into the cupcakes, below).
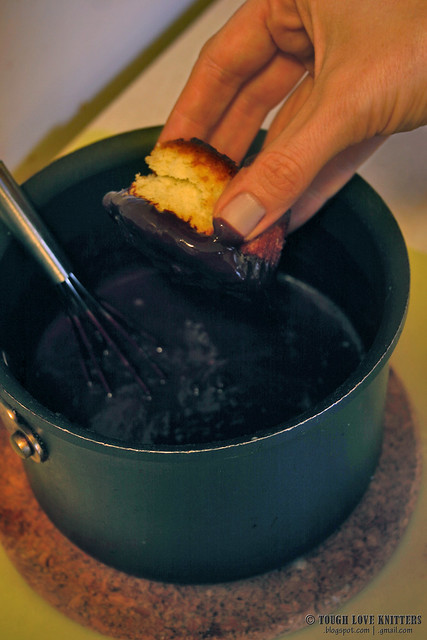
Boston Creme Cupcakes (21)


Finishing
Here's what I did, and here's how it didn't quite work.

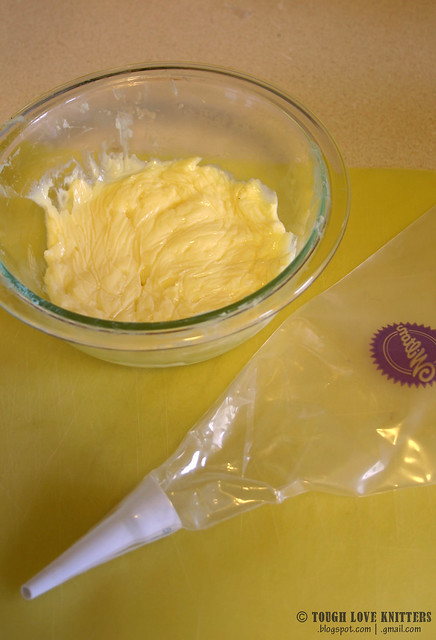
Spoon vanilla cream into a frosting bag with a long tip.
Boston Creme Cupcakes (13)

Insert tip into cupcake and squeeze filling into cupcake.

Boston Creme Cupcakes (15)

Boston Creme Cupcakes (17)

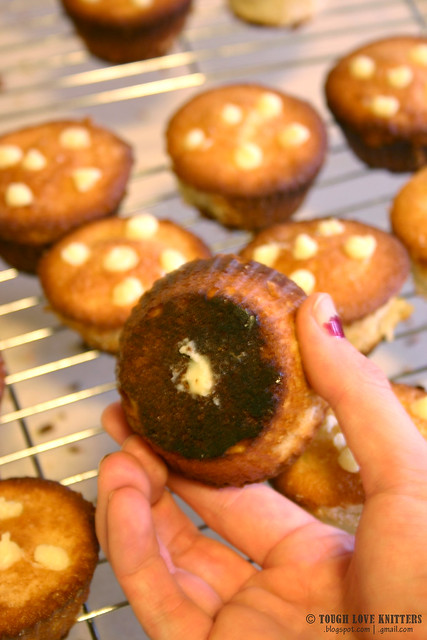
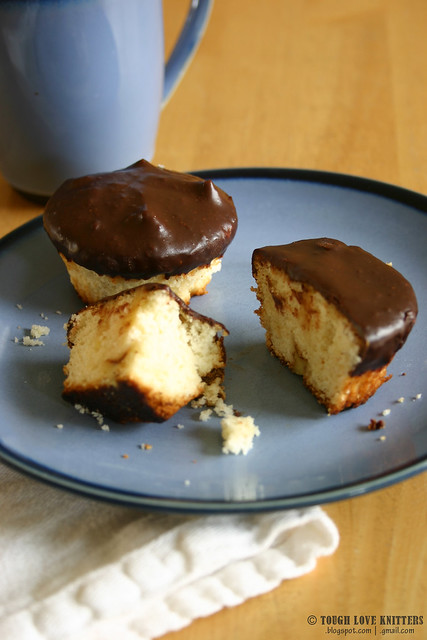
**Here's what I did wrong. I didn't put ENOUGH filling into each cupcake. I ended up putting 5 or 6 small squeezes into each cupcake, and it either wasn't enough to taste it, or the cream was absorbed into the cake. It really didn't feel like a good mouthful of cream ... that's what she said.

Boston Creme Cupcakes (24)

Next time I think I will actually cut a hunk of cake out of the center of the cupcake and fill it will cream -- that way I can see how much is getting in there.


That being said, they were still pretty good. I mean, it's cake and frosting, and when you pretend it's a muffin, you can have it at 10am with a cup of coffee. That's heaven in my book.
Boston Creme Cupcakes (27)

Tuesday, June 3, 2014

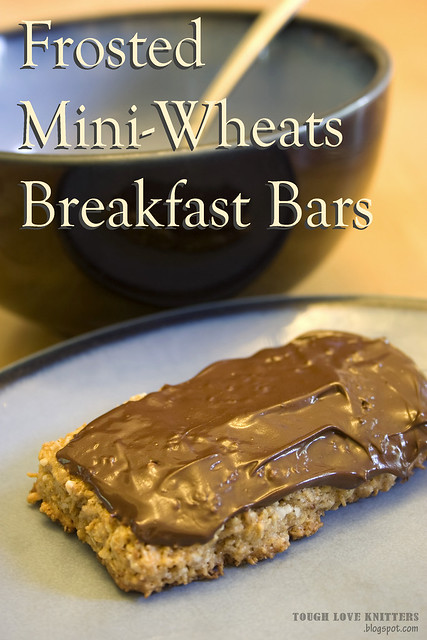
Frosted Mini-Wheats Breakfast Bars

Frosted Mini Wheats Cereal Bars - Title

We eat a lot of cereal. A lot. Ro's favorite is "Wheats" (Frosted Mini-Wheats). And because we eat so much cereal, we've come up with ways of stretching that cereal budget. When it comes time to stock up on diapers and wipes (and dog food, and paper towels, and toilet paper, etc.), we do an Amazon Subscribe & Save order. If you order enough stuff, the discount is even more, and one of the things you can order is Frosted Mini-Wheats. Also, the Malt-o-Meal brand is a very nice rip-off. Both of these solutions, however, result in a vast increase in the amount of leftover frosted wheat shreds at the bottom of the bag once the cereal has been eaten (the Malt-o-Meal just has a lot of shreds, and the Subscribe and Save order tends to find the box crushed by the dog food, so ... our bad, I guess).

So what do you do with those shreds? (Is "shreds" a word?) Throw them out?! "Oh no," said my friend Andrea, who apparently eats as much cereal as we do. She developed a recipe for her own Frosted Mini-Wheats Breakfast Bars, and they are delicious.

MiniWheatBars1b

** Side-note, I finally decided to learn to take proper pictures of food, because SOMEONE [eh-hem, Christopher] has been dragging his feet on actually writing his cooking blog, the one he's been talking about for at least a year. I figure if I can take some good pictures of his cooking, he'll actually write down his recipes. So these are my first attempts at REAL foodie shots. **

Also, understand that you need A LOT of shreds to make these, so you'll have to save them up over a few boxes. For a Printable version of this recipe, click the "Print Friendly" button at the bottom of this post.


Frosted Mini-Wheats Breakfast Bars
Re-printed with permission from Andrea Williams Wan.


Makes 10-12 bars.

Ingredients:
3 cups frosted mini wheat shreds
1/2 cup flour
1 1/2 tsps cinnamon
1 tsp salt
1/4 cup shortening
2 tbsp butter, softened
1 tsp vanilla
3 eggs
1/2 cup chocolate chips

Frosted Mini Wheats Cereal Bars (1)

Directions:

1) Preheat oven to 350 degrees.

2) In a large bowl, mix mini-wheat shreds, flour, cinnamon, and salt.

Frosted Mini Wheats Cereal Bars (4)

3) Add shortening, butter, and vanilla, and mix with an electric mixer on low. Add eggs, mixing after each egg.

Frosted Mini Wheats Cereal Bars (5)

4) Form into half-inch thick bars of desired size and place on parchment paper-lined cookie sheets.

5) Bake for 8-10 minutes, until bottoms are toasted. Cool on a wire rack.

Frosted Mini Wheats Cereal Bars (6)

6) Melt chocolate in microwave or in a glass bowl over a pan of boiling water. Stir as chocolate melts.

Frosted Mini Wheats Cereal Bars (9)

7) Drizzle or spread melted chocolate on top of bars.

Frosted Mini Wheats Cereal Bars (14)

Store in sealed container ... if you don't eat them all on the first day.

Frosted Mini Wheats Cereal Bars (17)

Thursday, May 29, 2014

Apparently I'm in charge of Cooking now

I'm a lucky girl. My husband LOVES to cook. He talks fondly about the Christmas when my mother gave him a cast-iron skillet and his life changed forever. Sundays at our old apartment were a sight -- 3 or 4 dinners at once, plus bread and some sort of pie. During the week I would get home too late to help keep baby out of the kitchen long enough for a nightly dinner-prep, so we just filled the fridge on Sundays and ate "leftovers" all week. It was amazing.
But then we moved. Chris still cooked, and I sort of felt guilty about being home but not being able to prepare more than a PB&J or spaghetti on nights when he had to stay late. Mostly because, while we make a meal-plan, Chris didn't always follow specifically and I didn't know what he was thinking on any given day. But then his co-engineer fell ill and Chris is now doing the work of two. Coming home on time is not in the cards at the moment. So I'm now in charge of dinner.

First step was to clean up the meal-planning software. We use Plan to Eat, which is AWESOME. OMG, totally worth the money. They do 30-day free trials, so try it out and see. It takes some setting up, because you have to get your recipes IN there, but once you can plan and cook right from the site, ... amazing. You can drag and drop your recipes into a calendar, and then it will generate a shopping list for you based on your meal plan for the week. It combines similar ingredients ("sugar" and "Granulated sugar") and totals up the measurements. You can save several stores, so you can mark certain items for Stop and Shop and certain items for Big Y (or certain items to the "sale only" store, which is what we do -- things that we'll need eventually, but for the moment only need to buy if they're on sale). The mobile site is great, and you can check off your list as you shop, and the "Cooking View" for the recipe pages is awesome for cooking -- step-by-step pages that highlight the ingredients one at a time. It imports recipes from mainstream cites like Cooking Light and MyRecipes, and for blogs pages and non-mainstream sites, there is a "bulk importer" where you paste in the text and it translates into the recipe format. If it would only come up with a way to scan a recipe from a photo or something, that'd be brilliant.

For planning, you can set the recipe's course (main course, side, breakfast, etc.) and cuisine (mexican, asian, etc.) and main ingredient (chicken, beef, rice/grain, etc.). Chris hadn't been using those, so step one for me was to go through all our "main course" recipes and set the main ingredient and cuisine, because that's how I like to plan -- every week gets Breakfast for Dinner (Friday), Fake-Out (Saturday, more on that later), something new/difficult/fancy (Sunday), and pasta (Wednesday). Thursday is leftovers. I love mexican, so each week gets a mexican dish, alternating main ingredient (chicken, pork, ground turkey, pasta). I don't love fish, but know it's healthy or whatever, so every other week there's a fish. I'm fine with at least 1 or 2 chickens every week, and then I fill in the rest with ground turkey, pork, vegetarian.

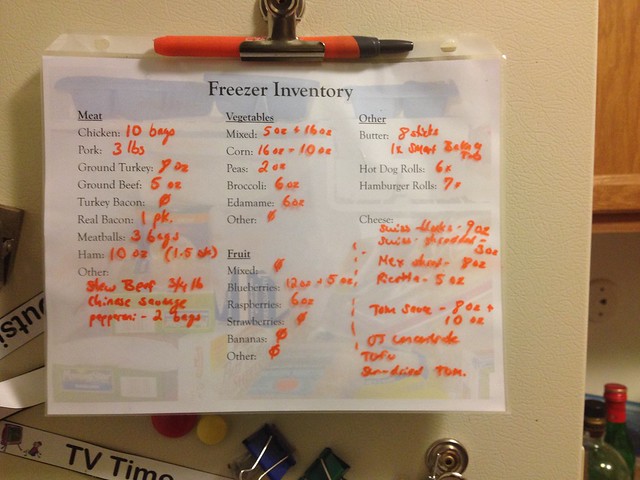
Next, the freezer. We buy meats in bulk and separate them into baggies for quick defrosting. But the rest of the freezer was a mess, literally. I needed to find out if we had frozen jalapenos for my corn salsa, and an hour and a half later I had a way-too-precise list of the entire contents of our freezer. (Side note: when we have another baby, we're getting an apartment-sized chest freezer, no matter where we live. Fill it with dinners pre-baby, fill it with breastmilk post-baby. When baby's grown/weaned, sell it on Craigslist. Boom.) Now that list is posted with a dry-erase marker, and the goal is to keep it updated so one does not need to stand in front of an open freezer digging for what you want, AND to be able to take a photo of the list before leaving for the store, because there is ALWAYS that moment of "Oh! ___ is on sale! .... but I can't remember if we have any in the freezer." Of course, this plan involves everyone pulling their weight, so we'll see how it goes.

Freezer Inventory

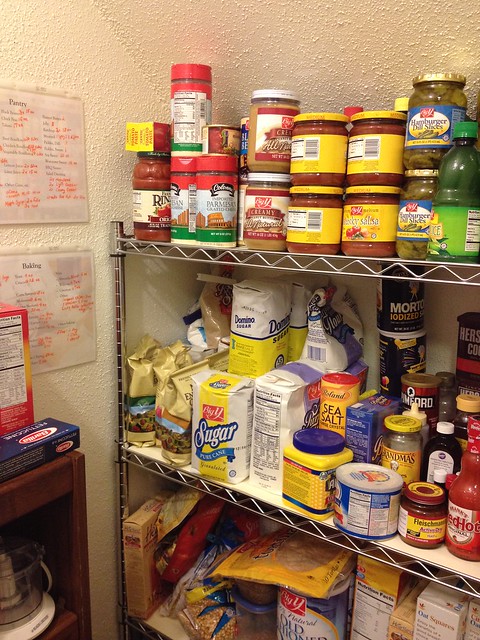
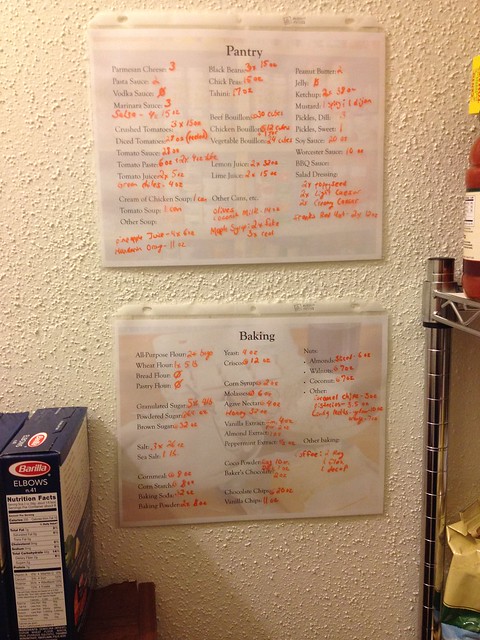
After that, the pantry. Same issue -- we buy in bulk, but live in an apartment, so it's packed pretty tightly in the room off the kitchen (where most people put a washer/dryer). This one took a a little longer.

Pantry

Pantry Inventory

The hard part here will be keeping track WHILE I'm cooking -- I jump in there to get the tomato paste, but I have to either mark it down then (while I probably have something on the stove), or remember to go back later. We'll see.

Finally, we're going to actually mark down which recipes we like and which were a flop, instead of remembering "oh, that one with the greenbeans and the sauce, I didn't like that one." For example, last night's pasta with spring vegetables with cream sauce looked great until it told me to add bread crumbs, which sucked up all the sauce and basically made cheese globs. Tasted fine, but globby cheese is not Chris's thing. So after dinner I went back and took out that ingredient (and switched peas to something else ... I'm seriously married to a toddler), so next time I won't have to remember that that's the part we didn't like.

Let's get cooking!

Saturday, April 26, 2014

Sometimes you feel like a ...

Apparently we didn't have enough sweets at Easter. I felt the need to make cookies. But we had all the ingredients in the pantry ... so they're free, right?


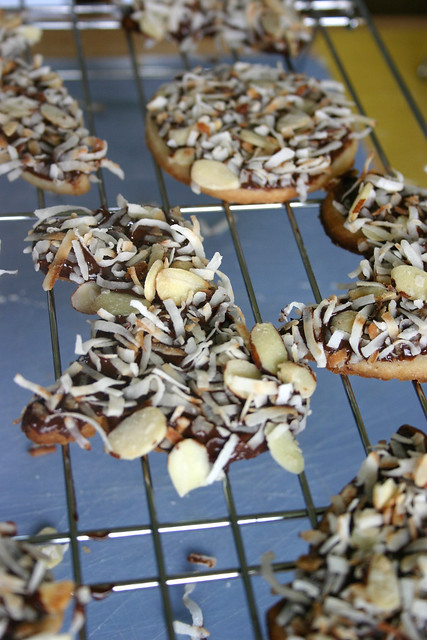
Almond Joy Shortbread Cookies
(or Mounds Cookies, for those without Joy)

Ingredients


1/2 cup (3.5 oz) granulated sugar
2½ cups (11.25 oz) all-purpose flour
Pinch salt
10 oz butter, room temp
12 oz semi-sweet chocolate chips
7 oz sweetened coconut flakes
1/2 cup slivered almonds
Cookies Cutters


Directions
  1. In a small sauce pan over medium heat, toast coconut and almonds, stirring frequently. (Omit almonds for boring-old Mounds cookies.) When coconut flakes have turned golden brown, remove from heat. Pour into a bowl and set aside.
  2. Combine butter, sugar, and salt with a mixer. Add flour slowly and mix on low speed until blended.
  3. Spread dough flat between two sheets of wax paper and refrigerate until firm.
  4. While waiting, snack on dough ... it's fine cause there are no eggs in it ... as if that ever stopped me.
  5. Preheat oven to 350 F. On floured surface, roll dough flat until 1/4" thick. Cut with cookie cutters or circular glass, and place a cookie sheet lined with parchment paper. Roll again and repeat until you have used all the dough.
  6. Bake at 350 F for 8-10 minutes, until the edges are golden brown. Cool on wire rack.
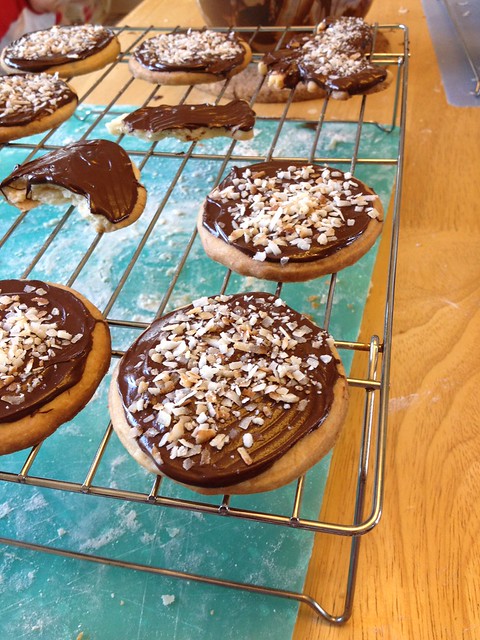
  7. Melt the chocolate in a microwave or over a double-boiler.
  8. Dip top of cookie in chocolate (or spread with a frosting knife), then dip in bowl of coconut/almond mixture. Place face-up on wire rack to cool.
  9. Eat every cookie. Complain that you have a belly-ache.
Makes about 24-30 3" cookies.

Yum, city.

Almond Joy Shortbread Cookies

Untitled

Sunday, April 13, 2014

Rowan's Third Birthday!!!

(Cross-posted to Little Red Rowan)

Rowan's 3rd Birthday party (12)

Rowan is 3 years old. Can we just take a moment to marvel at that?

Rowan's 3rd Birthday party (30)

Ro's Bday Photo Shoot (27)

We couldn't celebrate his birthday on the 11th (more on that later), so we did a party with the grandparents the weekend before. We decided to have a Pigeon Party, since he totally love the Pigeon Books, and so do I.

Hot Dog Party Invite_blur

It was very cute and laid back. I realized (today) that I had ideas for games, but I didn't actually do anything for them. We had only invited one other kiddo, and she and her parents couldn't come because SOMEONE decided to show up in their family a few weeks early. So it was only adults, so I guess we didn't need games.

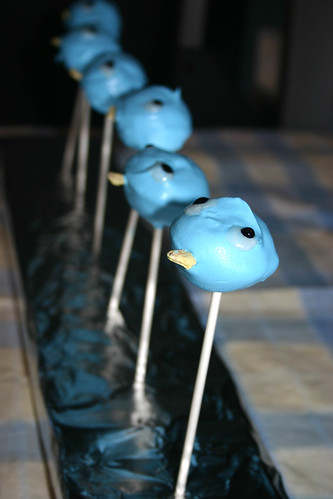
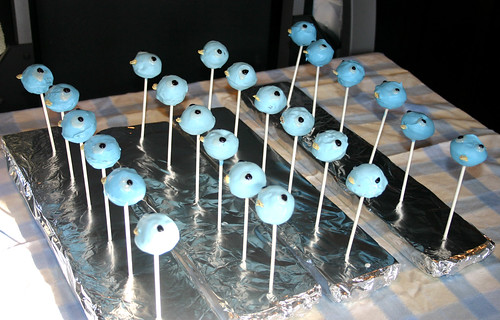
I made pigeon cake pops ...

Pigeon Cake Pops (9)

Beth gave me a cake-pop pan to try. This makes the balls with just cake, not cake mixed with frosting. So it makes them healthy, right?!

Pigeon Cake Pops (5)

The only problem(s) with this method is:
1) when the balls get stuck in the pan. After a few batches, I found that COPIOUS amounts of Pam/cooking spray does the trick. I mean COPIOUS amounts, on both pans. Crisco/grease didn't work.
2) I only had one pan, so I could only do 12 at a time. It took about 4 batches to get through all the batter I had, which was about an hour of baking, plus about 10 minutes in between each for cooling. It took A LONG time.
3) the wrong amount of batter means to balls are not quite round. Too much leaves a little seam around the ball, and too little leaves the ball a little flat on top.

But in the end, they were pretty good.

Pigeon Cake Pops (8)

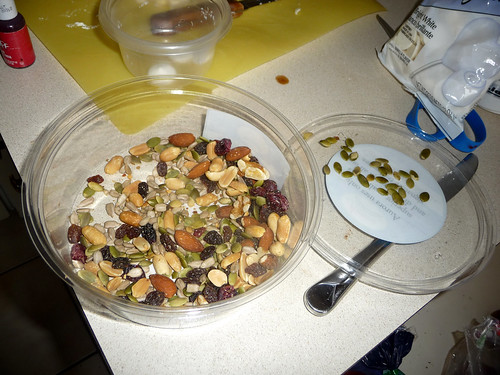
Beaks. The cake pop book called for candy-covered sunflower seeds. You can buy these online or at baking supply stores, but only in big huge bags. I needed approximately 20. So I just took some of my candy melts, made them yellow, and covered a few seeds from my tin of trail mix.

Pigeon Cake Pops (1)

Pigeon Cake Pops (3)

It was ok, Probably needed to thin out the candy more (as I noticed later while dipping the pops), but not too bad.

Cake. I used this recipe, and it was AMAZING. Cut it in half, and it was STILL a lot of cake.

Pigeon Cake Pops (4)

Dipping. Colored the candy melts blue, and thinned it out with vegetable oil. I needed to thin it A LOT more than I remember doing in the past, but it was so thick. I had just enough for 24 pops.

Pigeon Cake Pops (13)

Eyes. Wilton makes candy eyes, but again, I didn't need 100 of them. And I was trying to do this a inexpensively as possible. I colored the eyes with gel color, white/sparking and black. It worked pretty well, though some of them "dropped" a little.

Pigeon Cake Pops (11)

But they were yummy!!!

Rowan's 3rd Birthday party (26)

Rowan's 3rd Birthday party (31)


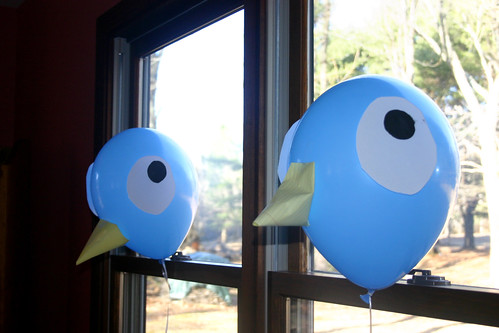
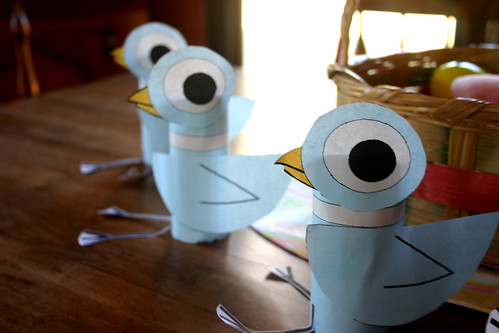
Decorations. God, I love Pinterest. So many Free ideas for Free decorations.

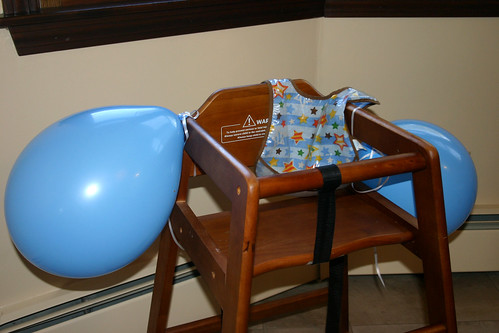
I chose the pigeon balloons ...

Rowan's 3rd Birthday party (5)

and pigeon toilet paper rolls (printable template here) ...

Rowan's 3rd Birthday party (7)

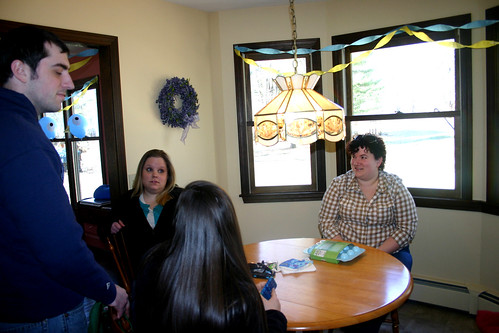
... and the classic streamers and balloons and my mom's birthday banner.

Rowan's 3rd Birthday party (14)

Rowan's 3rd Birthday party (4)

Rowan's 3rd Birthday party (12)


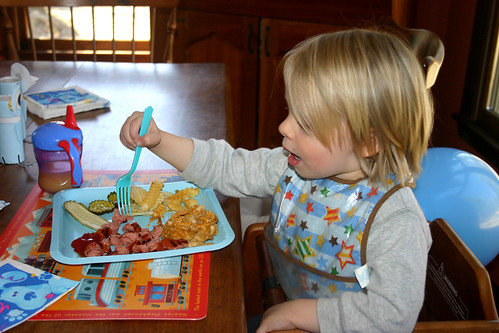
Food. Well, it was a Hot Dog party, right!!!

Hot dogs and mac & cheese (with french fried onions like at Eatery). 

Rowan's 3rd Birthday party (11)

Rowan's 3rd Birthday party (3)

Rowan's 3rd Birthday party (16)


And then presents. We decided on a play Coffee Maker and a balance bike. However, he's still too short for the bike. With the seat ALL the way down, he can JUST touch the ground with his toes. So I guess we'll stick with the tricycle for a few months.

Happy Birthday, kiddo!!!