Sunday, June 30, 2013

Travel Carseat Desk

Next week we hit the road for our Summer vacation! Up to MA for 4th of July, then to NH to the lake house, a quick jaunt up to Maine with just me and the hubby for a few days w/out the kiddo, back to NH, back to MA, and then back home.

Problem: This will involve a lot of time in the car for our city kid, which usually involves a lot of crying, several boxes of Goldfish Crackers, and anywhere between a little bit to a lot of vomit.

Hiding goldfish crackers


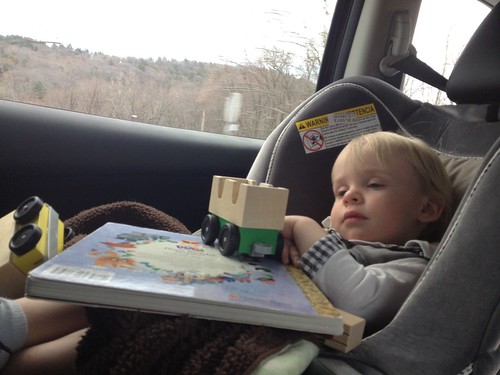
Solution: Lots of activities and a DYI travel desk to keep those activities in order. We've tried balancing a book on his lap before, with varying results.
9522B01E-4CE3-4603-B75D-0CCA863CE69F


Inspiration: I mean, Pinterest of course. But more specifically ...

DIY Travel Lap Tray by Pretty Prudent
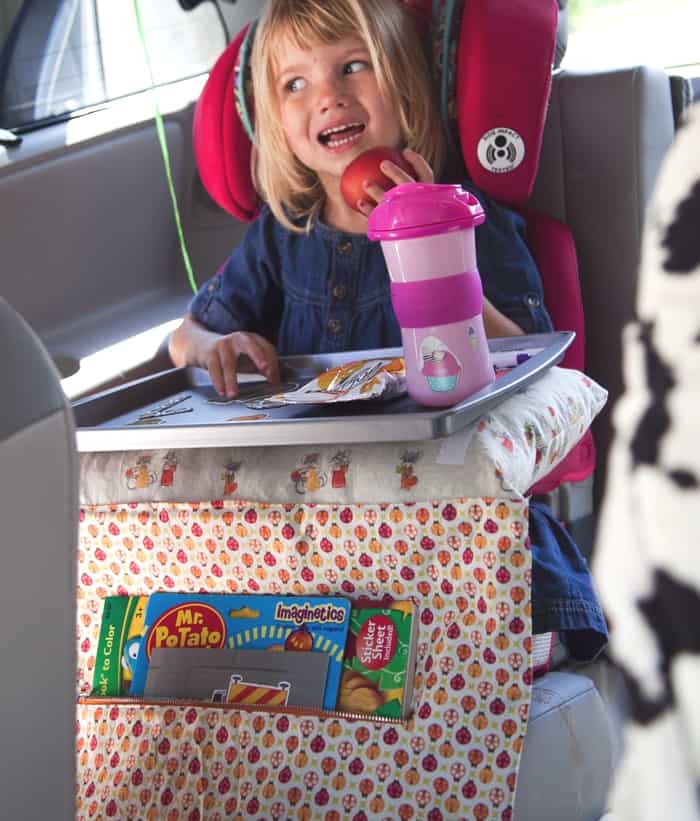
DIY lap tray

DYI Magnetic Travel Tray by Craft, Interrupted


Lap Desk by MerMag
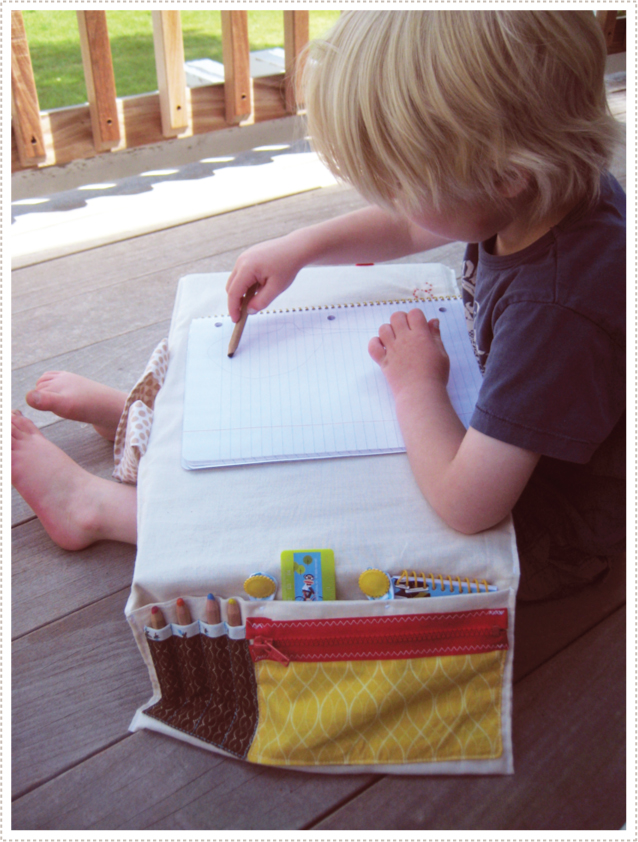
lapdesk-3


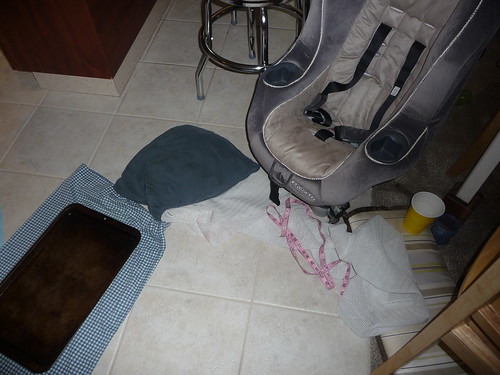
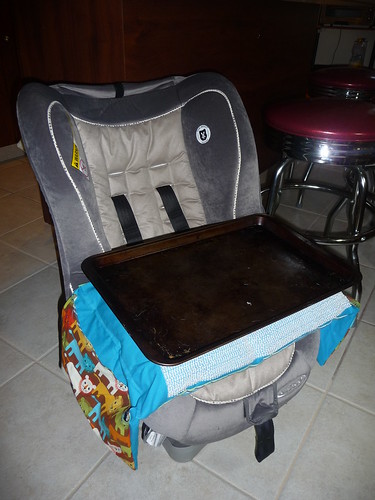
Dilemmas: His carseat has big arm-rest/cup-holders, so this has to sit on top of those. Our "bad" cookie sheet isn't long enough, and I don't want to destroy our "good" cookie sheet (the above ideas involve putting velcro strips on the cookie sheet itself or drilling into it).
008


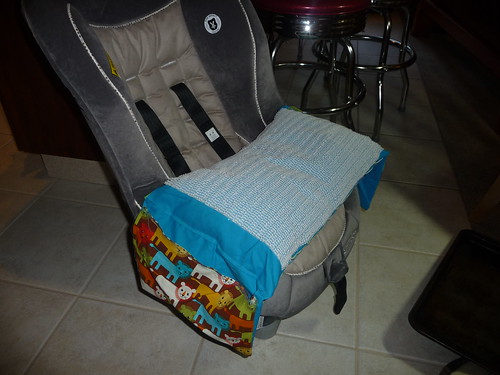
Plan: Attach the cookie sheet to the lap pillow in a non-permanent way by 1) putting non-slip drawer liner material on the pillow top, so the cookie sheet won't slide so much, and 2) attaching a tie to the pillow that can tread through the (already there) hole in the cookie sheet (I have no idea why there is a hole there. May want to drill a matching hole on the other side, which won't affect the cookie functioning of the cookie sheet.)


Materials:

  • 1 metal cookie sheet (mine is 17"x11" on the bottom, 19"x12" to the top with the handles)
  • Non-Slip Drawer liner material, cut to fit bottom of cookie sheet (in this case, 17"x11")
  • Fabric for Lap pillow. I'm making mine a little wider than the cookie sheet, to fit the width of the carseat (21"x12", two pieces)
  • Fabric for pockets, to hang over the sides of the carseat (2 pieces 12"x7", 2 pieces 12"x8")
  • Stuffing for pillow
  • Ribbon for ties
  • Hot glue or Fabric Glue
  • Sewing stuff (needle/machine, thread, scissors, measuring tape)

Steps:

1) Measure and cut fabric. I had some leftover from R's Baby Doll Carrier, so I used the Blue for the top of the pillow (where the cookie sheet will sit) and the backs of the pockets, the Striped for the bottom of the pillow, and the Lions for the front of the pockets. Cut non-slip drawer liner.

009


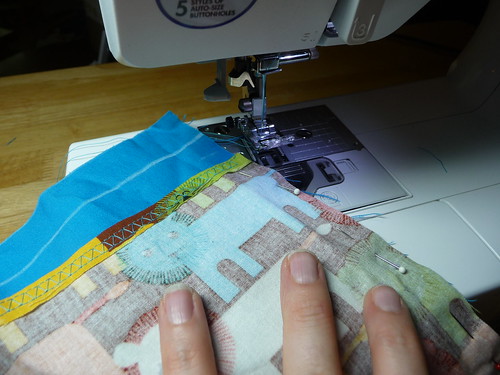
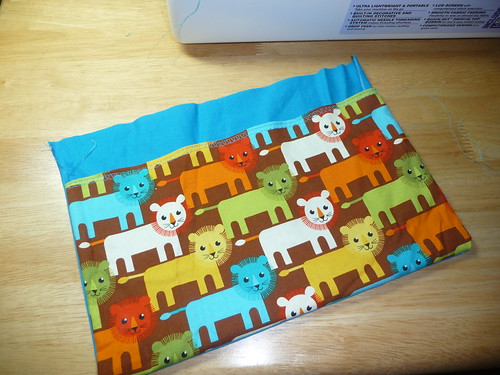
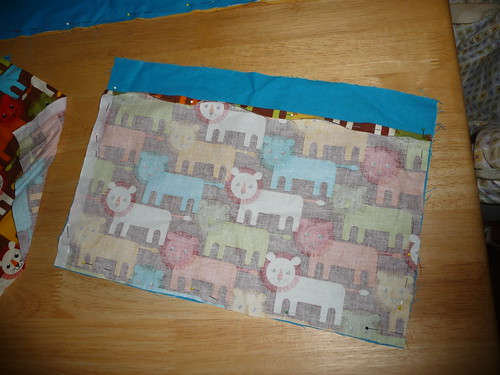
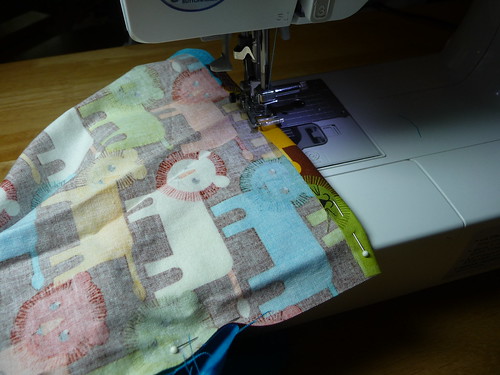
2) Pockets. On front panels, fold down top edge about 1/4" and sew. Pin front and back panels together with wrong sides showing, and sew right, bottom, and left edges (leaving top edge open). Turn right-side out. Repeat for second pocket.
010

015

016

018


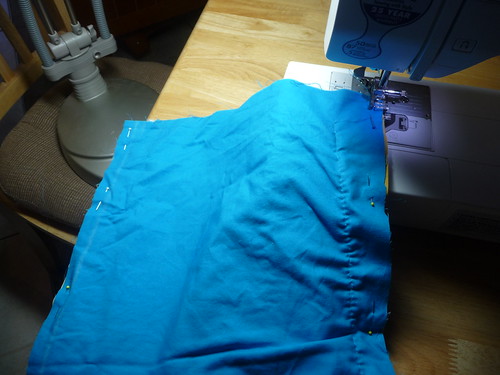
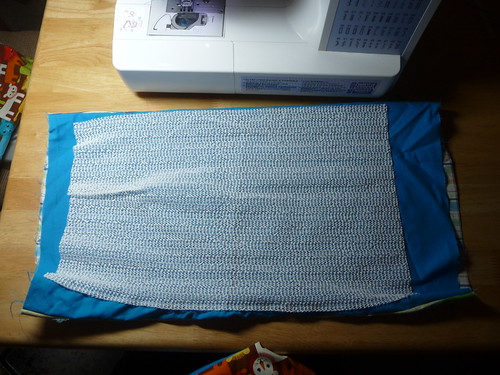
3) Pillow. Pin top and bottom panels together with wrong sides showing, and sew top and bottom edges (leaving side edges open). On side openings, fold down edges about 1/4" on both the top and bottom pieces (make sure the top and bottom pieces line up when you "close" the pillow) and sew around on each side. Turn right-side out.
026

027

028


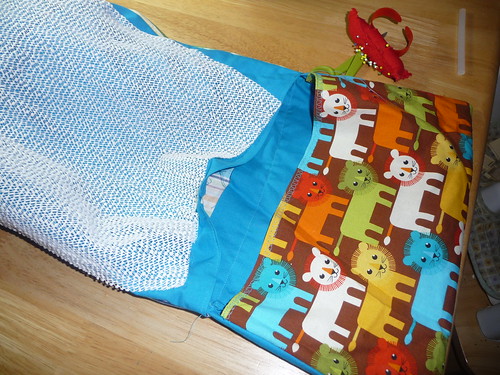
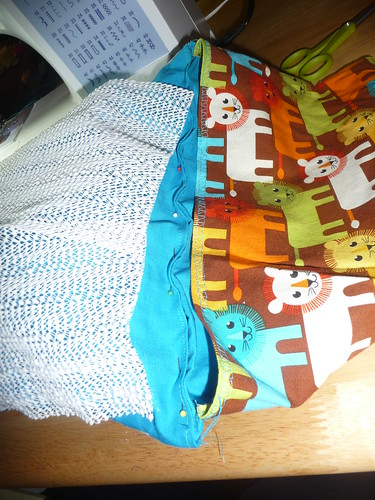
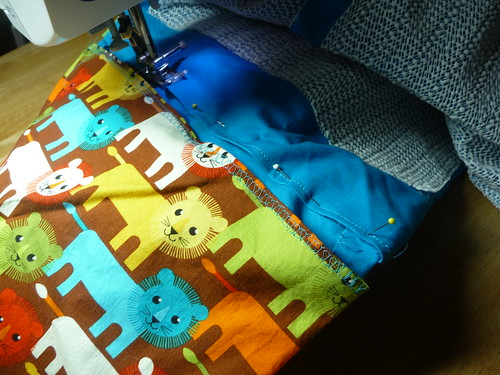
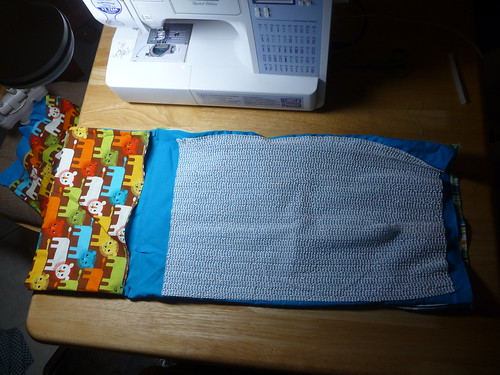
4) Attach pockets. With the Top of the pillow facing up, insert the top 1/2" of one pocket in a side opening, facing up. Pin the pillow opening closed, securing the pocket. Sew that side edge closed.
On the other side, insert the top 1/2" of the other pocket (facing up) in the other side opening. Pin it to the Top panel only, and sew across to attach the pocket but NOT to close the side opening (because we still have to fill the pillow).
030

031

035


5) Attach any ribbons, straps, or strings before filling pillow. (not shown)


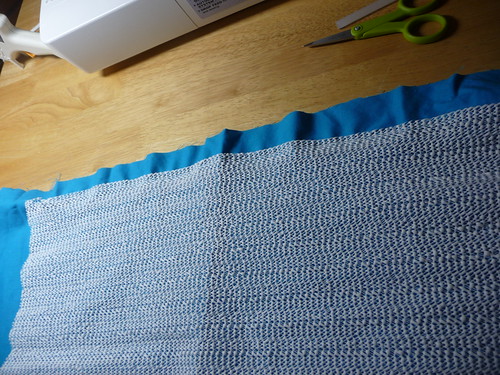
6) Glue non-slip drawer liner to the Top of the pillow. (you will notice from the pictures that I did this step earlier. In fact, I tried sewing the liner onto to the fabric. Bad idea, if you're a beginner like me, because it stretched and my fabric puckered and it didn't line up right. And it was a pain in the butt to maneuver around because it was so grippy. Just glue it toward the end. I used hot glue).
021


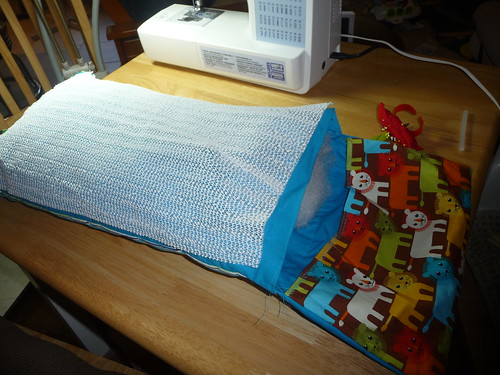
7) Fill pillow with stuffing until desired fullness. Sew final side opening closed.
037

038


8) Pack up the toys and hit the road! (hopefully this will work and I'll a great in-action photo to post here next week!)
040

042

Wednesday, April 17, 2013

Baby Carrier


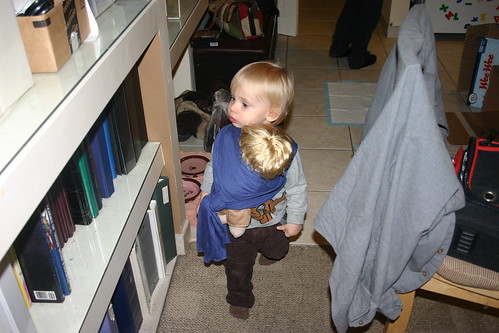
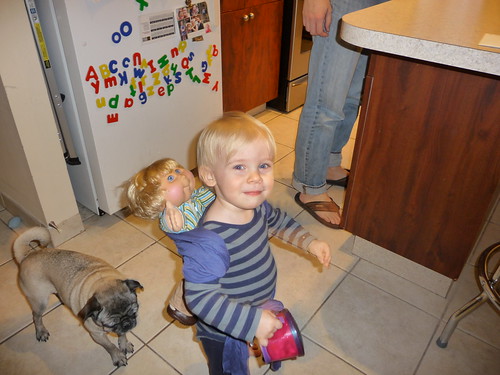
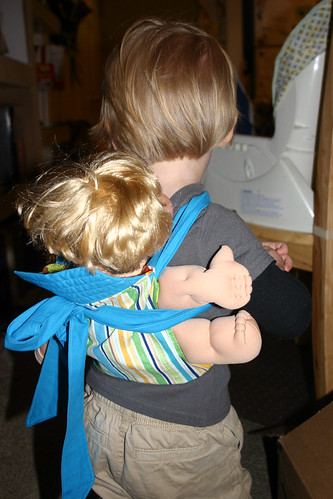
I've always wanted R to wear a baby doll. I think it says something about the world when a man wears a baby. My man wears his baby, and my baby will wear his baby as a man. We're being the change over here.

I've gotten R to wear his baby a few times.

Babywearing Baby

010

047

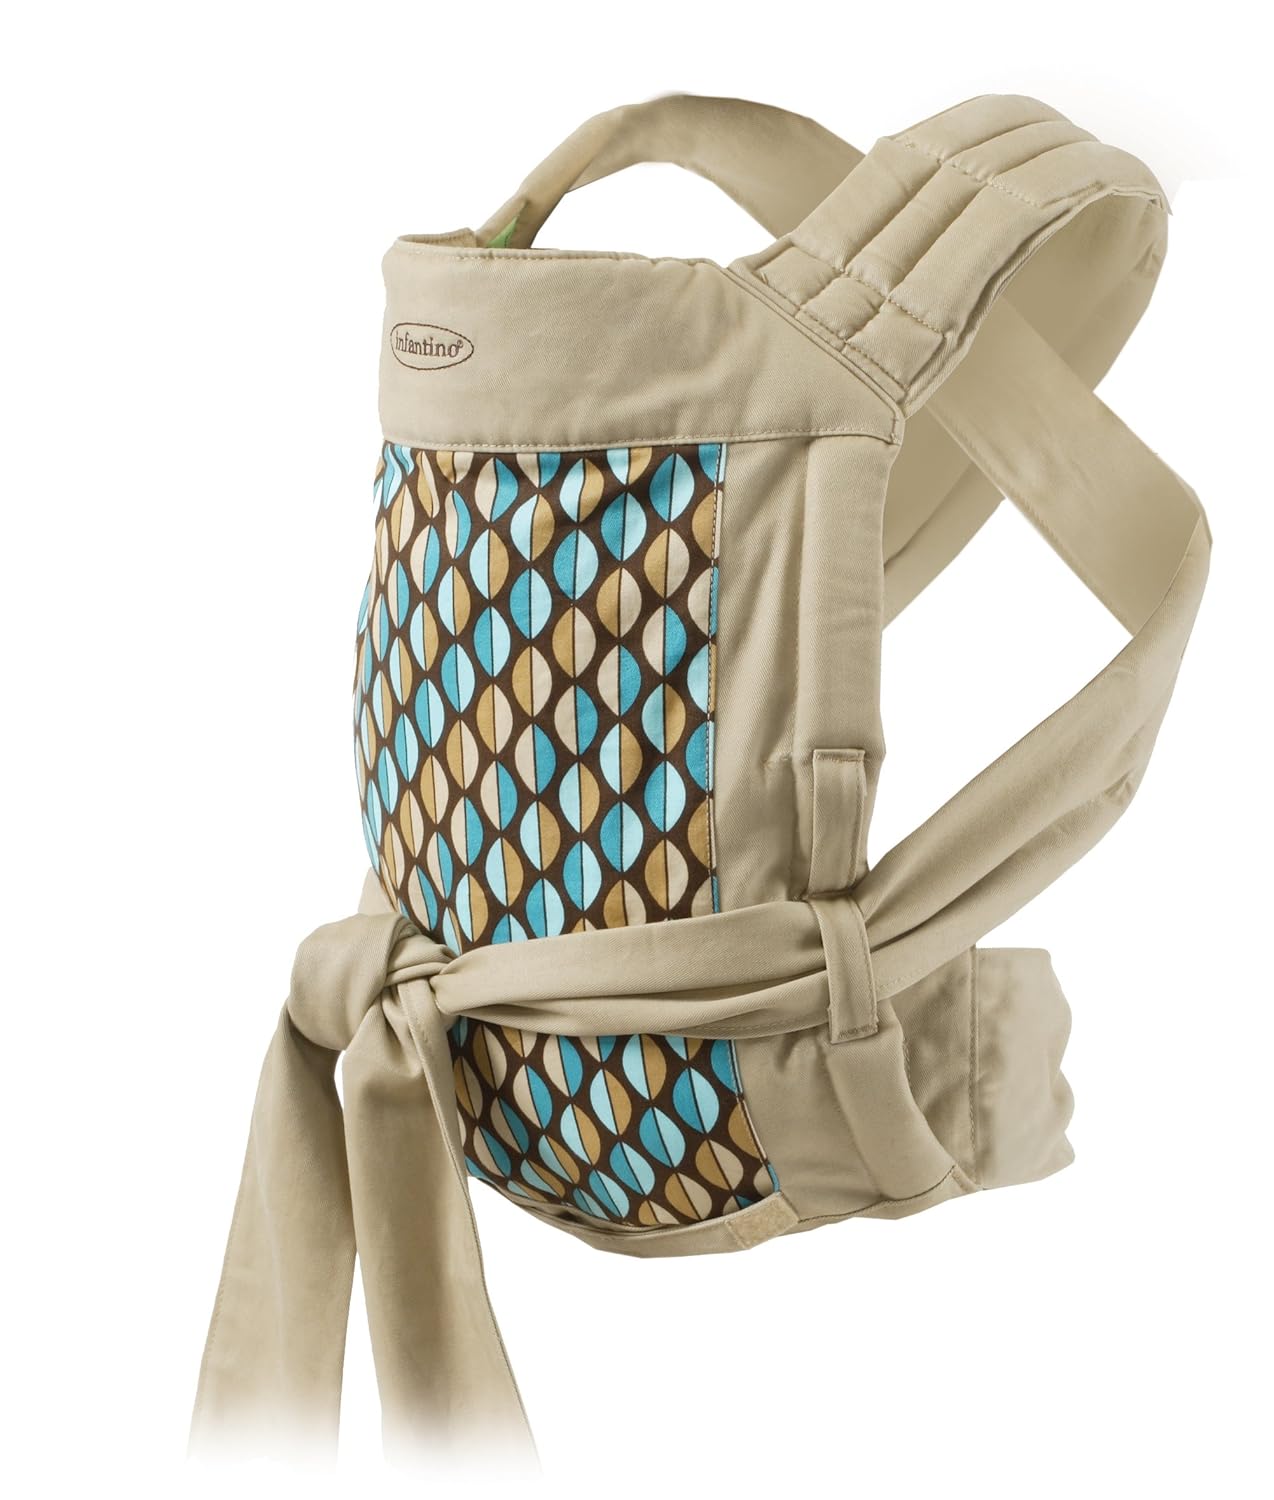
I decided that he should have a Mei Tai carrier like his one for his birthday.


There are a few patterns online, but this one looked the best and most helpful.

Pattern:


I spent an entire evening on Bevery Fabrics (a night well spent, I think!) and picked out these fabrics.

For the straps, Kona Cotton - Turquoise:
Kona Cotton Fabric Solids - Turquoise
http://ep.yimg.com/ca/I/yhst-132146841436290_2254_3092332512

For one side of body, Spring Street - Raindrop
Spring Street Cotton Fabric - Light Blue


For the reverse side of body, Roar Cotton - Lion Toss Burmuda
Roar Cotton Fabric - Lion Toss - Bermuda


Of course, days after I placed the order, they wrote to say the Raindrops one was out of stock. Great.
After a great many tears, I swapped it with Spring Street Cotton - Green (same company, so the colors are close).


Spring Street Cotton Fabric - Green

I took a day off from work to put it all together (since I can't seem to get my act together to sew any other time, plus it gets really dark in here in the evenings). Now, I took a ton of pictures of the process, because I was so proud of myself for officially following a pattern, but I can't seem to find any of them. There was a crisis with a corrupt SD card at one point, so I think that's where they went. :(

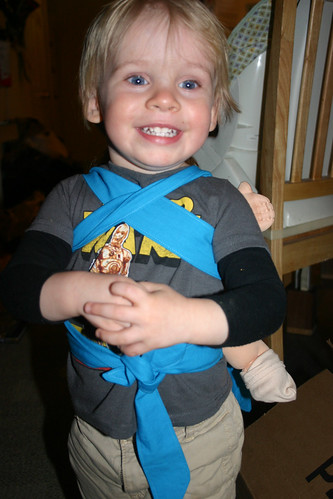
But I do have pictures of the finished product!

F1786992-2305-4664-A124-B61C833897F9


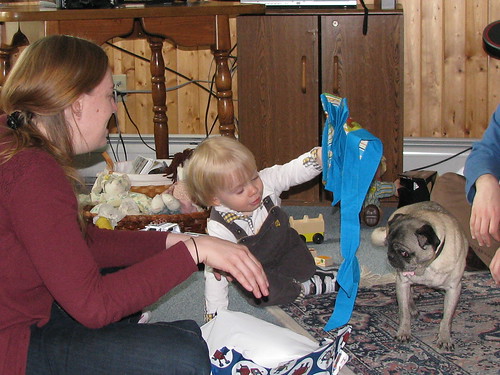
Rowan's 2nd Birthday

5D058FED-F360-47BC-96C6-F403108523BF

Babywearing Toddler (2)

Babywearing Toddler (1)


He knew exactly what to do with it when he opened it! He started saying "Max! Back!" and pointing to his back!

Monday, April 15, 2013

Matchbox Car Parking Garage

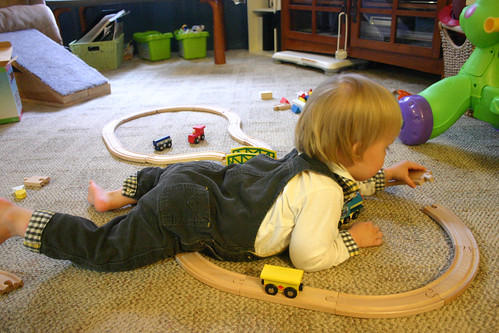
So I have a little boy. He plays in dirt and scrapes his knees and LOVES LOVES LOVES Cars and Trucks and Things that Go. His 2nd birthday was all about trains, and now my house is overcome with very tiny modes of transportation that need to be wrangled.

233

Here is how we WERE storing the cars and things, in a "Cars and Guys" bin.

Matchbox Car Parking Garage (2)


I wanted something like this:


Some other DIY found on the internets:


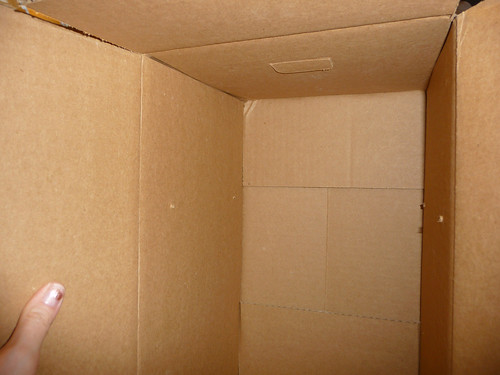
So here are some of the things I have lying around the house:

Matchbox Car Parking Garage (1)
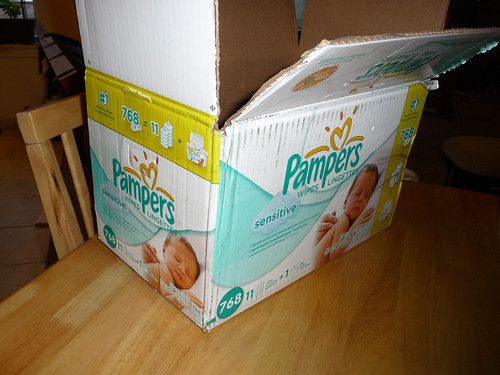
(these are such sturdy boxes, I hate to throw them out)

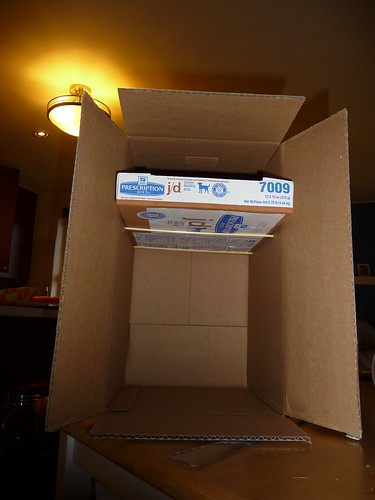
Matchbox Car Parking Garage (3)
(There are from the dog food shipments)

Now, what I don't want is saggy shelves like these, which is what you get when you just use tape (as I found with my cardboard play kitchen).


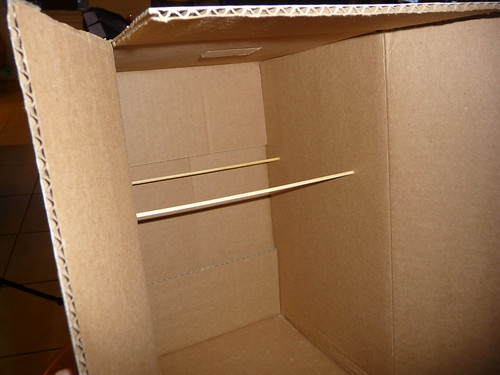
But I had this great idea! Poke holes and use shish-kabob skewers as reinforcement.

Matchbox Car Parking Garage (4)

Matchbox Car Parking Garage (5)

Matchbox Car Parking Garage (7)

Matchbox Car Parking Garage (8)

Note: Watch out for those sharp pointy ends! I accidentally left this unfinished on the floor, and little boy decided he needed to walk between it and the couch and wound up with some nasty scratches on his legs :(

Cut ends of skewers and tape to box, then tape bottom of shelves to skewers.

Now, Parking Garages need ramps of course. I cut off the box flaps and fashioned a few crude "outdoor" ramps -- I don't think the child is "gentle" enough for inside ramps.

I cut some car-sized holes in the sides and attached a ramp to each level (tape to inside of box).

Matchbox Car Parking Garage (10)

Matchbox Car Parking Garage (11)

Matchbox Car Parking Garage (12)


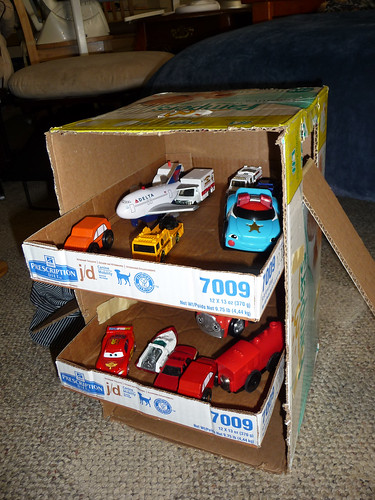
To finish, park Cars (and planes, trains, boats, etc.)!

Matchbox Car Parking Garage (13)

I'd like to paint it or cover with a fun-colored tape or something, but we'll see how it holds up first.

** Update. 6/30/13 **

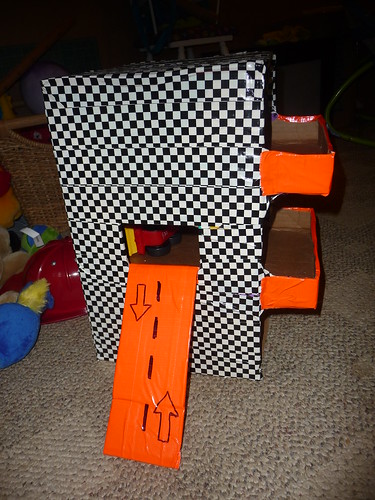
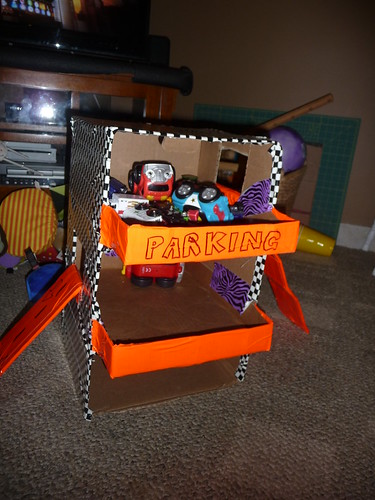
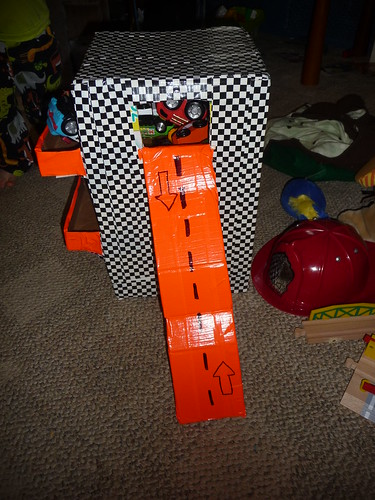
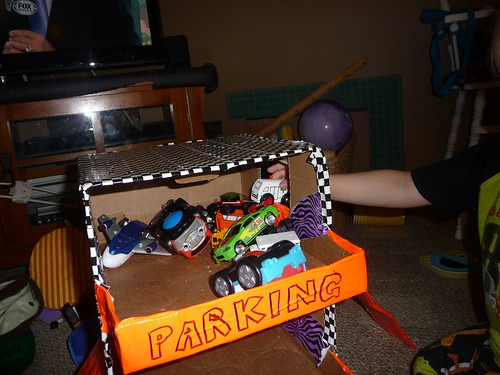
The shelves fell down a few times, so I reinforced with duct tape around the edges. Then I covered the entire thing with duct tape. It's pretty sturdy now.

Cardboard Parking Garage

Cardboard Parking Garage

Cardboard Parking Garage

Cardboard Parking Garage

Cardboard Parking Garage