8/18/13
My co-worker -- I won't say who, in case I FB post this and her auntie so-and-so doesn't know yet -- is getting married. Every day she's got a new idea, a new brainstorm, a new scheme for this wedding. Somewhat out-of-character for her, she's been planning this wedding since before they were actually engaged. But some of her ideas are SO cool! (Again, no spoilers, in case I FB post this later).
A few months ago she sent me some Pins (oh, Pinterest is the new Wedding Planner, in case you all have been under some very boring, un-bedazzled rocks for the last 2 years and hadn't noticed) of some very sweet handkerchief favors; they had "For Happy Tears" embroidered on it, or a message to Mom or Dad.


"Can you do this?" she asked. I went home and tried out a few things, but since I'm only a beginner at the sewing machine (and I'm not hand-embroidering 200 wedding favors), it didn't turn out too well.
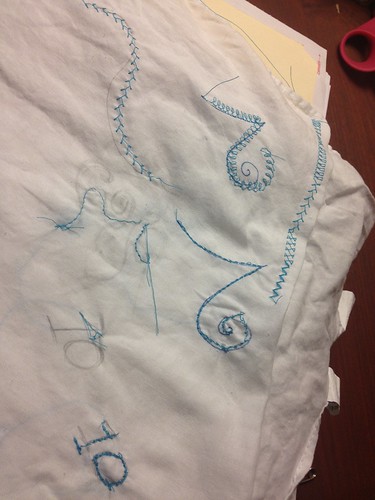
But never fear, because while I may be a novice at the sewing machine, I'm a Black Belt in figuring out work-arounds. I came across this:

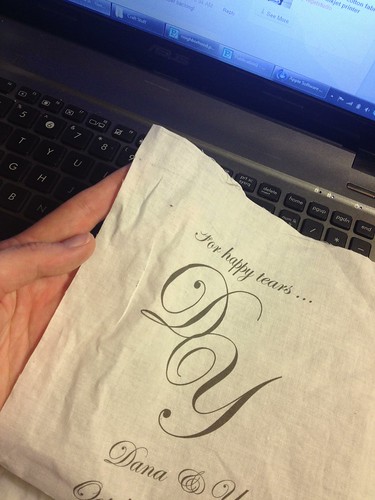
The invitation PRINTED on a handkerchief. A little more digging and I found THIS:

HOW TO PRINT ON FABRIC WITH YOUR INKJET PRINTER!!! WAAAAAHHH!?!?!?!?!
And guess what? It totally works.

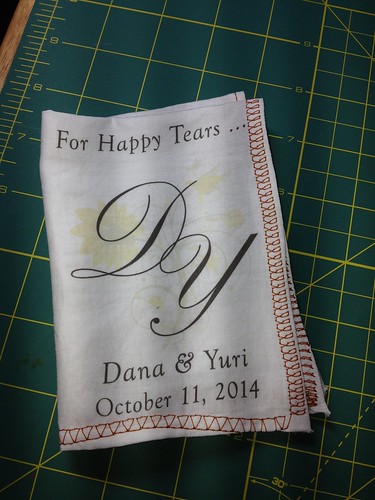
I used a piece of cotton bandanna fabric I found at Michaels, and while it printed fine, it's a little rough on the cheeks should someone actually attempt to dry some tears. Also it didn't press well, and I had to pin down the edges before sewing, which was a pain. So the next step was to pick out what kind of fabric we were going to use.
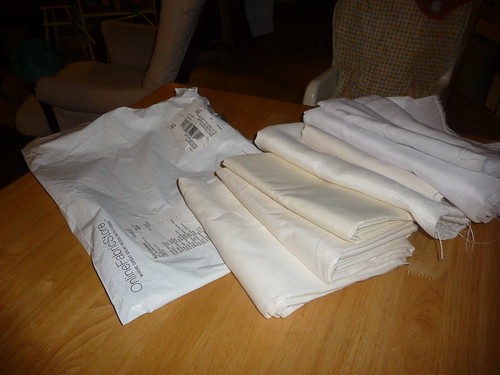
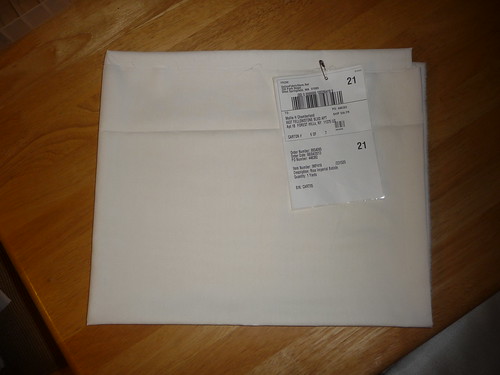
I found some good deals at OnlineFabricStore.com and ordered a yard each of a few things.
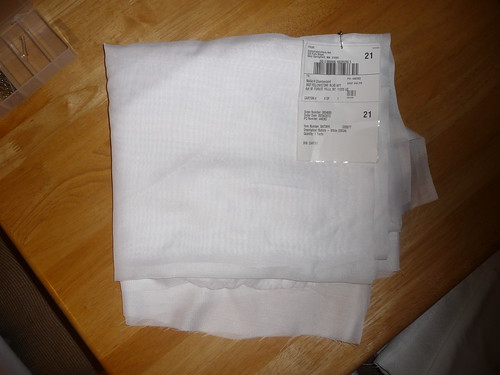
Product ID: BATWHI
Product Name: 118 Inch White Batiste
Price: $6.10
Width: 118"
Fit 10x4 per yard (40) = would need 5 yards (for 200) = $30.50
First impression: Soft but very Thin.
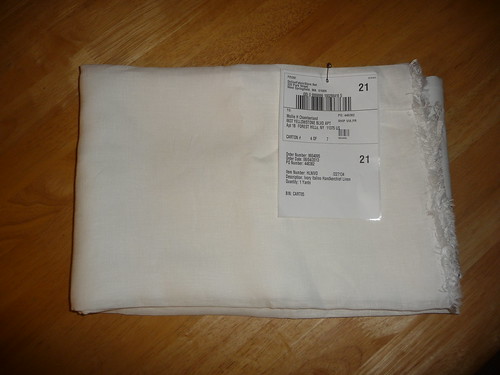
Width: 58"
Fit 5x4 per yard (20) = need 10 yards = $43.50
First impressions: A little thin, but might be fine. Not super soft.

Product ID: VITIVO
Price: $3.30
80% Polyester, 20% Combed Cotton
Fit 4x4 per yard (16) = need 13 yards = $42.90
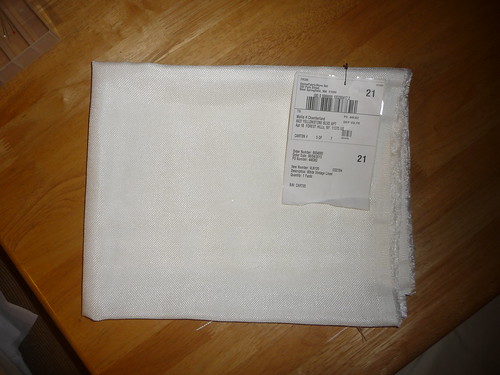
Product ID: K001-1339
Product Name: Snow White Kona Cotton Broadcloth
Price: $5.48
100% Cotton
Width: 44"
Fit 4x4 per yard (16) = need 13 yards = $71.24
For clothing and crafts.
First Impressions: Thick and sturdy, and softer than the Vita broadcloth, but still a little rough. Feels just like the bandanna material.

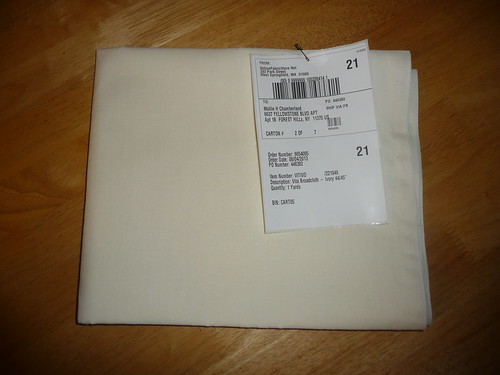
Product ID: HLNIVO
Product Name: Ivory Irish Handkerchief Linen
Price: $13.65
100% Irish Linen
Width: 57"
Fit 5x4 per yard (20) = need 10 yards = $136.50
For clothing.
First Impressions: Expensive. Thick and smooth, but not super soft.
Product ID: VLN126
Product Name: White Polyester Linen
Price: $6.30
100% Polyester
Width: 57"
Fit 5x4 per yard (20) = need 10 yards = $63.00
First Impressions: Rougher and more textured than I expected. May not print smothly.
Product ID: IMP419
Product Name: Rice Imperial Cotton Batiste (Spechler-Vogel)
Price: $5.60
65% Polyester, 35% Combed Cotton
Width: 60"
Fit 7x3 per yard (21) = need 10 yards = $56.60
Meant for lining clothing (and wedding gowns) and bags, and making night gowns.
First Impressions: silky and soft, thin but not transparent. May be the winner!
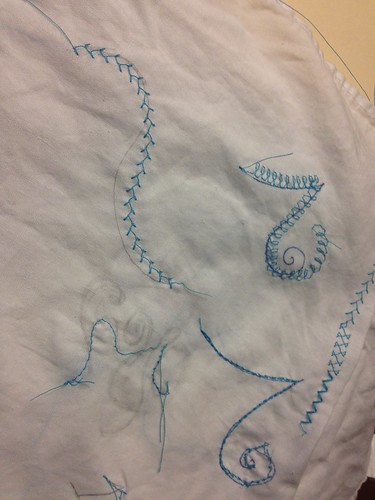
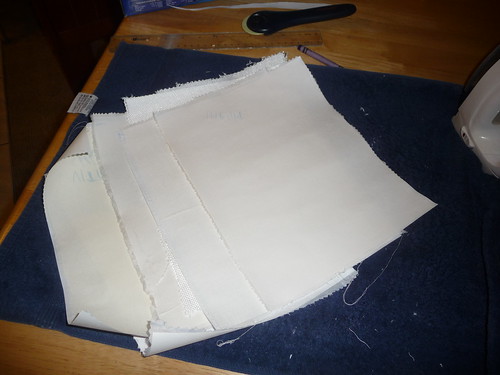
Next was to have the Bride design the program. I sent her a MS Publisher File with the basic layout I had used for the test, which included the margins needed for the hem.
Next was to test all the fabrics for how they would print.
8/21/13
Co-worker's mother is visiting this week, so I had to get some samples for them to see by tomorrow.
Last night I cut 8.5X11" sample pieces of each fabric, ironed on the freezer paper, sent them through the printer, peeled off the printer, and ironed them flat.

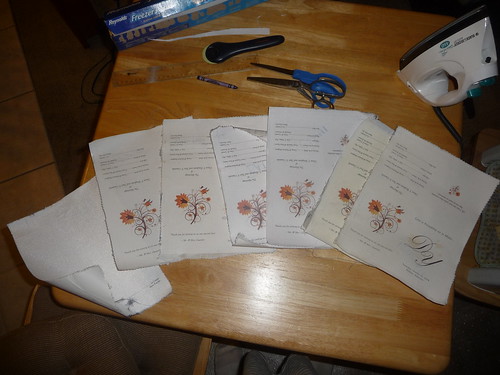
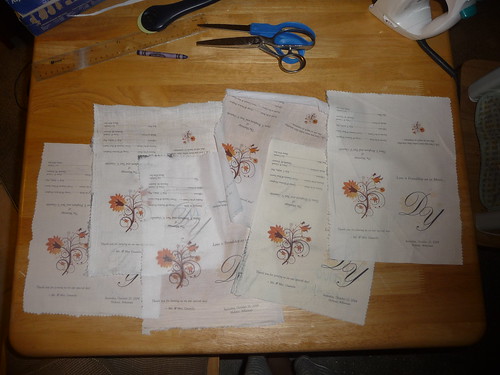

Here's how it went:
White Bastiste: as suspected, it's too thin. The ink bled a little and when the handkerchief is folded, you can see the designs through all the layers, which makes it look muddy and messy. The text is legible, but very light (since so much ink passed through the fabric onto the paper backing). It's also so delicate I doubt it would go through the sewing machine very well (for the edging). It pressed flat and the edges pressed pretty well (if a little finicky, because it's so delicate).
Cotton Lawn: After pressing, this fabric turned out much softer than out of the package, which is a plus. It printed pretty well, without much bleeding. It pressed very well, especially the edges, which stayed nice and straight. It's a little thin, and when open the Program side you can see the front and back designs through the fabric.
Ivory Broadcloth: The funniest thing about this fabric is that it SHRANK when I ironed on the freezer paper. About a 1/4" on each edge! It got a little softer with pressing, but not by much. It printed nicely, with no bleeding. It pressed well (though seemed to drink just a little bit again). The thicker material makes it so you can just barely see the patterns through the fabric, but it's not super distracting.
Kona Cotton Broadcloth: This printed very nicely, very clean and sharp lines. You can JUST barely see the designs through the fabric. The fabric is smooth but not soft -- more of a keepsake (because I think it will last) but not really for dabbing at one's eyes. Big Downside: this will NOT press flat. It wrinkled in the package and those wrinkles are still there! That means the edges will NOT press flat! Such nice printing, but not being able to press the edges would be a big problem when it comes time to do the edging.
Irish Handkerchief Linen: This was so pretty when printed. The text is not as clear as the cotton, but because of the vintagey-looking fabric, the slight fade in the text really fits. This has a very different "feel" than the others, as it feels country and vintage, not necessarily "crisp" like a wedding dress. We'll have to see what she wants. This fabric also does not press flat, which would be tricky for the edging.
Polyester Linen: This was a complete disaster. It was too thick to run through the printer and jammed it several times. The parts that it did print were smudgey and gross. Fail.
Rice Imperial Cotton Bastiste: As expected, I like this one the best. It printed as well as cotton broadcloth, but is much softer and smoother, and presses nicely. You can see the design through the fabric, though it's no super distracting. It's the more "crisp" look that the Linen is lacking.
So I'll show these to co-worker and her mom tomorrow, and we'll see what they like. I still want to run all of them through the sewing machine to try out the edging.
Update:
Met with D and her mother, and they both loved the Rice Imperial! Winner! We agreed at the Irish Linen was nice, but a little too expensive and not quite soft enough for "tears". I think maybe I will make a few on that fabric for D to keep or give to her parents, as a keep-sake, because they are REALLY pretty. But the Rice Imperial is going to be GREAT!!!
Stay tuned for more on testing and printing (in the Spring).
... to be continued ...