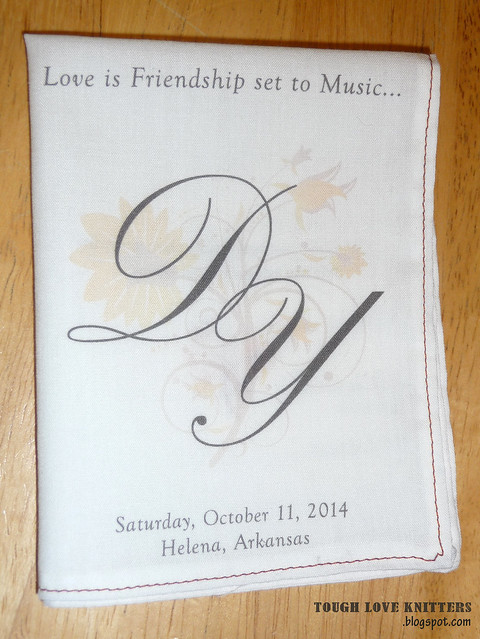
D and Y are getting married in OCTOBER!!! It's time to finalize their Wedding Program Handkerchief design. I paused on doing anything more with this project until now, just in case something changed (and it's a good thing, since she wrote the other day and said "HANG ON!" ... one of her Maids was iffy about whether or not she'd be there).
But I think we now have the final program, I have the fabric, and I have a printer that works (which was an issue until about a week ago).
Design
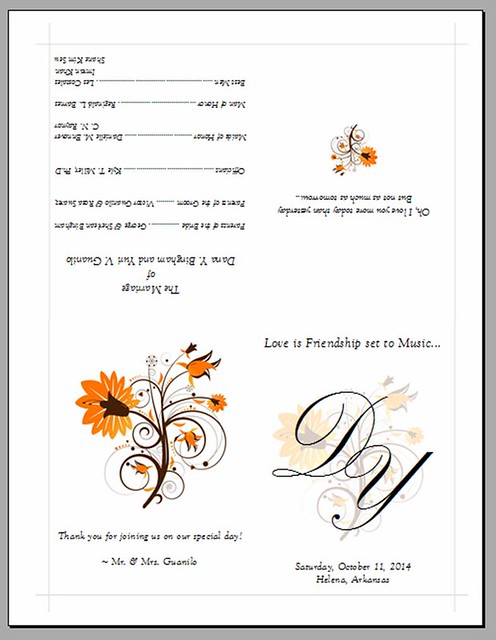
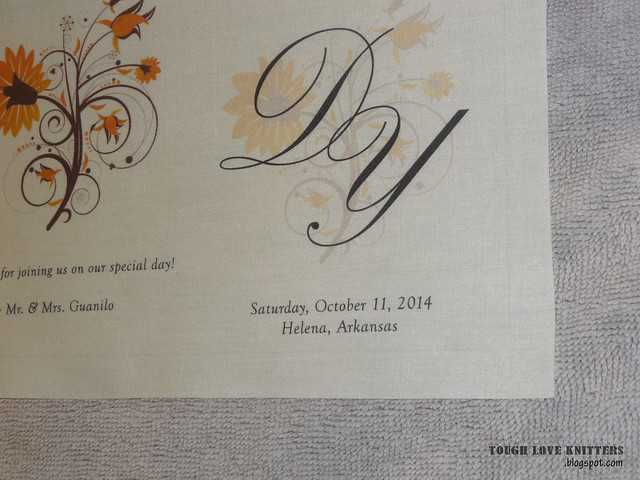
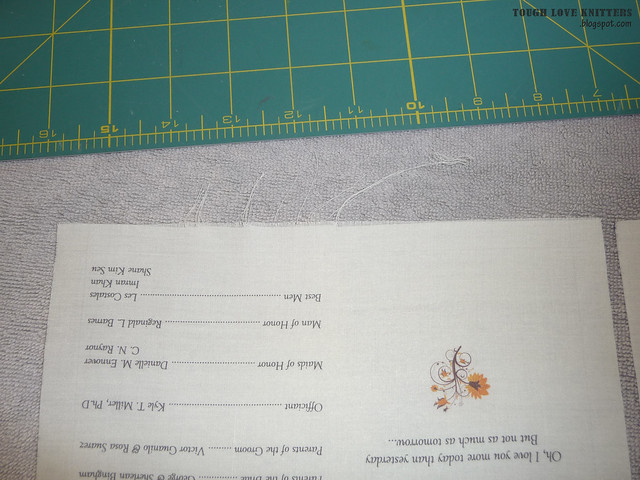
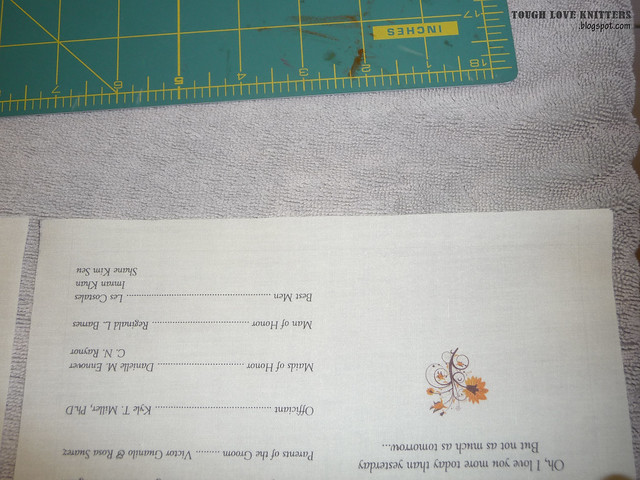
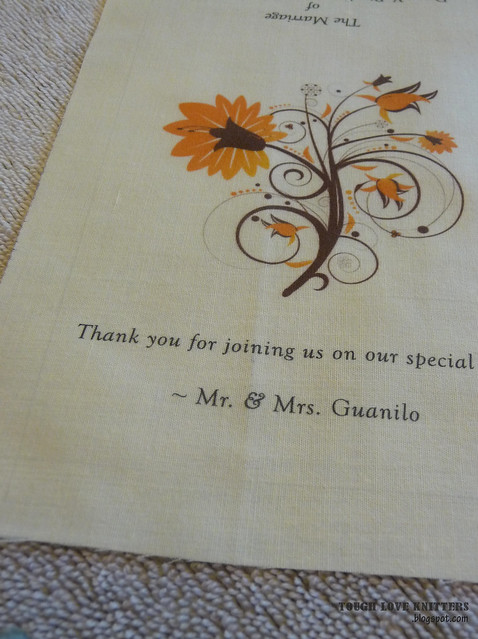
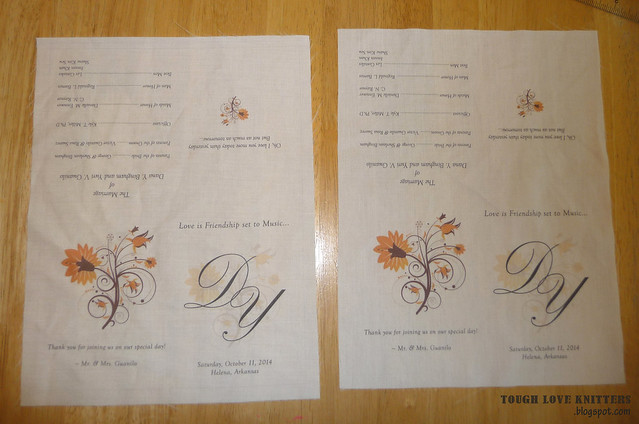
A little more background on how we designed this bad boy. I'm a big fan of MS publisher, especially because D and I both had it on our work computers. I designed a basic template for her using a folded card template (you know those birthday cards you'd make in computer class in grade-school, where you just had to fold it into quarters?). I decided to go with this design so we would only have to print on one side, and we can fold the handkerchiefs like, you know, handkerchiefs. I put together some basic text boxes and images for her, along with some margin-guides to make sure we kept enough room for the hem. She was able to play with it this way, work on the wording and change around the order of things, and then send it back to me.
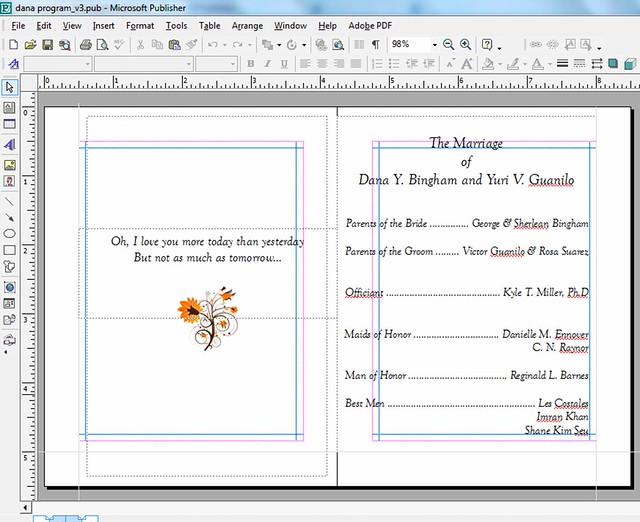
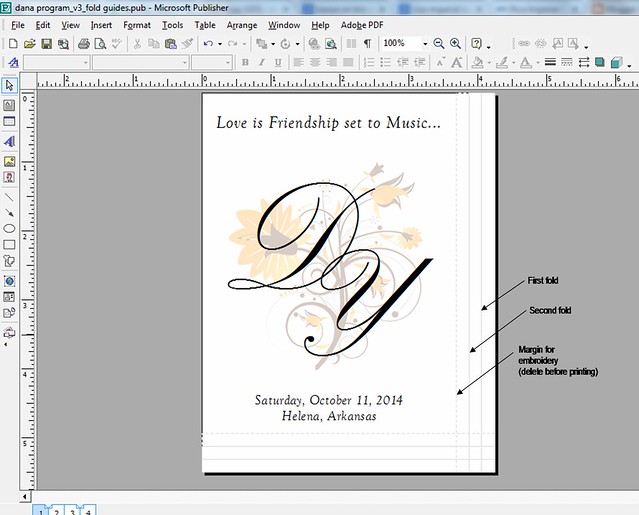
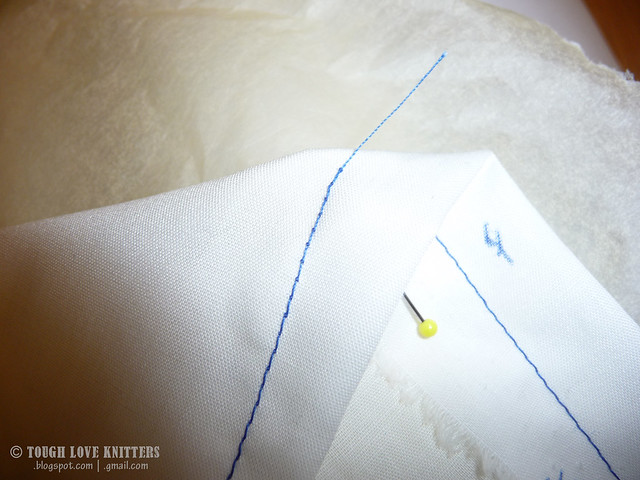
**Note: basic margin guides are fine for planning, but make sure you measure how you are going to fold AND embroider the edges, and adjust the text margins accordingly. After a test print I realized I hadn't left enough margin for the stitch we're putting around the end.
Final Testing ...
I wanted to test a few ways to ironing the paper, printing, and hemming these before I started mass-producing.
Cutting and Printing
First: Cut paper and Fabric separately, then Iron together.
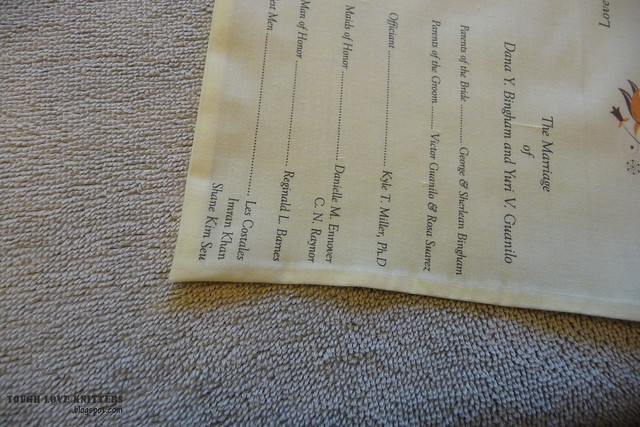
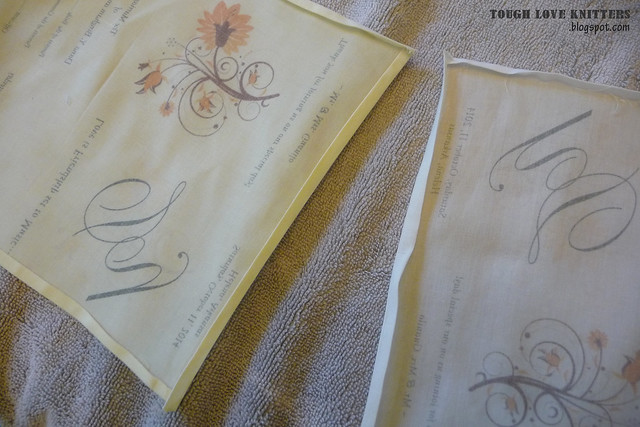
Using one of the extra fabrics (not the one D chose) I cut both the fabric and freezer paper to 8.5x11" and ironed them together. However, the fabric SHRUNK as I ironed it onto the paper! So the paper was 8.5X11, but the fabric was more like 8x10.5". Oops! All the text got on there, but there wasn't enough room to fold and hem nicely.

Lesson: Iron your fabric FIRST to see how it behaves BEFORE ironing onto the paper. Better yet, wash it too. (see below).
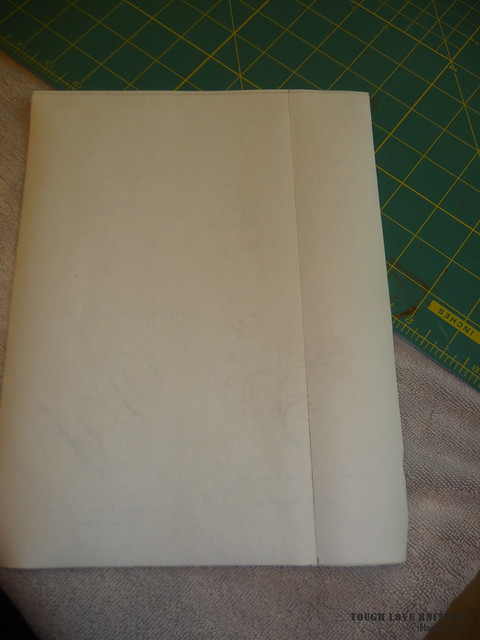
Second: Iron Paper and Fabric together, then Cut.
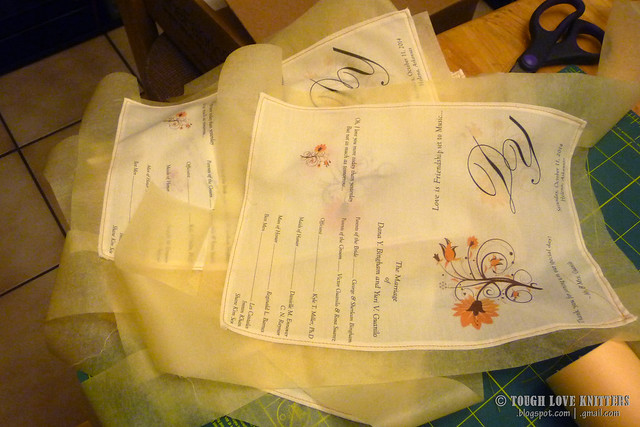
Again, using one of the extra fabrics, I ironed the fabric (and let it shrink), then put a large piece of freezer paper on and ironed them together. Then I measured an 8.5x11" piece and cut out. In this test I also tried out multiple pieces of freezer paper placed side-by-side (to see if I can use the scraps leftover by cutting 8.x*11 pieces). This worked VERY well.
I didn't even have to tape the edges down before sending them through the printer (which is not super annoying to do, but it takes time and the tape makes the edges fray a little).
The multiple pieces worked ok -- there was a little bump and it looks like it got some ink on it, but after taking the paper off and ironing, it's really hard to see. At first I thought it may not be worth the extra hassle of doing this, just to save buying one pack of freezer paper, but then ... see Measuring below.

Third: Wash the fabric, dry, iron, iron paper and fabric together, then Cut.
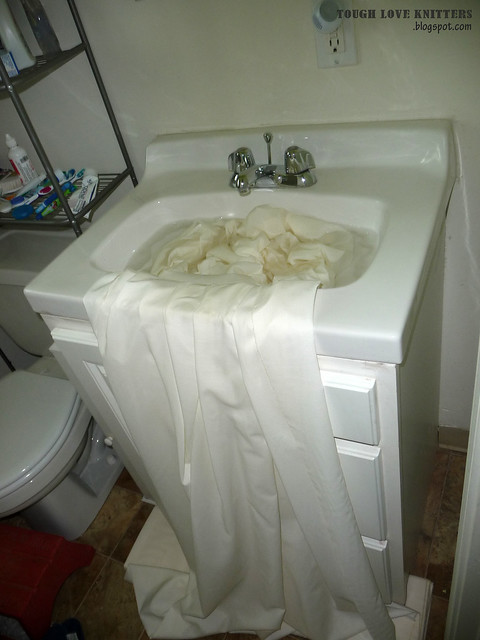
The Rice Cotton is really nice, really soft. But I wondered if it would feel even better after a washing. The site where I bought it says you can machine wash it, but as it had some rough edges, I just hand-washed it in the sink with some wool-lite and let it air dry.

The fabric I washed was noticeably softer, and there was no difference in printing.
And it wasn't a huge deal to wash it. Though washing and hanging 10 yards of fabric in my bathroom might be tricky.
Hemming
News flash, I'm not a good sewer. I routinely sew my fingers to my projects, bleed on my sewing machine, and one of these days I am going to somehow thread my hair into the lower bobbin, I just know it. I was never "trained" in sewing. So I have two problems with this project: 1) corners totally flummox me; 2) I really REALLY don't want to pin 200 of these just to get a nice edge.
Pressing
If I take my time, I think I can press the edges under and I won't need to pin anything. Burning myself, on the other hand, is a major concern. I may need to institute a No Coffee/No Wine, only pre-9pm rule for pressing these edges.
The Rice Imperial does NOT press easily. I was nervous about using steam, as I didn't want to get the ink wet, but without the steam the iron did nothing.
Cotton Tester vs Rice Imperial, no steam
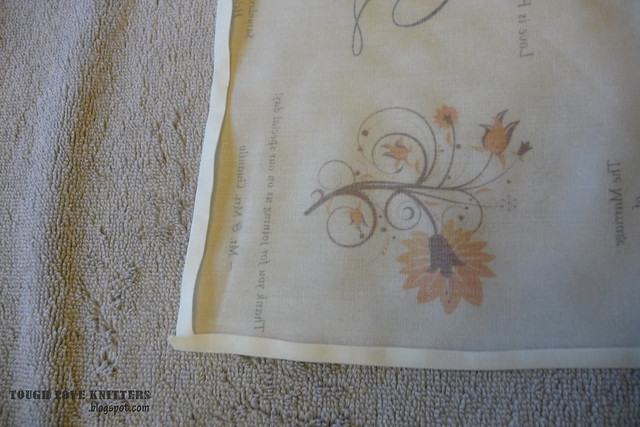
With steam, better, still not great.
Again, I don't want to pin, so some of the online "here's how to make a perfect corner" ideas are not going to work out. I did find this:
http://littlehouseinthesuburbs.com/2008/11/hand-hemstitched-linen-handkerchiefs.html, which says you can just cut the outermost square of each corner, and fold. I think this will work, now that I know I need steam to get the edges to crease.
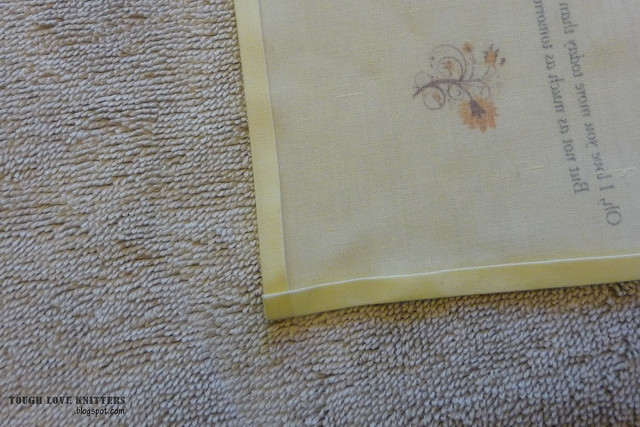
(Note: this is the test cotton, which presses nicely).
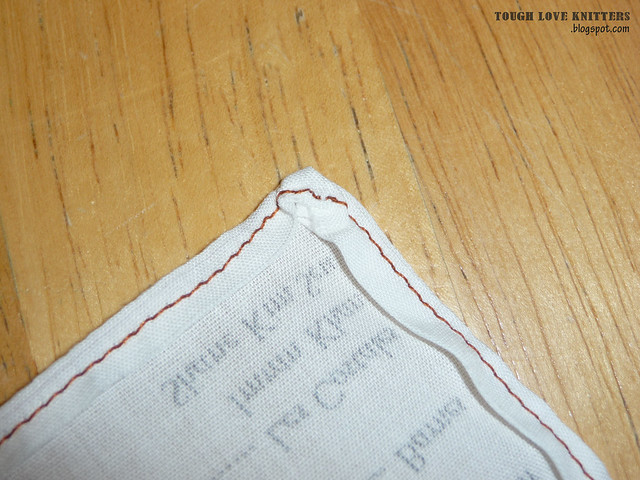
After a few more tries, I think I have found a nice system: Press the "second fold" (the bigger fold) on each side around. Then go back and tuck under the "first fold" on each side, starting in the center and moving left; do the "left side" of each edge around, then go back and press from the center and moving right -- this gives the fabric time to cool off before you tuck the other side. Then cut the square from each corner, and fold and press each corner. Press down the corner with the tip of a metal tapestry needle as you bring down the iron, which creates a nice crease without getting your fingers too close. Turn fabric right-side up and press once more.
Note: After running these through the sewing machine, I figured out that the corners should end up Right-over-Left, so the sewing machine can just go straight to the edge, turn, and then sew over the fold.
Note: After running these through the sewing machine, I figured out that the corners should end up Right-over-Left, so the sewing machine can just go straight to the edge, turn, and then sew over the fold.
This is the part that worries me the most. D wanted a "fancy" stitch, but I think a straight stitch may be better. I don't want a busy stitch to take away from how beautiful these are going to be on their own .... plus, I don't want to eff it up.
I played with a few of my test pieces that I'd pressed before. I swear, I could do anything with that first cotton, the one we're not using. That edge could cut glass (which is WHY we're not using it), so it was so easy to stitch straight. But the Imperial is so delicate, the "fancy" stitches just grabbed and pulled and did NOT look good.
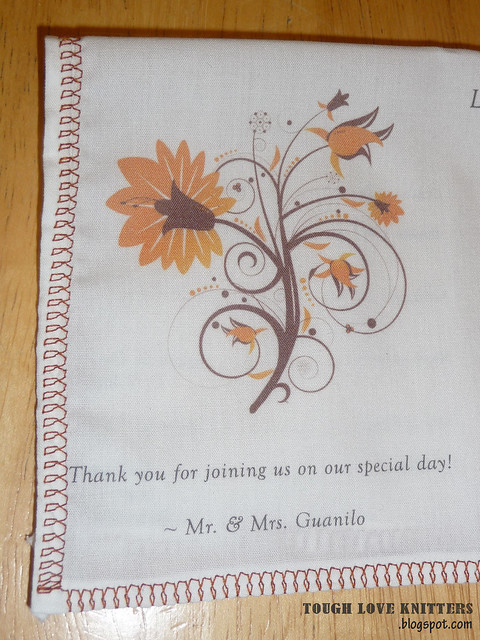
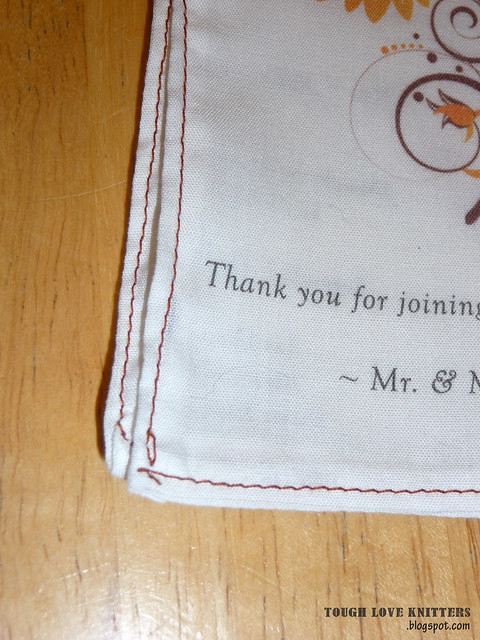
I did a straight stitch and sent a picture to the bride, who agreed it was better. Phew!
The corners got a little funny, because the foot-thing was getting caught on the lump of the corner. Not pulling the fabric down, but not letting the top layer move back along with the bottom layer. I might have to just turn the needle manually on the corners, lifting the foot to make sure it moves correctly. However, only one of the testers had the "good" corner technique, and none of them had the Right-over-Left corner, so that may help dramatically.
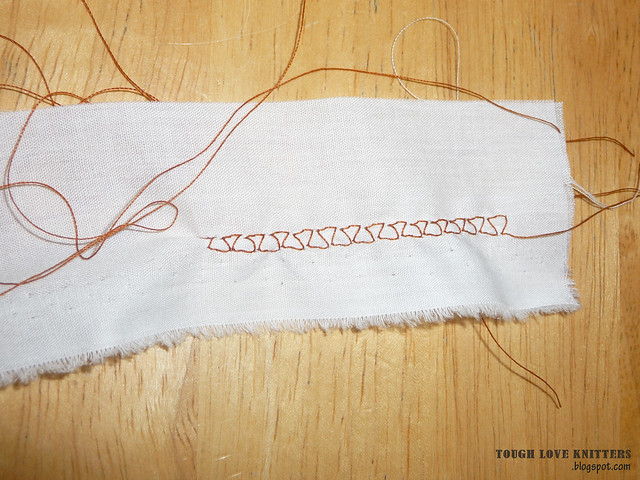
And I need to practice back-stitching cleanly (or lockstitching?) so I don't get this at the beginning/end.
After a little practicing, I got the hang of, you know, sewing straight ... ish. But then I made the mistake of showing it to my dad, who very kindly said, "This is great. I mean, the tension is all wrong, but it's great. I mean, if I were a guest at a wedding and got this, I'd say, 'Aww, how sweet ... the tension is all wrong, but, yeah, sweet.'" Oh dad ...
So I played around, and realized he was right, the back-side of the stitches were all "loopy" and the fabric was very puckered.
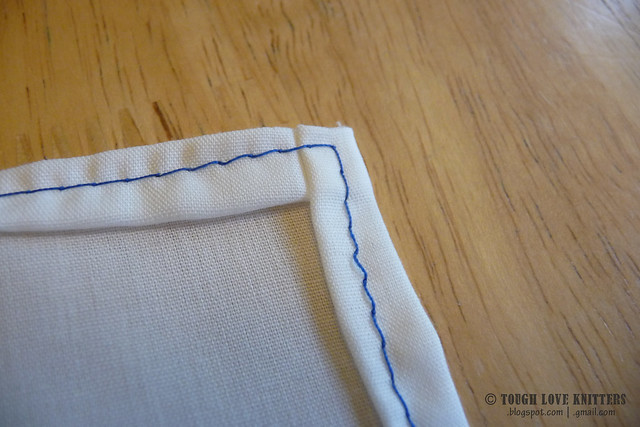
Dad suggested using a stabilizer backing -- a thin piece of paper which keeps the fabric in place and moving nicely through the machine -- and helped me look up how to change the tension on my machine. Some adjustments and a roll of tracing paper later, we had much nicer stitches, and MUCH cleaner corners. The only trick with the paper backing is that it CAN pull a stitch up a little when the paper is removed, so it has to be placed on the BACK of the piece -- so it matters which direction the corners are folded.

Measuring
Fabric
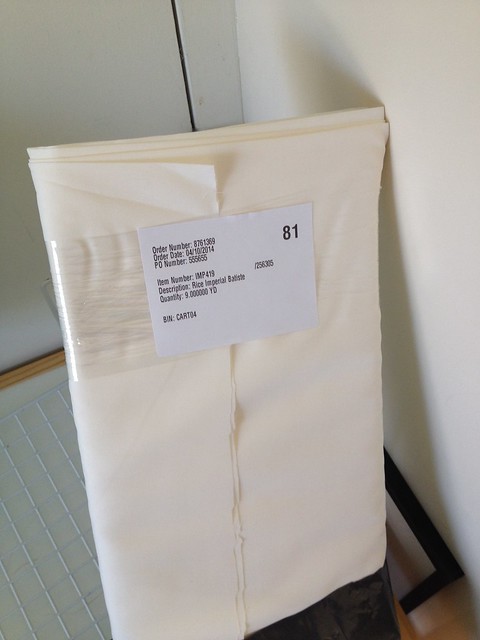
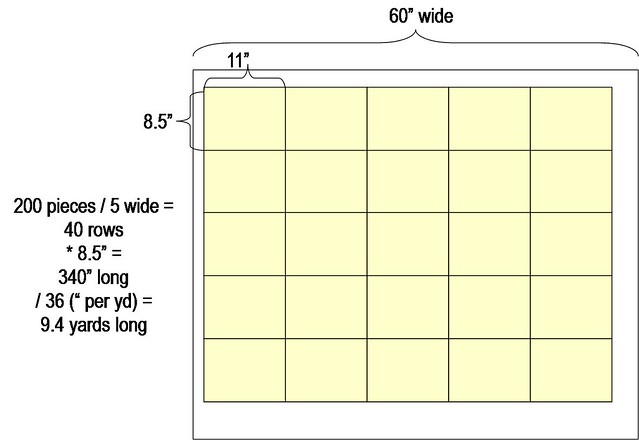
As described earlier, we went with Rice Imperial Cotton Batiste, from OnlineFabricStore.com. It comes 60" wide, which means for 200x 8.5x11"-pieces, we need about 10 yards (5x across (landscape, 11"), times 40x down (8.5") = 340" = 9.4 yards).
HOWEVER!!!! ...
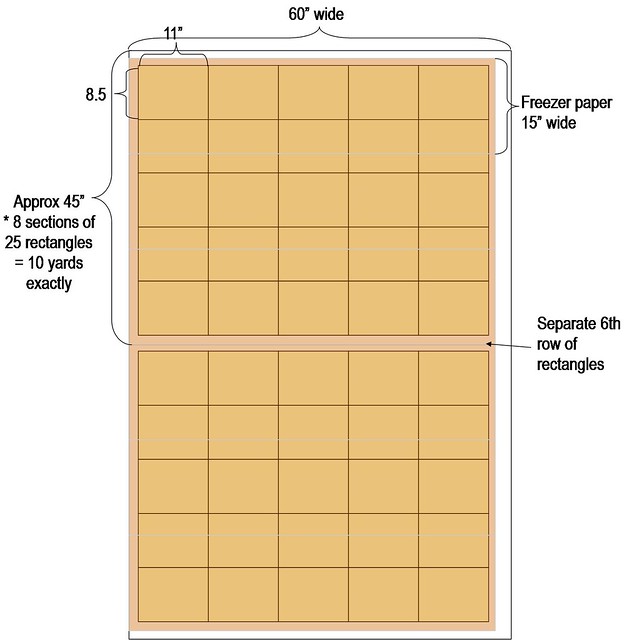
Freezer Paper comes either 15" or 18" wide by 13 or 16 or so yards in each roll (depending on the roll size). When I originally planned my materials, I figured I would cut the paper and cut the fabric to 8.5x11, then iron them together. But now I know that you get a cleaner edge if you iron the paper to the fabric and THEN cut. If your freezer paper is 15" wide and you lay the paper in rows, approximately every other row of rectangles will be made of two sheets of freezer paper. That ends up fine going through the printer (see test above).
However, because the paper is not exactly divisible by 8.5, if you kept this pattern of laying the freezer paper next to itself, you'd eventually get one row of rectangles where 8" or so is on one paper row, and 1/2" or so is on another paper row. That's going to run through the printer very well.
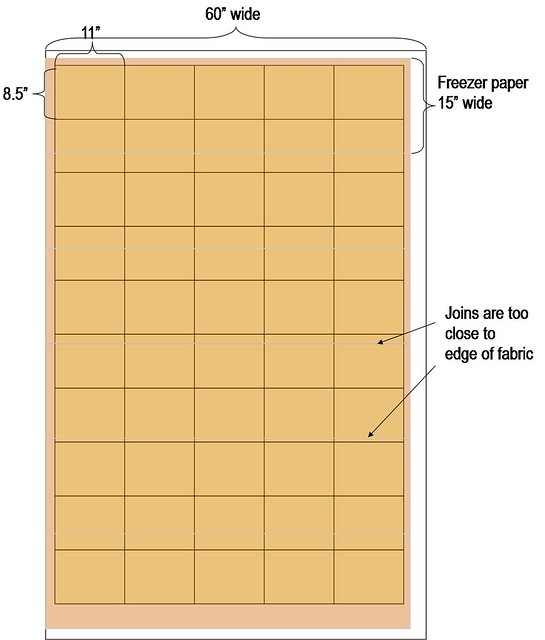
So that row I move down the rectangles a little, basically start the pattern over from the top. However, those few inches means that I'm hitting EXACTLY at 10 yards long ... which is dangerous.
Throw on at least another yard (or 2) for testing, messing up a few, etc.
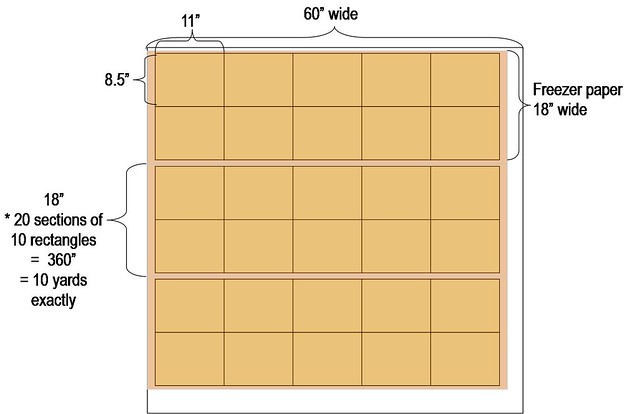
If your freezer paper is 18", then it's a little easier. 18" is just over twice 8.5", so two rows of rectangles fits nicely. If you make 20 rows of paper of 18" paper, that's 360 inches, or 10 yards. So it comes out the same.
Freezer Paper
Freezer paper comes in rolls of 13 1/3 yards (480") or 16 2/3 yards (600"). Using 15" paper, we need 1380" (57.5" x 3 strips x 8 sections) = 38 1/3 yards. That's 2.8 rolls of Freezer paper, so 3 rolls. Big Y / Reynolds doesn't let you buy partial yards of Freezer paper. Using 18" paper, we need 1150" (57.5 x 20 sections) = 32 yards. That's 1.9 rolls, so 2 rolls.
Thread
I have NO IDEA how much thread I'm going to need. I just bought 4 rolls of a beautiful burnt gold color, which will go nicely with the flowers in the print. Hopefully it's enough.
Now that we have everything, Game Plan:
- Hand-wash fabric, hang dry.
- Measure and trace the 8.5x11 rectangles on sheets of 57-57.5" (x 18" wide) freezer paper, which will cover 5 rectangles across (55") and two down (17"), with some paper left on each edge for clean cutting.
- Iron fabric, and iron on Freezer paper, one long sheet at time. Cut rectangles.
- Print (I want to print right away, I don't know if the paper will start to separate from the fabric if I leave it took long). Remove paper backing.
- Repeat a-bagillion more times, until you have 200 prints. Maybe do 1 set per day/night.
- Have a stiff drink.
- Wait for still drink to wear off.
- Press edges of fabric to set hem (batches of 10 or so? work until I hurt myself?)
- Stitch around hem.
- Repeat a-gillion times.
- Fold and Ship (Mother of the Bride wants to do the final ironing).