While trying to figure out a good way to organize my own thread (instead of in a trick-or-treat bin, where it lives right now), I thought of a neat gift idea for my mother and mother-in-law. My MIL finally has her sewing room and is an avid quilter, and my mother is getting back into sewing with a brand new machine.
My own small-space sewing experience brought up an interesting dilemma -- how do you keep the small lower bobbins with their matching thread spools? I had a nice box that I kept some of my spools in,

which had vertical stems which kept the spools from falling over. This kept them upright and easy to see. However, when I tried to keep the lower bobbins on the same stem as the thread, they were too tall and the lid didn't fit on tightly. Want to guess the number of times I accidentally dumped the entire thing the floor?
To the Pins!
Many lovely ideas on the Pinterest, of course.
Peg boards ...
Golf tees ...
Whatever this is ...
This one looked the most promising:
I liked how the bottom bobbins fit right there with the matching spools. The blog shows how she did the chevron pattern on the board. I, of course, took it a step farther.
If you spend enough time on Pinterest, you'll come across this DIY Mirror Frame in various forms.
Basically you take wood trim (for windows, doors, baseboards, etc.) and use it to frame a mirror for a very clean look.
There's also this technique, for making fancy picture frames with the same kind of trim.
I decided I wanted these features in a thread older:
1) Hang it on the wall
2) Long enough nails for the bottom bobbin and the thread spool to sit together
3) Framed in a way that would look clean and decorative when hung on the wall
4) Painted by the kiddo (so it counts as a present from him as well)
5) Not ridiculously expensive
Step 1: Call Dad
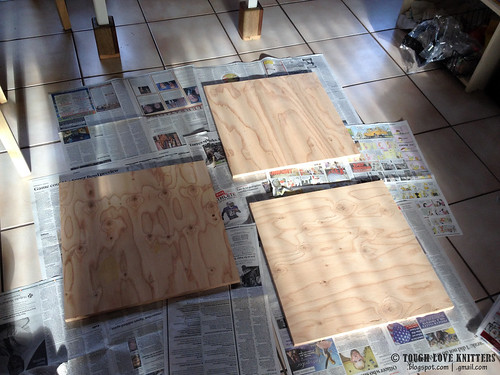
I told him my plan, and he suggested I use sheets of plywood (which he had lying around), and said we could cut things in his workshop over Thanksgiving.
Step 2: Measure
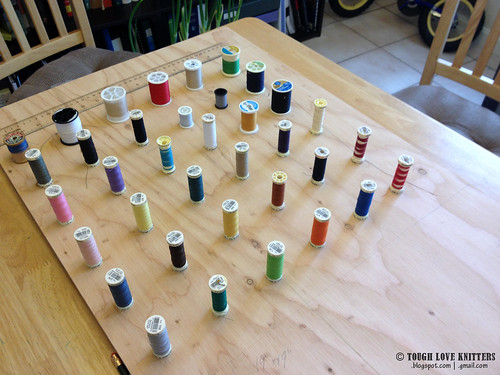
I laid out some spools to see how far apart they should be. I found that a 19x19 piece of wood would fit about 36 spools (with enough room for fat spools too).
I also measured the height of the bobbin and spool, and found I would need 3" or 3 1/4" nails.
Step 3: Trim shopping
I did not have much luck with Home Depot. Some of the stuff was nice, but mad expensive. And the only one that had a really good pattern for a reasonable price was Crown Molding, and its shape would have been pretty tricky to work with.
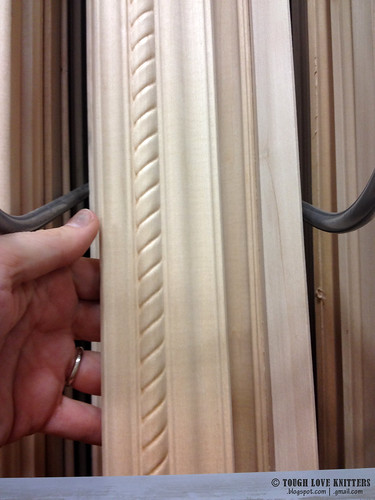
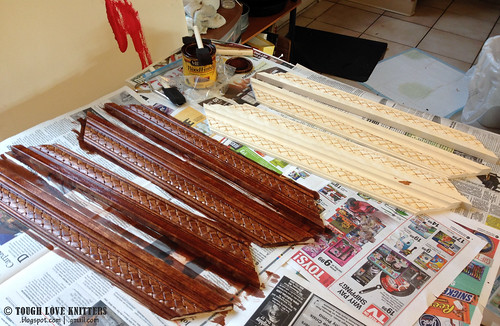
Lowes had a much better selection, including this one, which is PERFECT for a sewing room!
Step 4: Measure and Cut Trim
Over Thanksgiving Dad helped cut each long piece of trim into 4 pieces that fit together in a square. It involved geometry and a circular saw, so I let dad take the lead on this one.
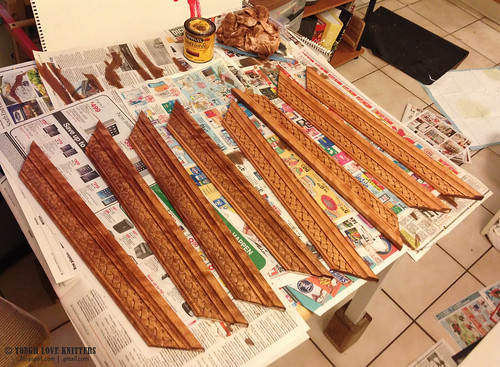
Step 5: Stain Trim
Dad also had some stain lying around.
Step 6: Prime and Paint Boards
I bought some basic Primer to make the boards white before we painted them -- I figured Ro's kid paints would show up better on a primed surface.
(I also had a few canvases that we had been playing with, and I primed over them so they're new and fresh!) The Primed surface looked great! They really looked like canvases -- in fact I kept forgetting they were plywood, and was surprised by their weight when I picked them up!
Step 7: Seal Trim and Boards
Dad gave me some Polyurethane for the trim to seal in the stain.
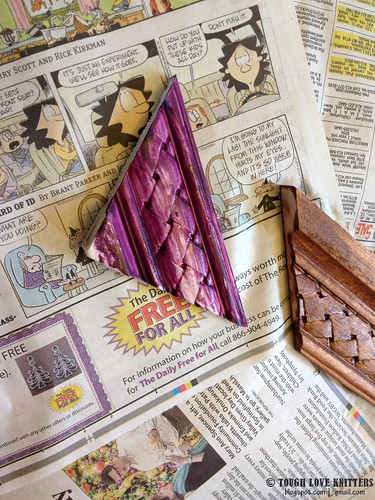
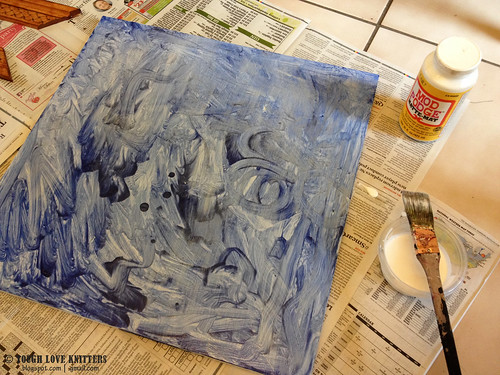
I also tested it on the kid paint, to see if it would seal it. However it was too wet, and sort of washed away the paint instead of sealing it in.
Mod Podge actually worked a lot better, and gave it a little shine.
Step 8: Glue Trim
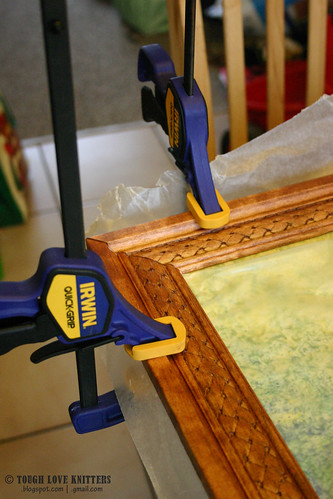
Fancy people have special right-angle corner clamps to glue corners. I don't. Using wood glue, I just pressed the edges together and clamped them to the board to keep them sturdy.
Then I glued the trim to the boards, clamped two corners (because I only had two clamps), and used books for the other corners.
Step 9: Attach Wall Hangers
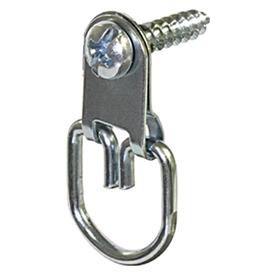
I used two D-Ring Picture Frame Hangers screwed into the back of the board.
Step 10: Nail
I nailed brads through the trim into the board to keep it secure.
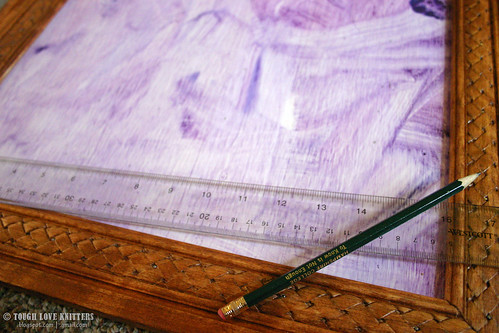
Then I measured and marked where the big nails would go. Mine ended up 2.25" inches apart.
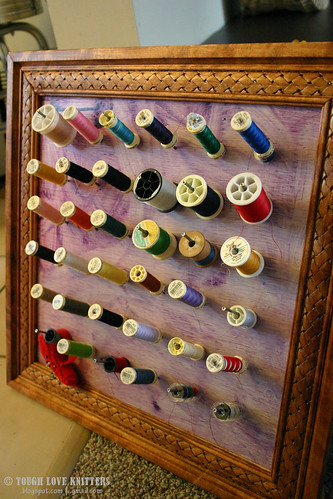
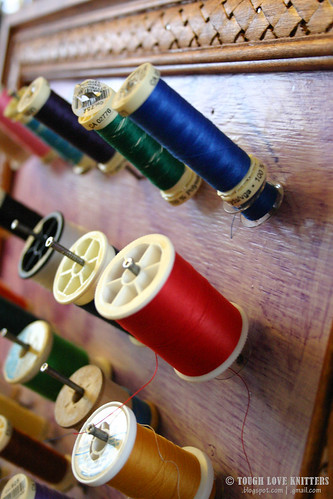
I nailed the 3" nails at an angle so the spools wouldn't fall off when the board was hung on the wall (I couldn't find 3.25" nails that were thin enough for thread spools, but the 3" work ok).
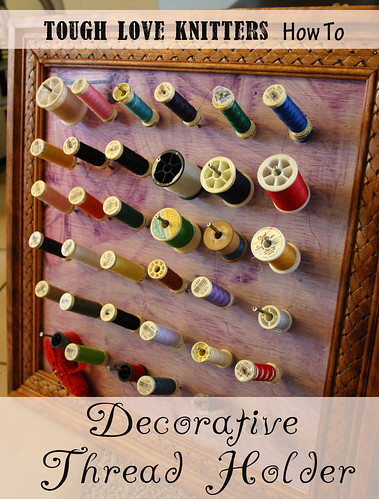
Finally, add your thread spools and hang on the wall!
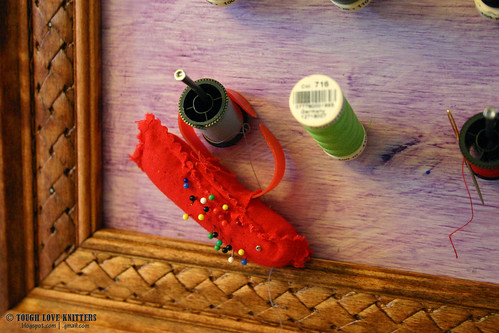
You can also hang frequently needed supplies, like your pin cushion or scissors.














0 comments:
Post a Comment