
So, um, I've been a little busy lately.

Aside from growing a human being, I've been working hard at ALL my other jobs, one of which is with a non-profit that provides free postpartum support for families in the Hilltowns of Western Massachusetts. One of our services is the Village Closet, a donation site for baby items -- clothes, car-seats, swings, toys, diapers, anything you could need. We have a whole WALL of cloth diapers. One of our volunteers spent the day sorting through and organizing all of them, and left us with a bag of "un-suitable" pre-folds -- they are worn out and torn up. She said they might be good for "a craft project", so of course I couldn't throw them out.
Pinterest has plenty of ideas for how to use cloth diaper as burp cloths, but most of them involve purchasing new "cloth diapers" at Target and sewing on a nice border or panel.


The ones I have are not really nice enough to be saved by a simple border -- they need to be covered up completely. But since they're actual cloth diapers (not the fake ones from Target), even torn up they should be pretty absorbent.

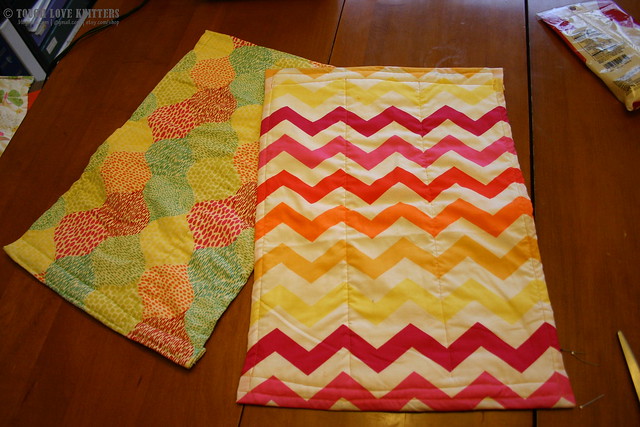
I had some leftover fabric from another project, so I played around and found a really easy, but very slick-looking way to cover up the diapers and make some nice, big, absorbent burp cloths/changing pads/lap pads.
Materials:
- a real* prefold cloth diaper -- about 12x18". The idea here is you're using an old junky one that's been washed and washed, so it's not going to shrink any more. *The ones from target are fine, but won't be as absorbent as real ones.
- 2x pieces of Cotton Fabric, 16x24" - one solid color, and one either complementary solid color or patterned. If your diapers are a different size, I just cut the fabric 2" more on each side, and 4" more on the top and bottom than the size of the diaper.
- Matching/Contrasting colored thread
Other:
- Pins
- Iron
- Ruler and/or cutting mat
- Rotary Cutter or scissors
- Pencil
Instructions:
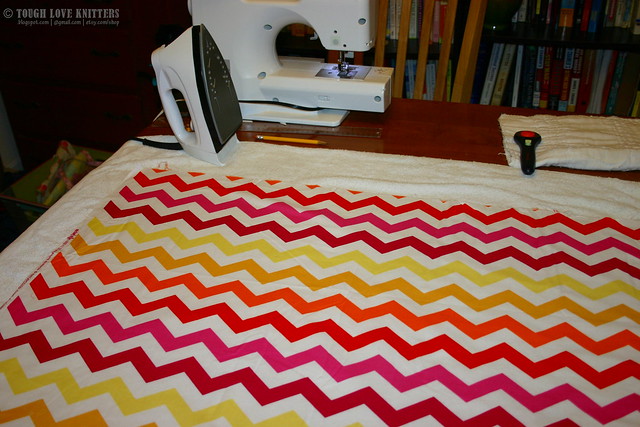
Wash, dry, and iron fabric, and iron the diaper as flat as possible.
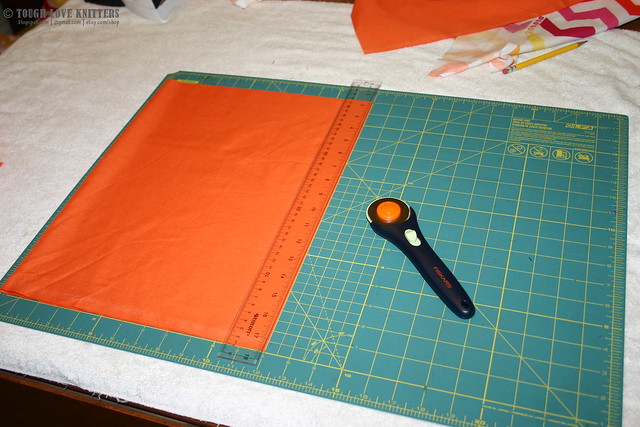
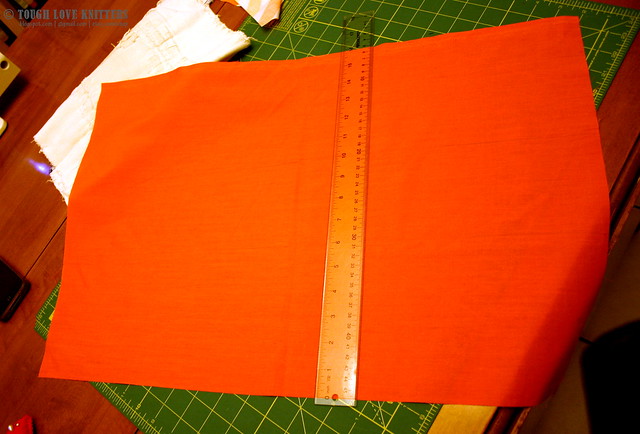
Cut fabric into 16x24" rectangles.
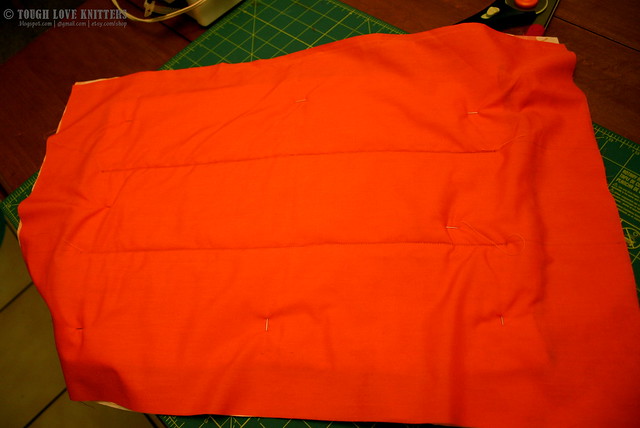
On the RIGHT side (as opposed to the WRONG side) of one of the rectangles, use a pencil or chalk and draw two straight lines down at 6" from each side.
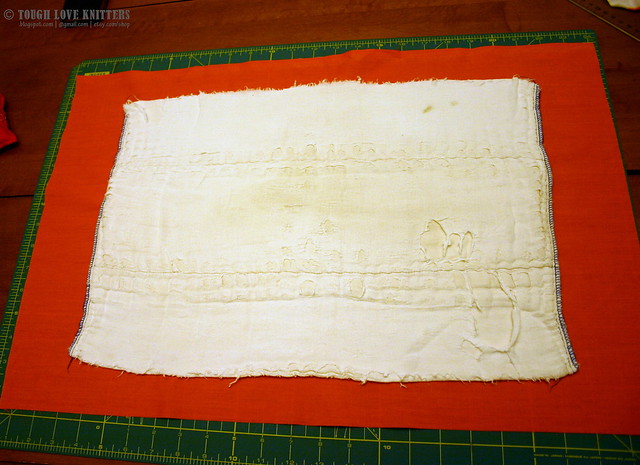
Place one piece of fabric right side down, and place diaper in the middle of it. Try to center it as much as possible -- 2" from each side, and 3-4" from top and bottom. Place the other piece of fabric right side up on top and pin all three pieces together.
Starting at about 1" down from the top of the diaper, sew a line down each penciled line, ending about 1" before the bottom of the diaper.
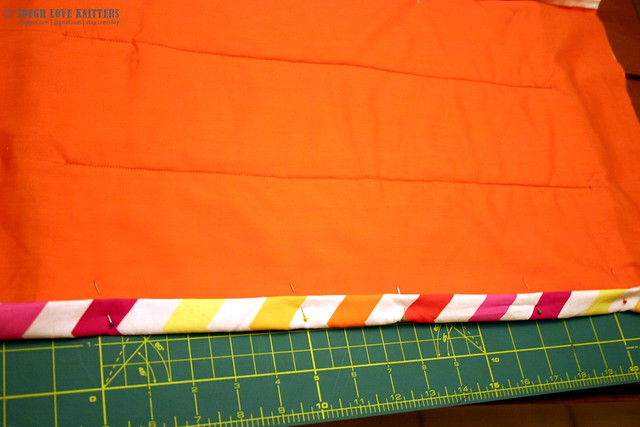
With Solid side up, fold sides in and over and pin to create a 1" hem. Sew down sides, starting at about 1" down from the top of the diaper and ending about 1" before the bottom of the diaper.
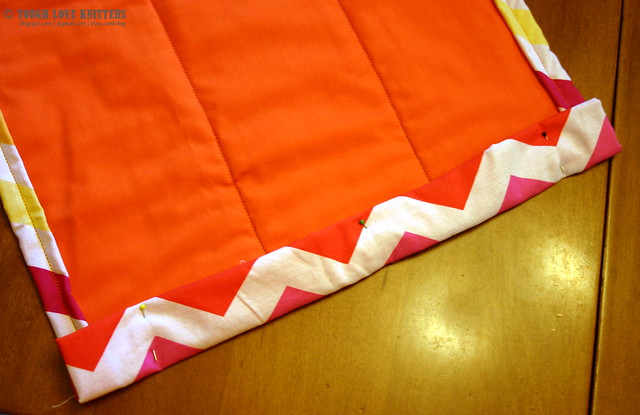
With Solid side up, fold top and bottom in and over and pin to create a 2" hem. You may have to trim some of the excess fabric to get it so lie flat. Following the lines from the edge hem, sew around the top and bottom hems.
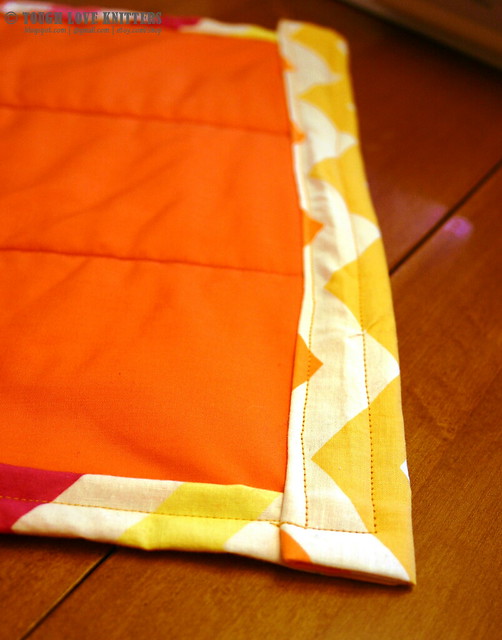
Trim threads, and gift to a new mama who has NO IDEA how many times she's about to puked on. Machine Wash and Dry.


2 comments:
Oh this project makes me want to dig out my sewing machine from the basement! So easy and useful and PRETTY!!!
That is cool! I know a few folks with new ones, I might have to try my hand at sewing this. I think even my beginner skills might handle it...
Cat
Post a Comment