I've finally opened an Etsy shop. Only two things in it so far, but it's a start.
Monday, January 27, 2014
Etsy Shop
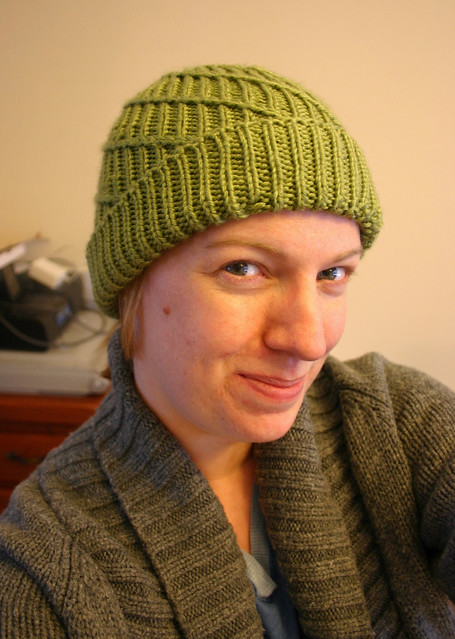
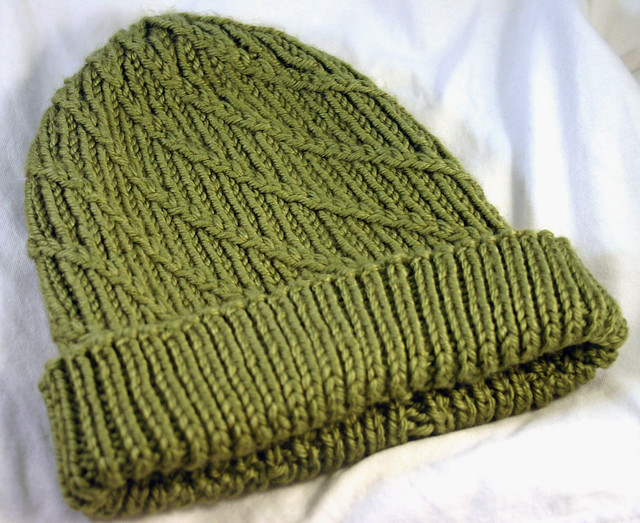
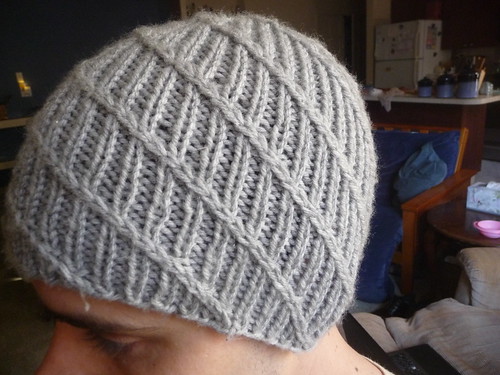
Spiral Ribbed Hat
**UPDATE -- I am so amazed and honored that SO MANY people have come to this page (almost 3,000 at this time), viewed my pattern, and actually USED it to make hats! I feel like a ROCK STAR!!! With so many people coming read this, if you come across any typos and ways that something could be explained more clearly, please leave a comment below. Happy knitting!!!**
Size: Adult female, about 22" around (more sizes coming someday ... if you want to figure out the math and just tell me, I'll give you a shout-out!)
Materials:
16" Size 6 circular needles
4x Size 6 double-pointed needles
About 140-160 yards (80-85) grams Worsted Weight yarn
Gauge:
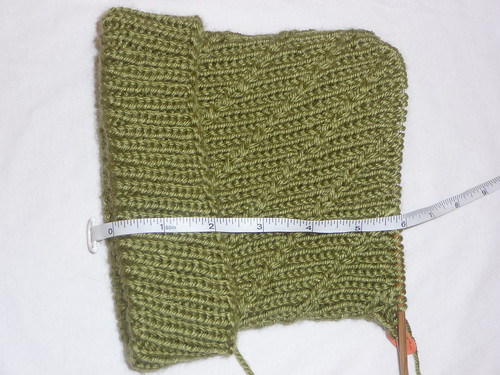
(gauge is measured over the brim rib, with the rib relaxed, NOT stretched).
6.5 Stitches = 1 inch
7 Rows = 1 inch
Terms:
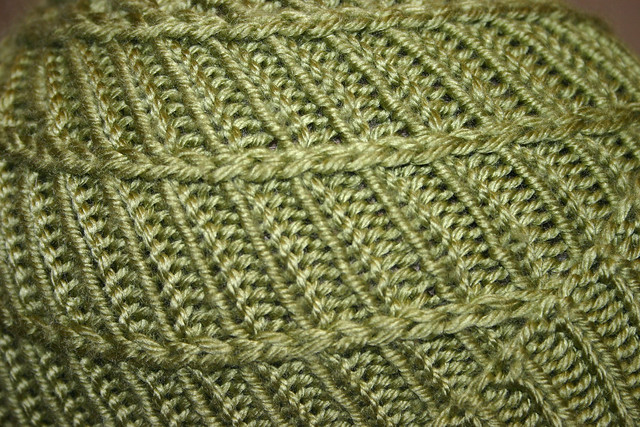
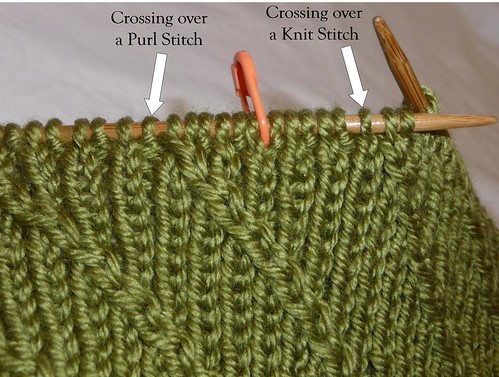
Slant Left: Insert right needle into the second stitch on the left needle (this is "Stitch #1) BEHIND the first stitch (this is the "Slant Stitch"). Slip both Stitch #1 and the Slant Stitch off the needle. Slip the Slant Stitch back onto the left needle, then slip Stich #1 back into the left needle. Knit or purl that st (according to rib) and then knit the slant stitch. The stitches are now flipped, with the Slant Stitch passing in front of Stitch #1, and will look like a cable slanting to the left.
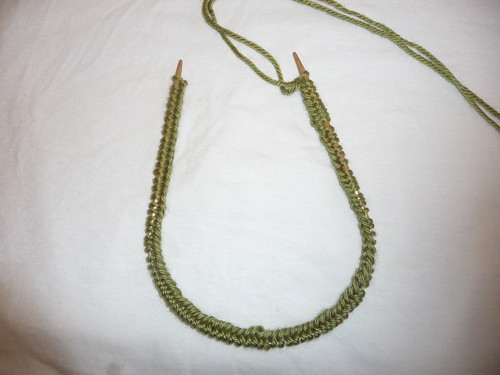
On circular needles, cast on 100 st (I like the Rib Cable Cast-On for ribbed hats). Place marker and join (be sure to not twist the stitches).
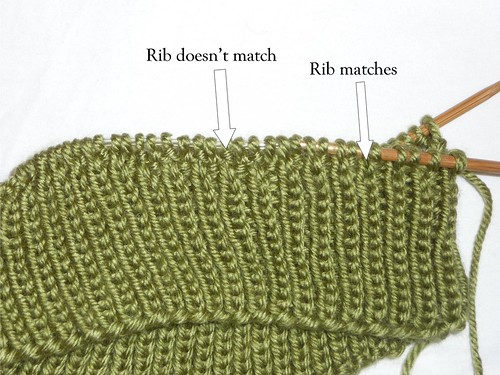
Rib [K1, P1] around for about 2.5 inches, or the desired length of brim. End last round at marker.
Set up for spiral:
K1, SSK, [p1, k1] for 9 st, *[k2, (p1, k1) for 9 st] rep from * around to marker (99 st).
Begin spiral:
K1, Slant Left, rib for 9 st (follow the rib established in the previous round), *[Slant left, rib for 9 st], repeat from * around, always following the rib from the previous round (which will change from k1p1 to p1k1 every other round.
Continue pattern until hat measures about 6" from turn up, ending before one st before the first slant of a new round (the slant that changes from crossing a knit st to crossing a purl st).
Note: the decrease st will follow the rib pattern. We will decrease the st that crosses BEHIND the slant st, so the decrease will happen BEFORE the slant. Because decreasing stitches changes the rib pattern, AND because slanting changes the rib pattern, AND because we decrease every other round for hats, this decease is worked in sets of 4 rounds.
Decrease Round A:
(the previous round ended one st before the Slant Stitch)
Slip st knit-wise onto right needle (this is "Stitch #1")
Insert right needle into the second st (this is "Stitch #2) on the left needle BEHIND the Slant stitch. Slip both Stitch #2 and the Slant stitch off the needle. Slip the Slant Stitch back onto the left needle, but leave Stitch #2 on the right needle. Insert left needle into the front of Stitch #2 and Stitch #1 (both on the right needle), and k2tog through back loop. This acts like a SSK decrease (which slants left, along with our slant).
Continue rib until 1 st before next slant.
Repeat around, ending at first slant of next round.
Decrease Round B (no decrease):
Slant left, making sure to continue the rib established on the right needle (which is different from the rib established in the previous round; in this round, we PURL the stitch that was crossed over).
Decrease Round C:
Slip st purl-wise onto the right needle (this is "Stitch #1"). Insert right needle into the second st in the left needle (this is Stitch #2) BEHIND the slanted stitch. Slip both the Stitch #2 and the slanted stitch off the needle. Slip the slanted stitch back onto the left needle. Insert left needle into the back of Stitch #2 and Stitch #1 (both on the right needle), then p2tog.
Continue rib until 1 st before next slant.
Repeat around, end at first slant of next round.
Decrease Round D (no decrease):
Repeat rows A, B, C, and D (make sure you keep track of which row you're on, in case you put it down and forget). Switch to double-pointed needles when there are too few stitches for the circular needles (about 54 st).
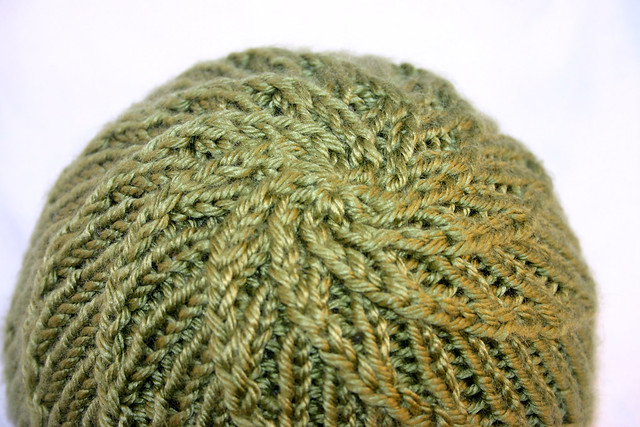
Repeat rows until there are 18 st left, ending at first slant of next round.
SSK around (9 st)
Cut yarn leaving a tail. Thread tail through remaining st and pull tight.
-----------------------------
Don't have time to knit this awesome hat? Want to just buy it? ;)
Hope you enjoy! If you find any errors or typos, please leave a comment.
Saturday, January 25, 2014
Finger Painting as Home Decor
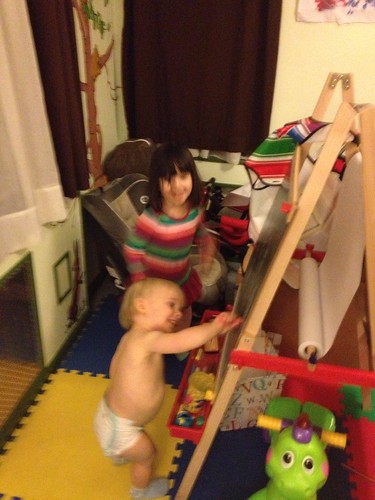
Ok, not all of them were finger paints. He actually uses the brushes pretty well.
Toddler paintings were a big part of our Christmas gift plan, as we were on a serious budget. Inspired by "As Time Flies" and Pinterest, we made a bunch of really cute paintings as gifts (and home decoration).
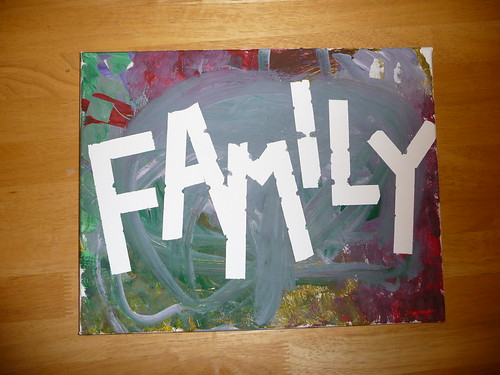
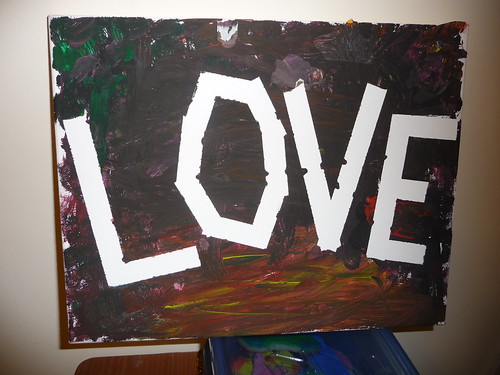
First we tried the Scotch Tape Words painting.
Canvas from Michaels (thank you 20% off coupon! Always check their site before you go. You can keep the coupon on your phone and just show it at checkout. Boom. Discount.)
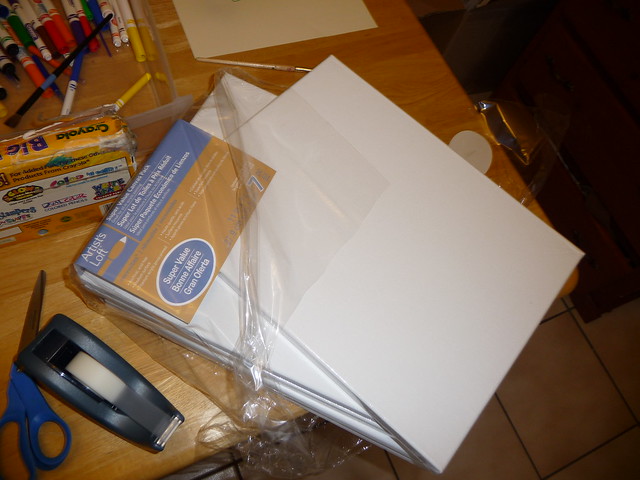
Place scotch tape (or whatever tape you have, I guess) on the canvas in the shape of letters.
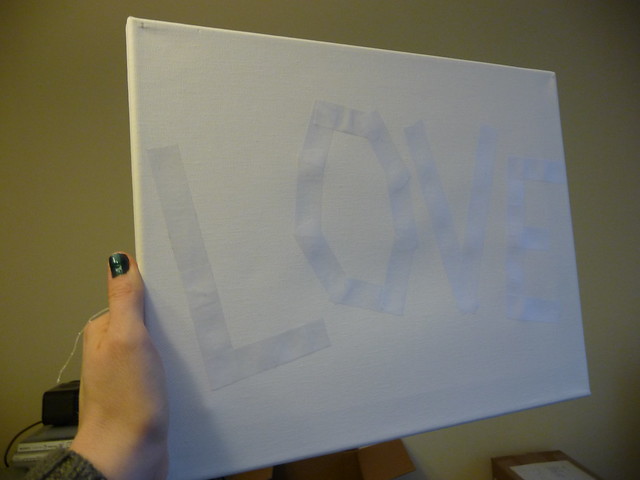
Then paint to your toddler's heart's content.
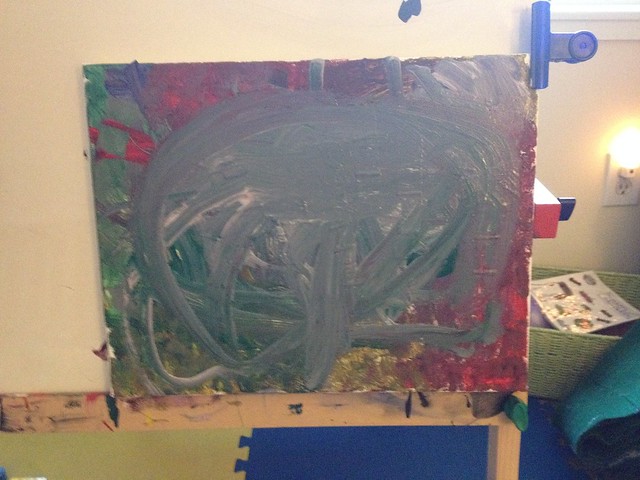
When dry, peel off the tape.
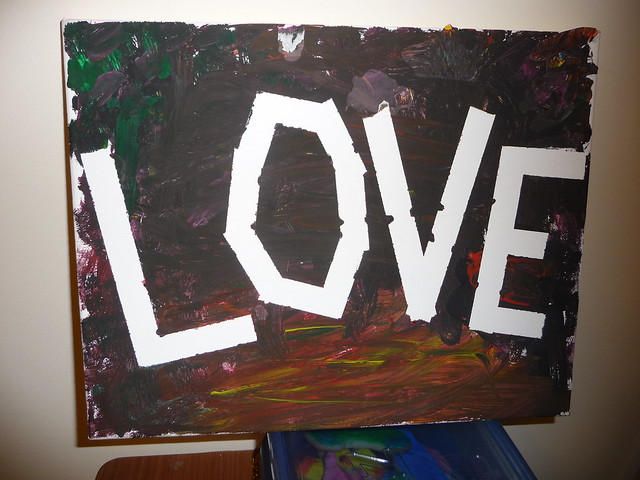
Rinse (brushes) and repeat.
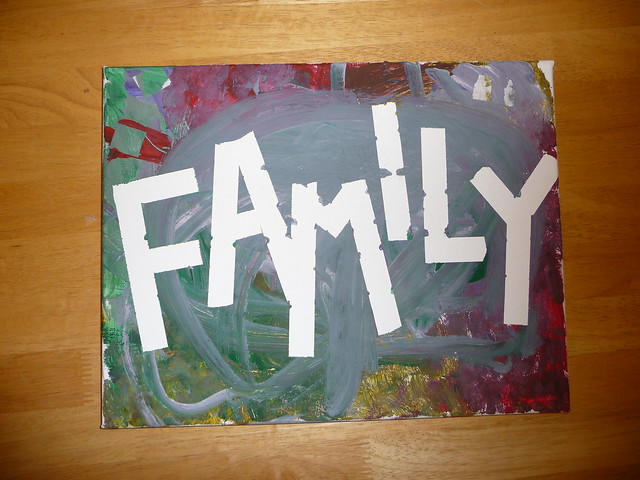
Here we played with stickers, creating some fun shapes of different colors.
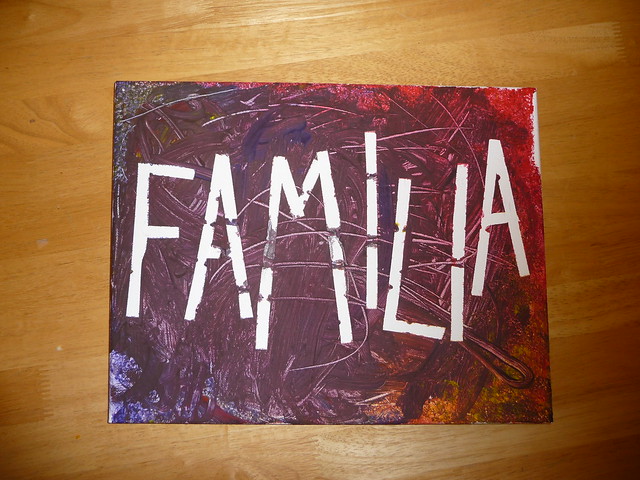
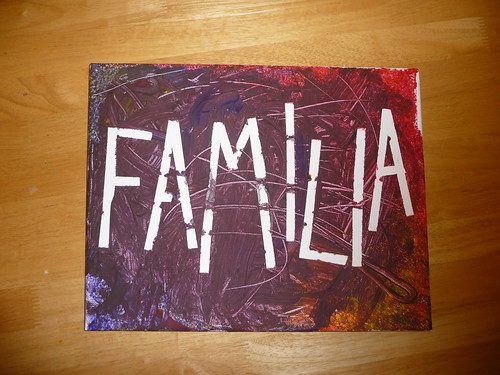
Here we played with texture -- sponges and a broken piece of something for scraping -- and language. I also cut the tape in half length-wise to create thinner lines (to make room for the longer word).
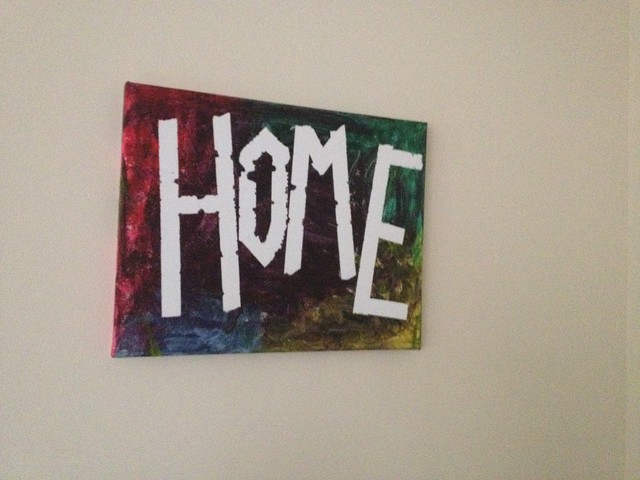
Next we tried the Cute Painted Phrase or Something on top of Toddler Painting painting.
(There were 7 canvases in the pack from Michaels, so we really had some fun!)
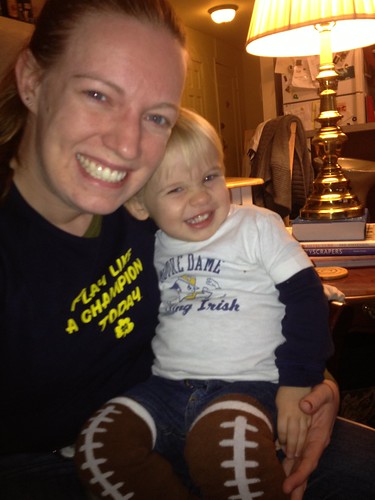
Paint. Kiddo really loves to add Black and White to his paintings, meaning they become muddy gray messes. I forced him to use brighter colors for this one (including Blue and Yellow, Go Irish).
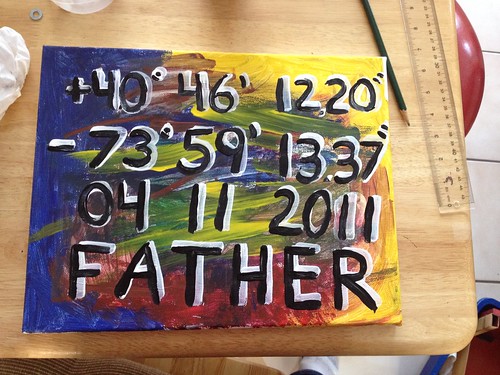
Then I used Black and White paint to write the coordinates of where Ro was born. Awww. Adorable, I know.
I was going for something like this:

I now realize my handwriting doesn't get any better when you put a paint brush in my hand.

Still cute, and my engineer husband appreciated the nerdiness.
And finally, and Inspirational Text on Canvas painting.
I knew that I could overcome the handwriting issue somehow. TO THE PINS!!!
Found this, within seconds.
http://pezzysplace.blogspot.com/2013/06/text-on-canvas-tutorial.html
and it was exactly what I was looking for.
First, of course, you paint. Thins one actually had some fingers in it.

Next, you make the text in a word document (I used MS Publisher, because I love it and I'm a rebel).
Print it out, cut out the words and arrange them on your canvas.

Rub the backside of the words with a pencil until it's covered with graphite.
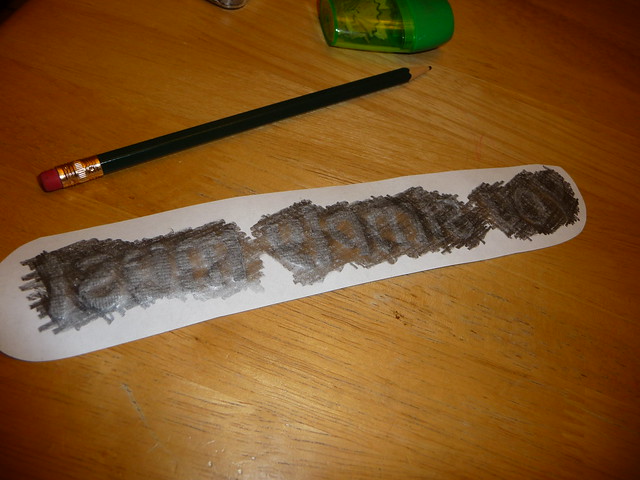
Place the paper back on the canvas and color in the letters on the right side of the paper (press down really hard).
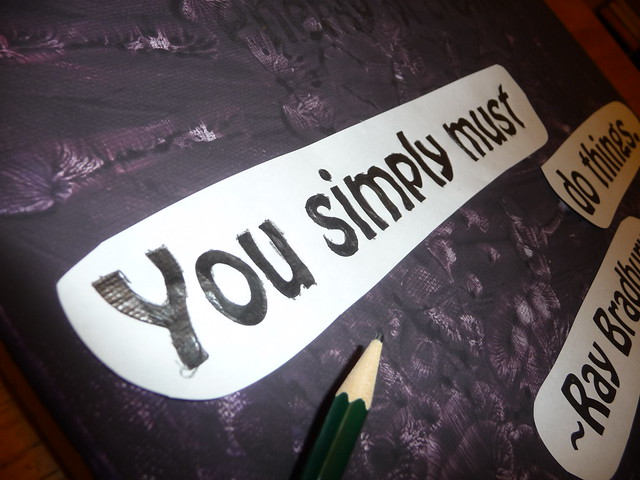
The graphite on the back will transfer to the canvas in very neat letters.

Then trace the letters with a marker or paint.
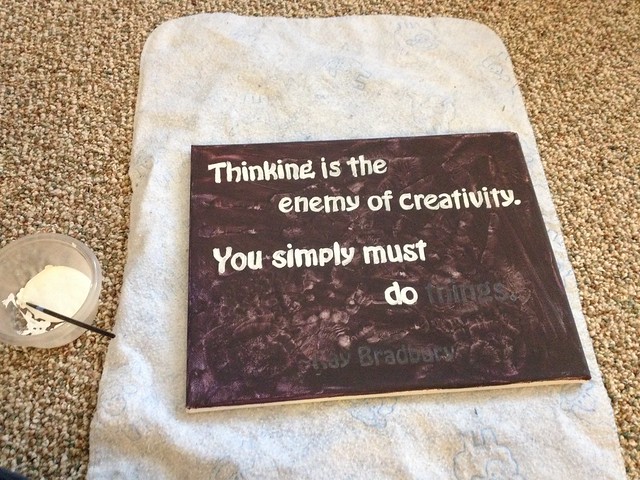
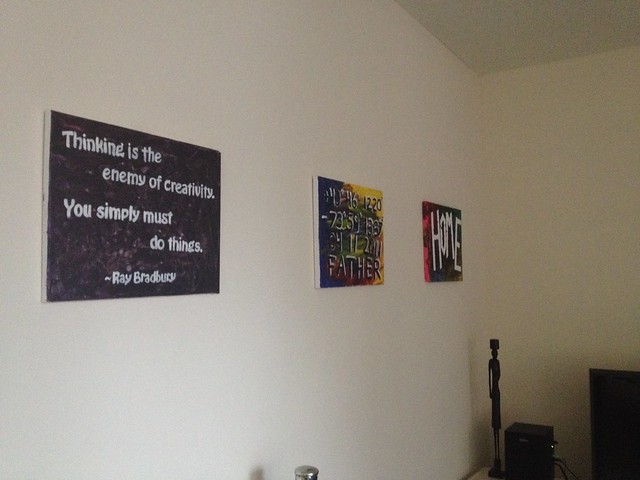
Finally, give away and/or decorate your home with your new, cheap creations. People will think you are adorable and crafty.

Posted by Mollie Hartford at 3:37 PM 0 comments
Labels: apartment, decorating, finger painting, gifts, painting
Thursday, January 16, 2014
Holiday Gift Roundup
My holiday gifts did not go quite as I had planned. Who would've thought that uprooting my entire life would have gotten in the way of my hobby?!
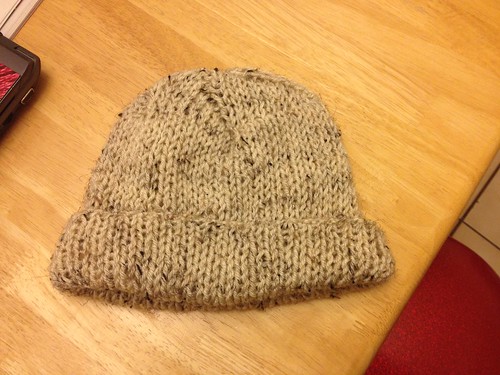
Dad's Fisherman's Rib Hat.
Pros:
It's super squishy and really warm.
Cons:
It's sort of big and used A LOT of yarn.
Because I did it in the round, there is a seam where I switched from K1b to P1b. While this does hold the two layers of the hat together, the tension got a little weird around that spot and it sort of looks like there's a hole.
The decreases aren't as fancy as I wanted. Problem: the Brioche Stitch (Fisherman's Rib) can be done two ways ... either you Yarn Over on one row and then decrease on the next row, or you knit or purl into the previous row's stitch. It ends up looking the same, and because I was doing it in the round, it made sense to just knit into the previous row on every row (alternating between knitting below and purling below). However, all the decrease instructions I found used the Yarn Over technique. So I just ended up doing a SSK with three stitches at a time, slipping the stitch below just as would have knitted the stitch below. I did this every other row; on alternating rows, I did a normal purl stitch below. It turned out ok, maybe a little sharper than normal because I was decreasing 2 stitches every other row, instead of decreasing 1. But it was so squishy that I don't think it mattered.
(also, again, I can't seem to find the good pictures. I KNOW I took pictures with the good camera, and now I don't know where they went. Grrr.)
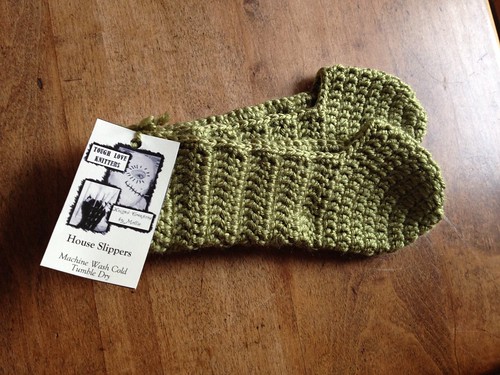
Mom C's House Slippers
Mom was actually the only one to receive slippers. I ended up not having enough time for the other ladies in my life, though I promised that they would get them eventually.
Jess's Spiral Rib Hat
This turned out really good. (The one in the picture is actually my test version of this; Jess's version had a brim). I'm going to do a pattern post for it as soon as I take some tutorial pictures of the stitch.
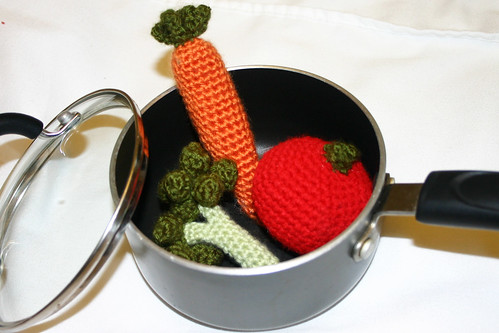
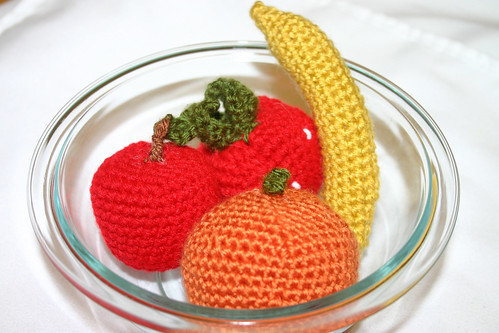
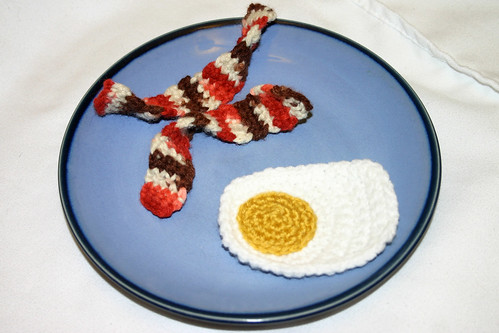
Eleanor's Play Food
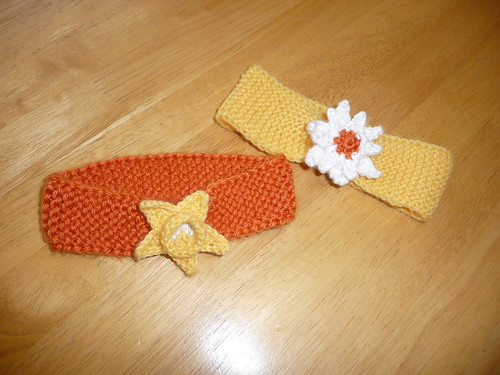
Emily and Zoe's Headbands
These came out really cute. I hope they like them. (I didn't end up finishing the Lattice Garden Scarf like I had intended, but at least I got to use some of the flower patterns I found).
Finger Paintings
(Credit goes here)
For the Grandparents,
Uncle Josh and Tia Wendy,
and Daddy.
Coloring Books for the kiddos
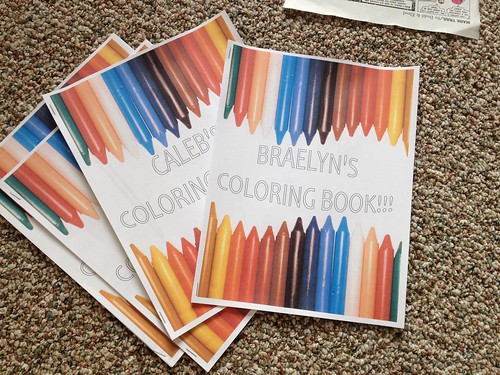
I took pictures from their parents' Facebook pages and turned them into coloring pages. (Tutorial here)
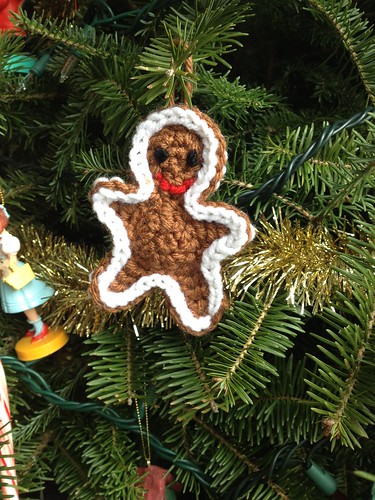
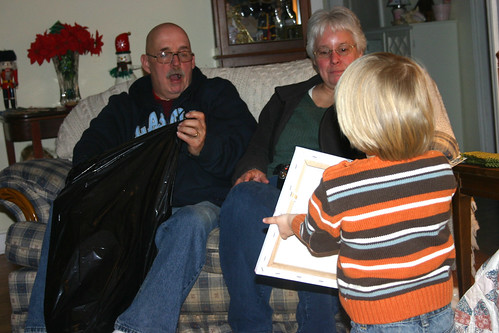
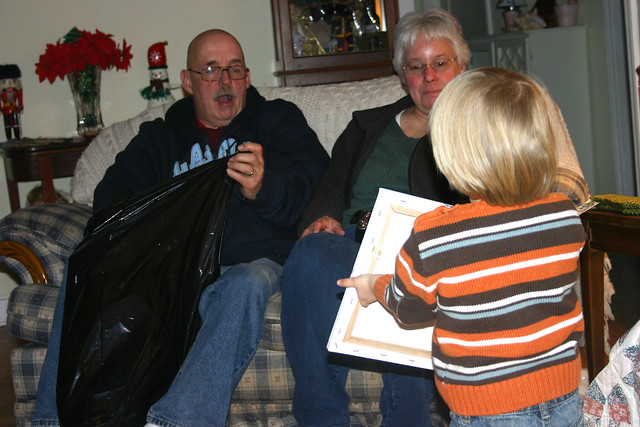
Chris made Gingerbread Coffee Syrup for all the coffee drinkers in the family. It was a great idea, until Rowan decided to hand out presents.
And a little something for myself ...
Post-Christmas Rush gifts for Rowan, Gipper, and Chris will follow. Ro needs a new hat, Gipper a new sweater, and Chris asked for a red scarf.

Posted by Mollie Hartford at 9:45 AM 1 comments
Labels: amigurumi, christmas, coloring book, finger painting, food, gifts, hat, headband, ornament, painting, slippers
Thursday, January 9, 2014
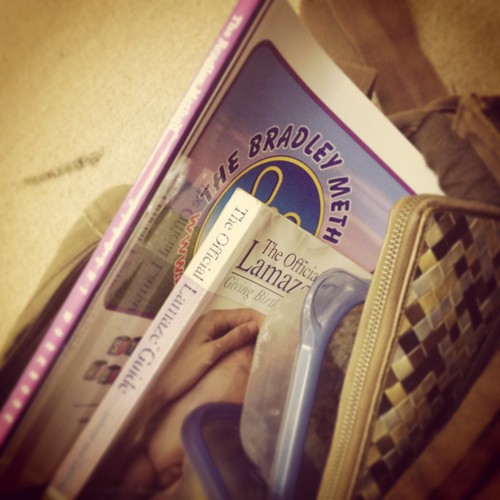
Childbirth Classes
In other news, this is real.
http://craftedbirth.blogspot.com/2014/01/childbirth-classes-in-northampton.html
Monday, January 6, 2014
2013, In Review
January
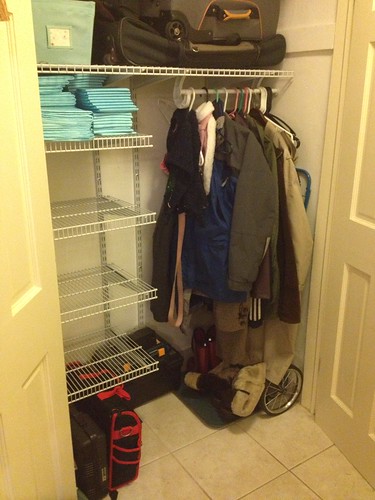
We begin the new year with our annual Clean and Organize-a-thon. I cleared out a ton from my craft corner, gave away several bags of clothes, and Chris gutted our hall closet and installed new shelves. YEA!
Before:
After:
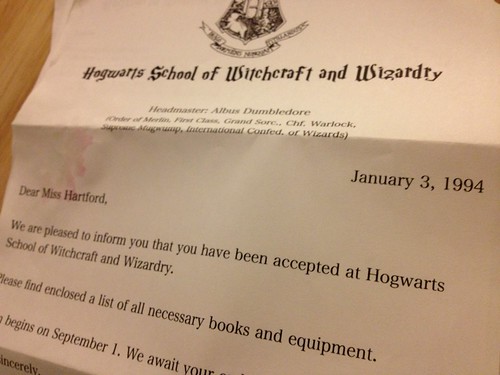
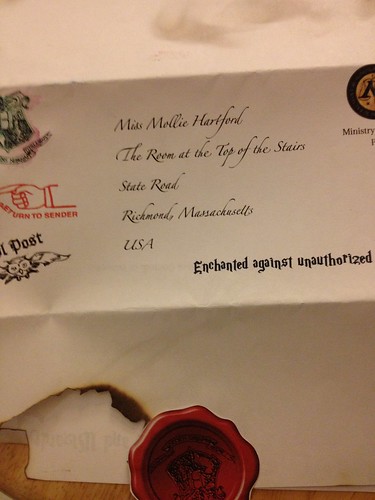
For my birthday I got a long overdue letter from Hogwarts.
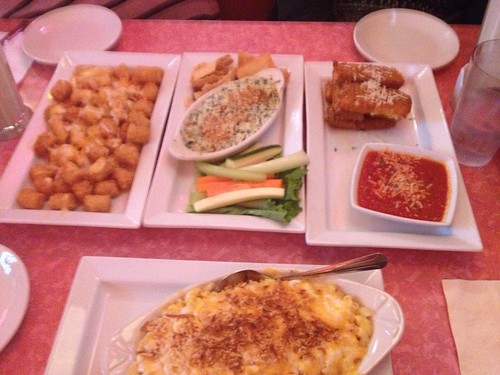
Had a great birthday dinner at Big Daddy's with Stephanie and Emily!
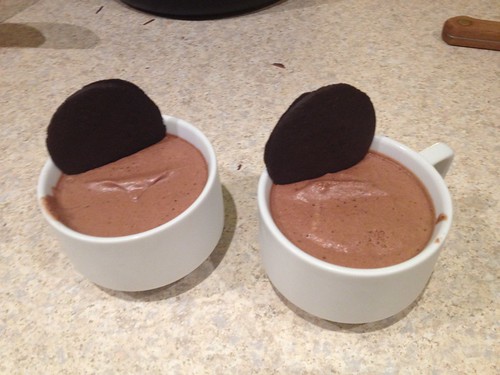
And Chris made me a yummy birthday dessert.
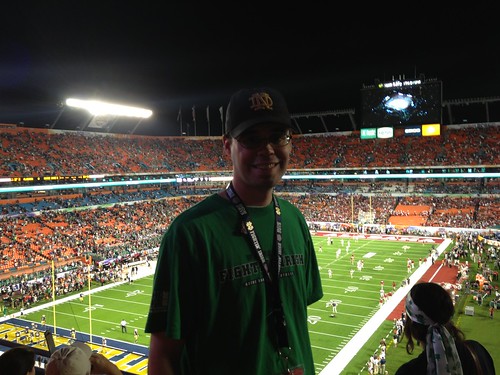
He was trying to butter me up because right after that he left for Miami all by himself. Notre Dame played in the National Championship and we were good little fans and let daddy go.
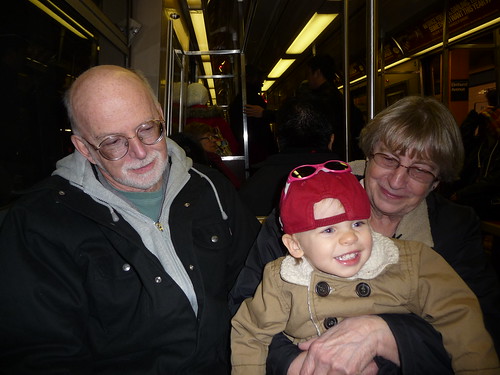
We had some fun with Gramma and Grampy at the train show at Grand Central.
In less-fun news, I was diagnosed with Graves Disease (over-active thyroid) and started treatment.
February
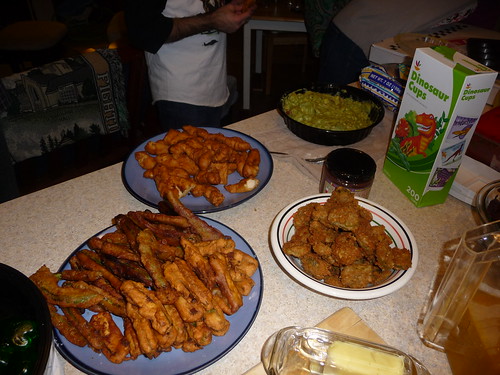
We had our annual Super Bowl Party! This year's theme: Momma needs a drink! Beer-battered chicken and zucchini fries, Vodka Penne, Rum Cake, Jello Shots, and lots and lots of liquor.
Ro had fun with his little friends!
We had a fun snowstorm hit in February.
March
In March we said goodbye to Stephanie Jacks! She moved back to Texas so we spent a few weeks going out to her favorite local eats!
Good Friday Ro came to work with me. And by "came to work with", I mean I brought him to backup daycare and he cried non-stop until I came to pick him up and bring him back to the office.
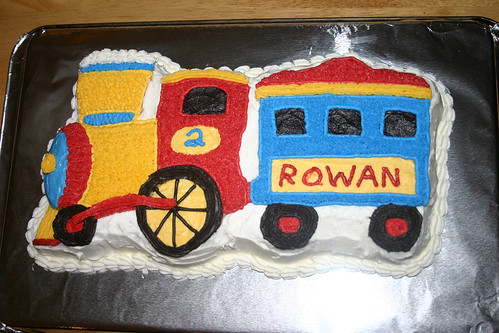
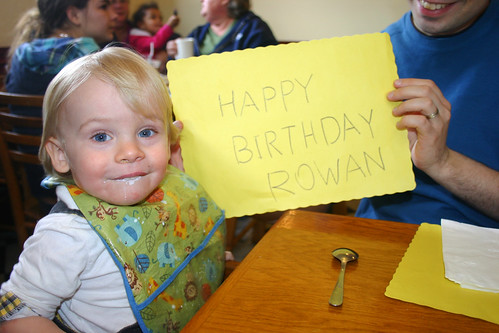
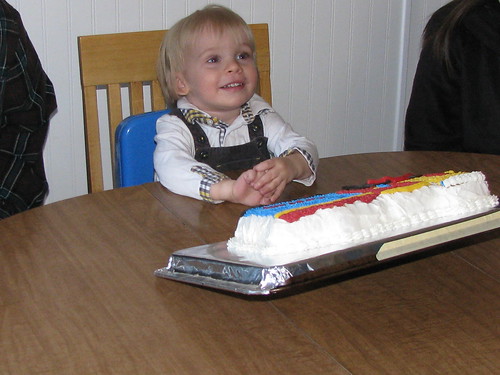
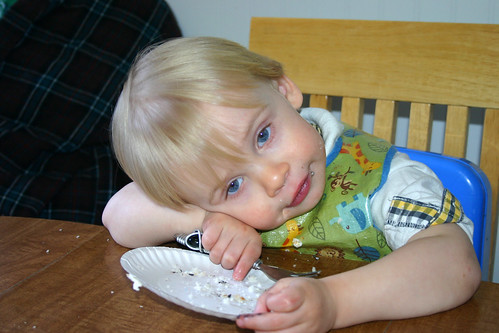
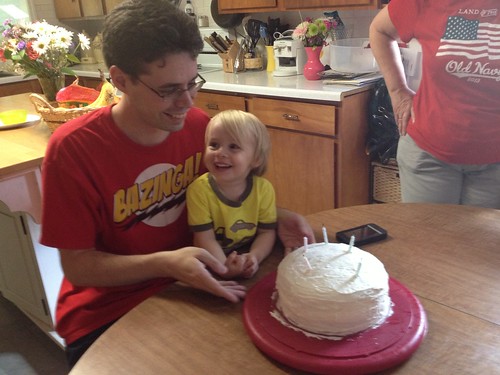
In April we celebrated Ro's SECOND BIRTHDAY!!!!
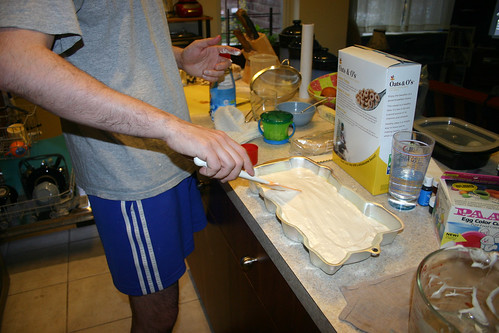
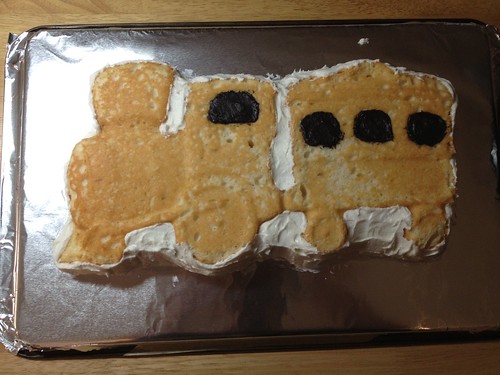
Daddy making the cake!
We had a little party with some kiddos
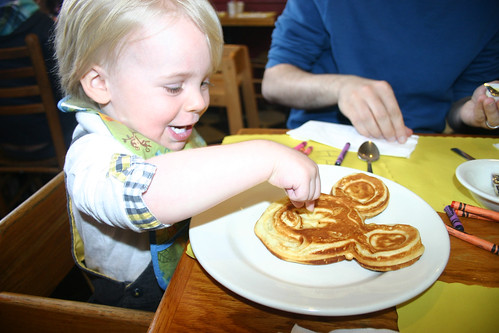
Then we went to brunch and ate pancakes!
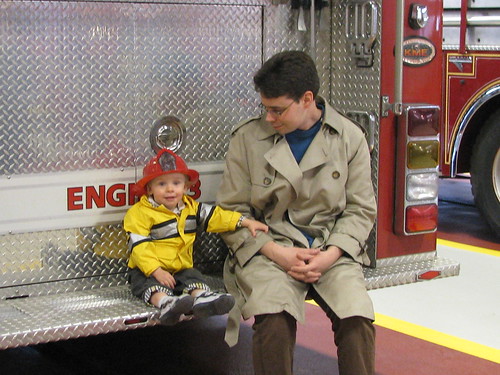
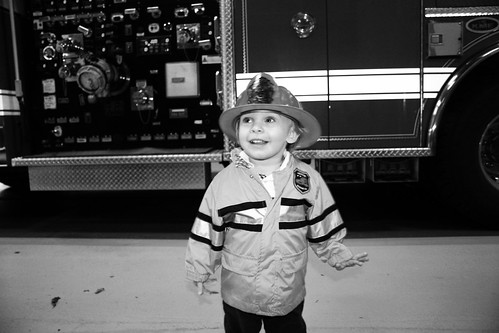
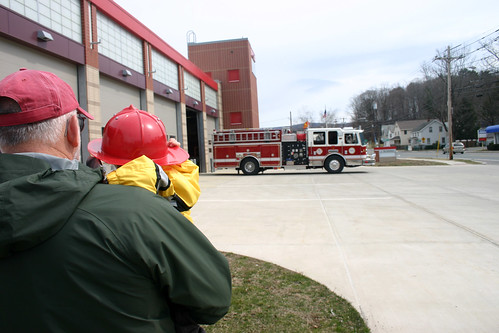
Then there was a fire call and we saw the firemen come!
Later that month we had our first real sickness. Boo! An ear infection that had Ro out for days!
May
I got to spend the weekend away with Megan, Beth, and Kerri for some much-needed girl time!
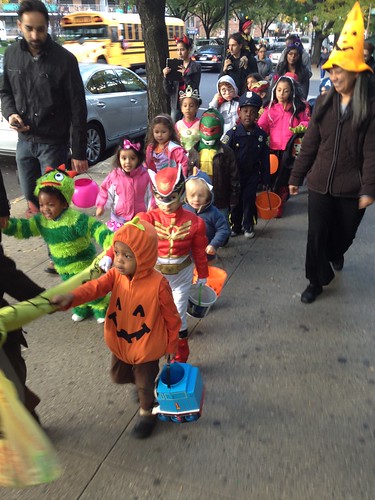
We managed to find time to make Halloween costumes (on a serious budget).
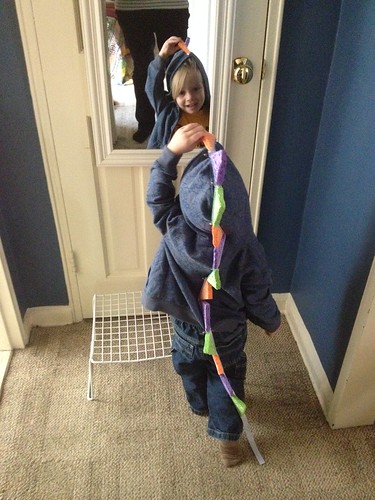
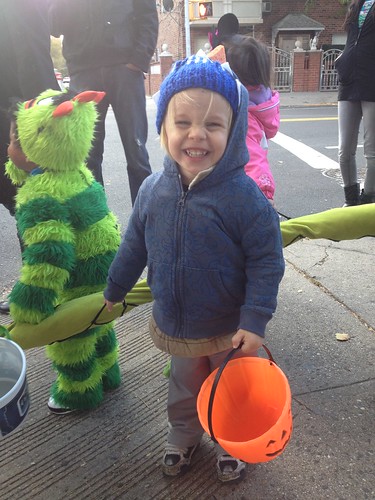
Sweatshirt monster!
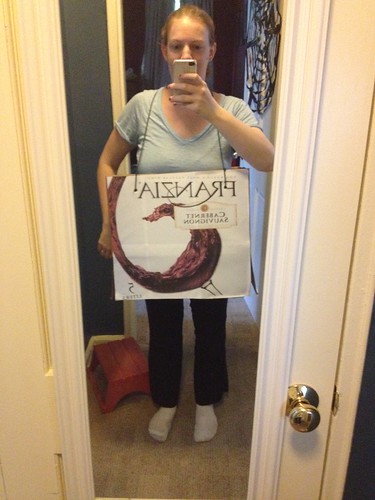
Box of Wine
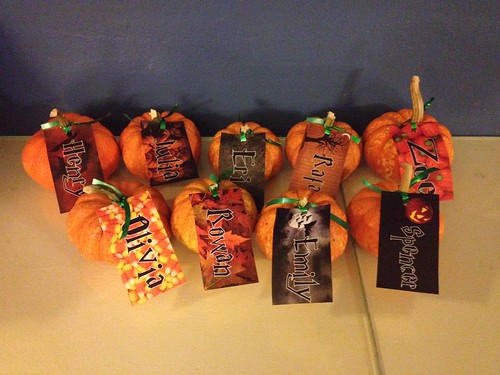
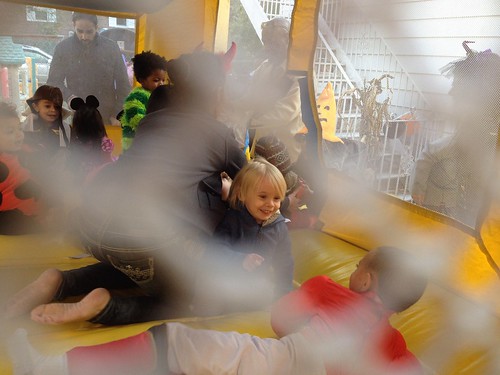
We had a fun Halloween party for our local friends, and which also served as a going away party!
And Daycare had a great party for the kids!
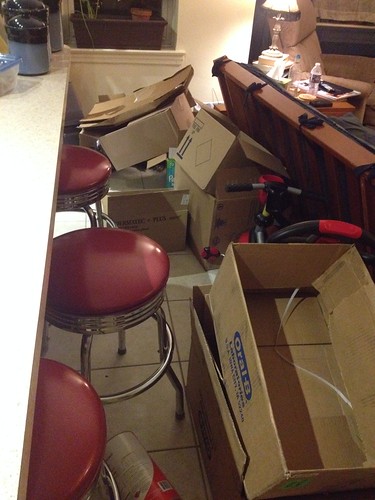
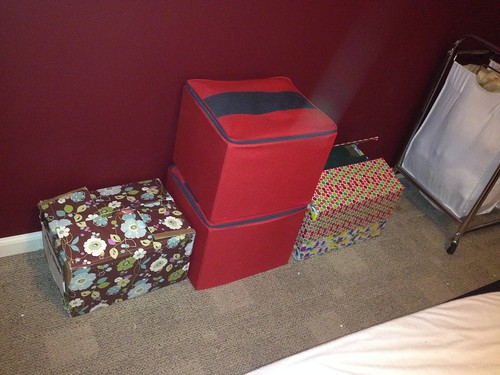
Then I focused on cleaning out and packing!
We didn't have to buy a single box.
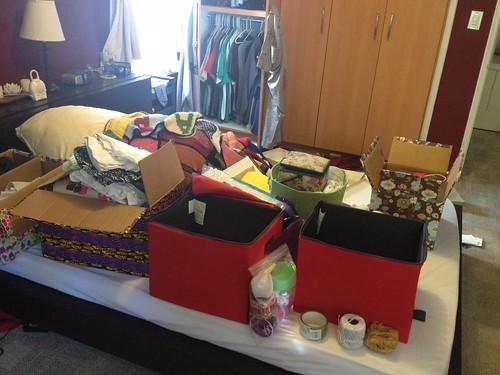
Remember how in January I "cleaned out" some of my craft stuff ... imagine how bad this would have been if I hadn't.
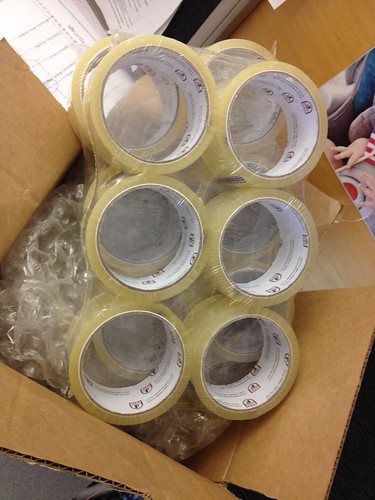
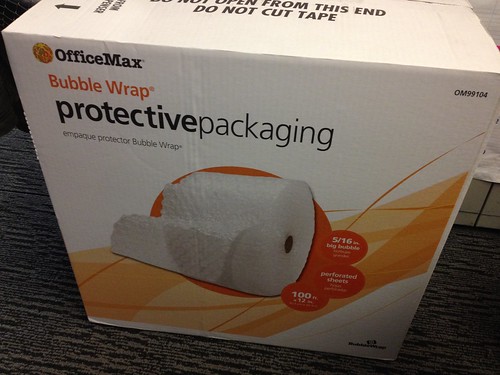
People at work sneaked some packing supplies to us
November
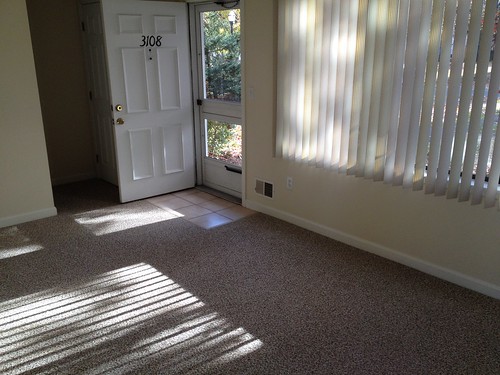
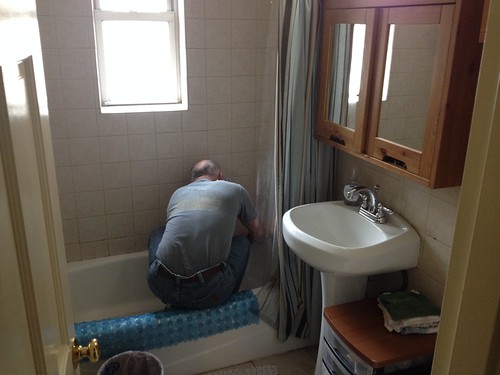
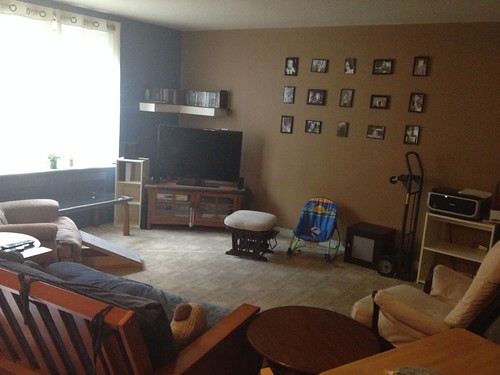
Chris found us an apartment!
Mom and Dad came to help us clean and fix things so we could show the apartment.
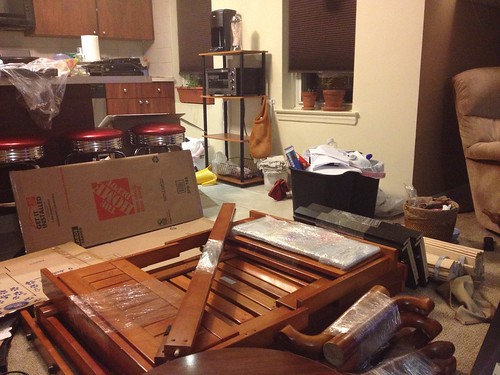
We tried to keep the house live-able while packing ... it worked for a little while.
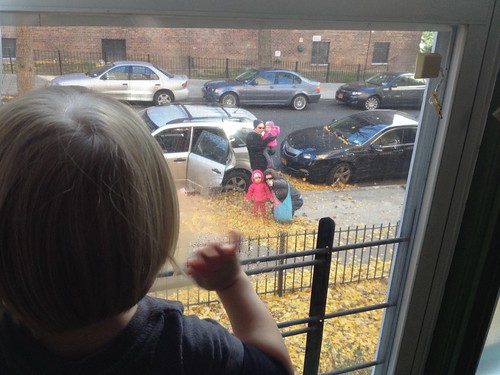
We said goodbye to our friends :(
I cleaned out my desk.
We took a break for Thanksgiving at Gramma Robin's house.
Black Friday was spent at a packing party!!!
And an Unpacking Party
December
We started December with a party with our new, much-closer neighbors!
Chris started his new job on December 2, and I reported to my new boss.
Gramma and Grampy came to help us settle in (and find the laundry room).
We spent our days exploring the new neighborhood and preparing for Christmas.
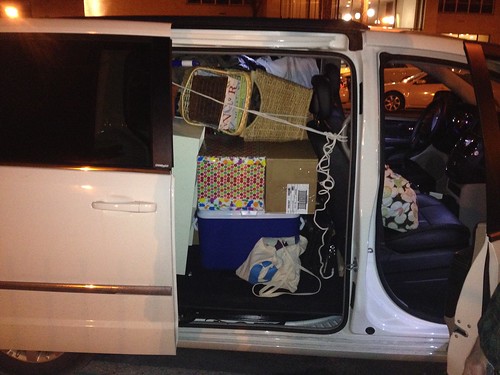
Dad and I drove back to Queens for the last van-load of stuff.
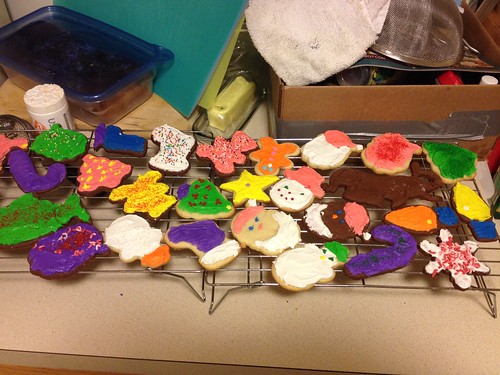
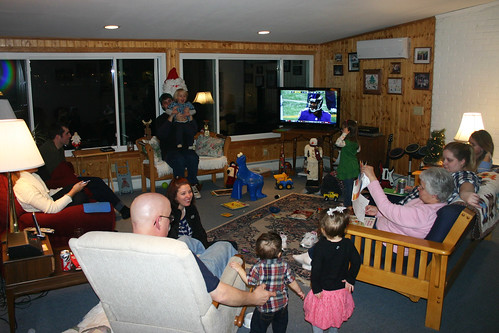
We made merry for Christmas!
There is quite a lot more snow in Massachusetts.
Big Happy Family Christmas XIV
We spent Christmas Eve with Gramma Robin and Grampa
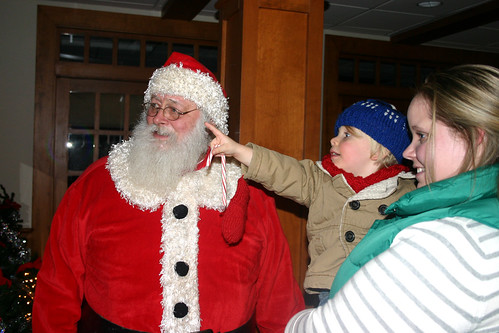
We saw Santa at Great Grampa Ray's house!
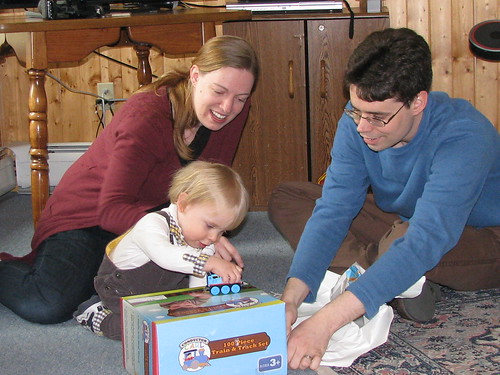
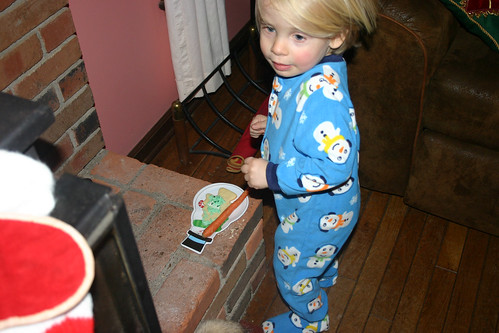
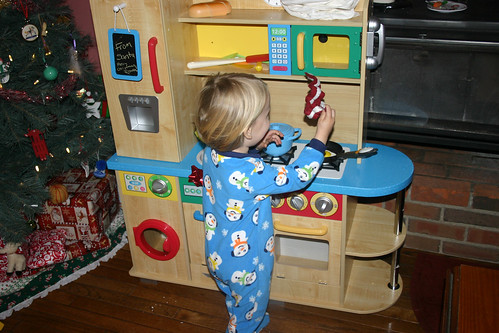
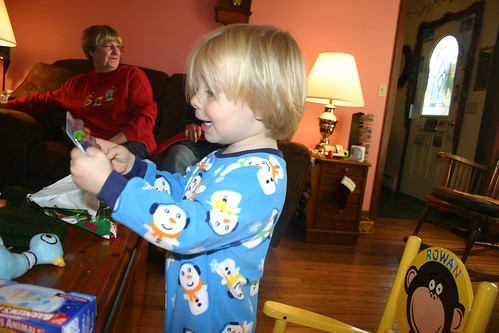
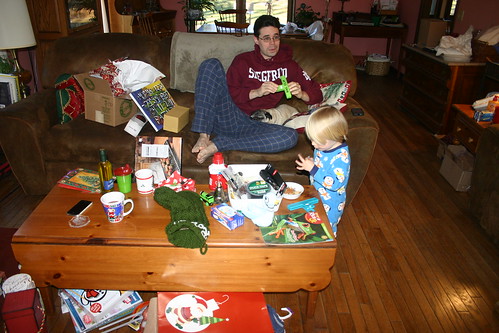
We ate a lot of food and opened presents!

