
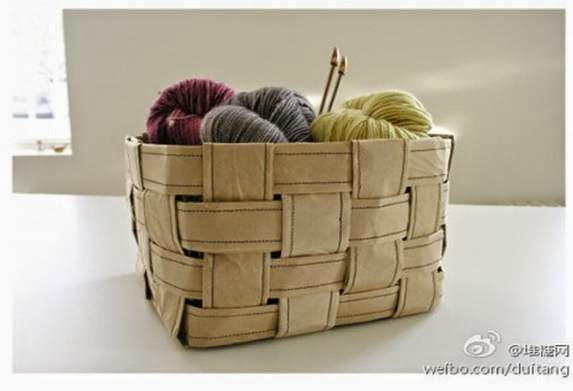
I'm doing some gift baskets for marketing purposes. Last time I just went to The Good Will and got a few baskets for $.50 or so each. But it was hard to find ones that were 1) not ugly, and 2) the size I wanted. Also I wasn't convinced of their cleanliness, and I wasn't sure how to wash them. Plus that's money, even if it's $.50. And it feels weird to have to go back and buy more baskets every time I want to do this.
To the PINS!
Found this ...

and this ...
Both of them have the strips folded over the top and back down into the basket, which I didn't want to do (because it would mean the strips had to be pretty long).
Here's how I did mine ...
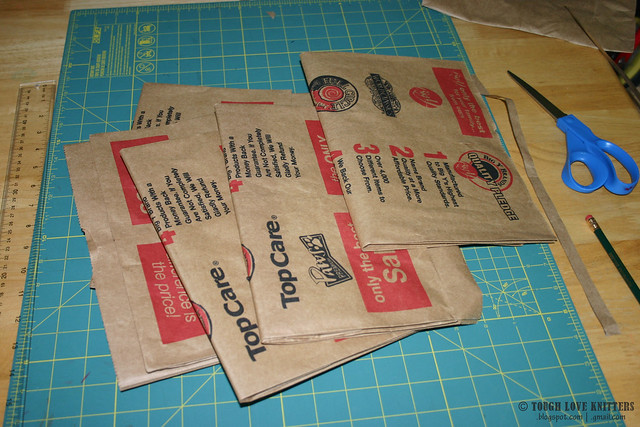
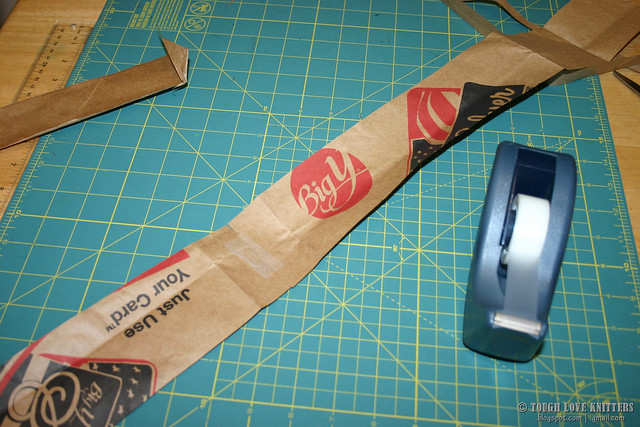
1) Stock up on (or steal) some paper bags from the local grocery store. *Hint: hit up a self-checkout lane and double-bag to your heart's content. Also that rack of self-scanner guns at our Stop and Shop has a stack of bags so you can bag your groceries as you shop -- grab a stack and run!
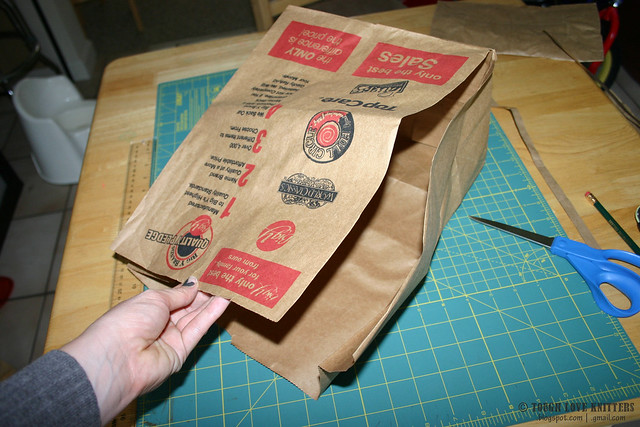
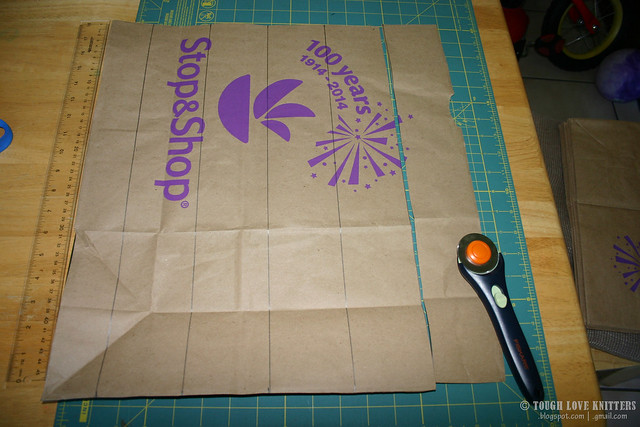
2) Cut the bag flat (like you would to make a book-cover). Cut up one seam, then around the base of the bag.

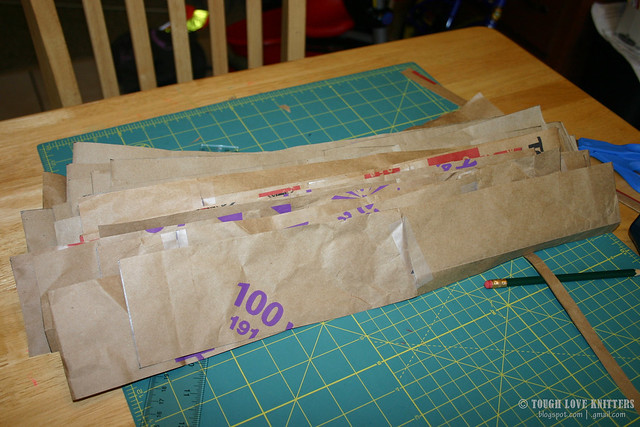
3) Decide how long and how wide you want your strips. I made mine 3" wide, so when folded over they'd be about 1.25" wide, because that seemed to look nice. I wanted my basket to be about 9" square, which means the strips needed to be 18" long (9" across the bottom, and 4.5" up each side).
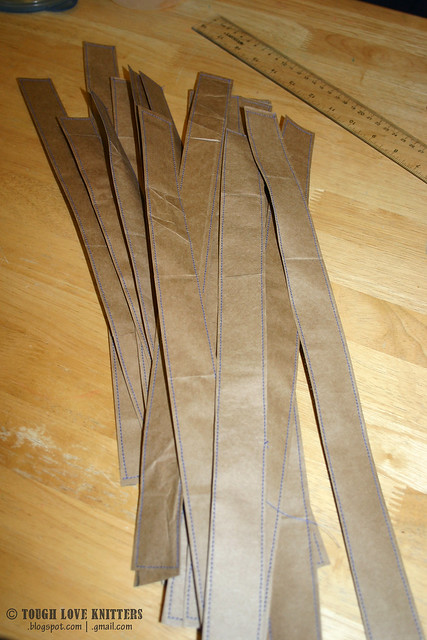
Measure and cut.

**Now, I'll be honest, I came to that 18" long because the bags I used first were 18" long. It just happened to work out really well. However, at my next shopping trip, they only had smaller bags (about 14-15" long), so I cut 3" wide strips, taped them together, and then cut 18" strips from that.
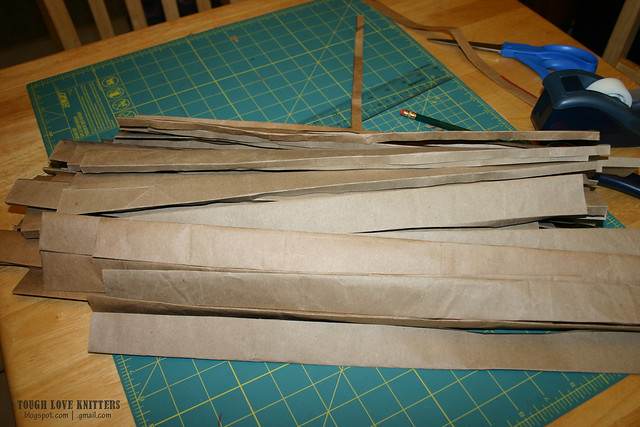
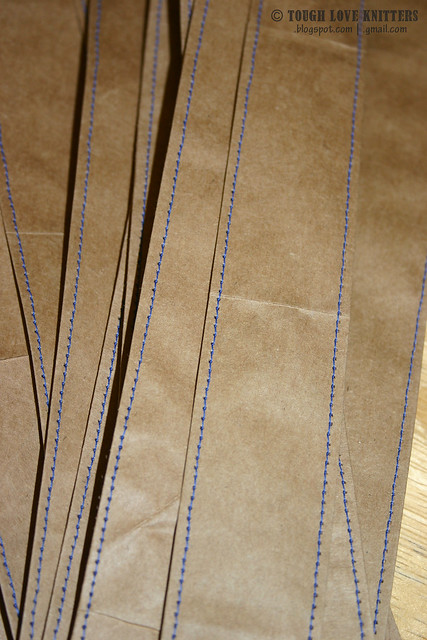
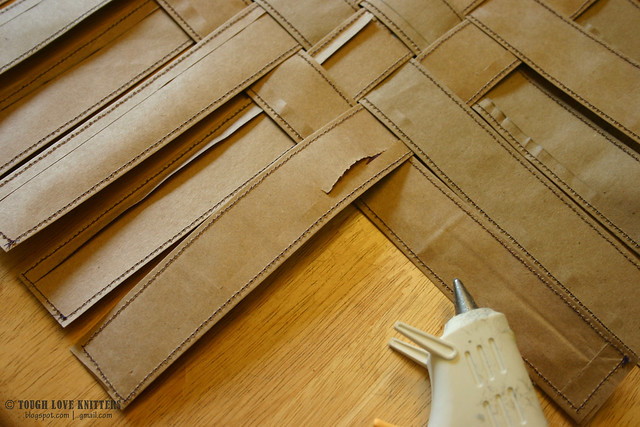
However you do it, you'll end up with a pile of strips. You'll need 20 strips for this basket (it will vary for different sizes).
4) Fold the strips hot-dog style, leaving about a 3/8" to 1/2" lip.

Then fold the lip over.
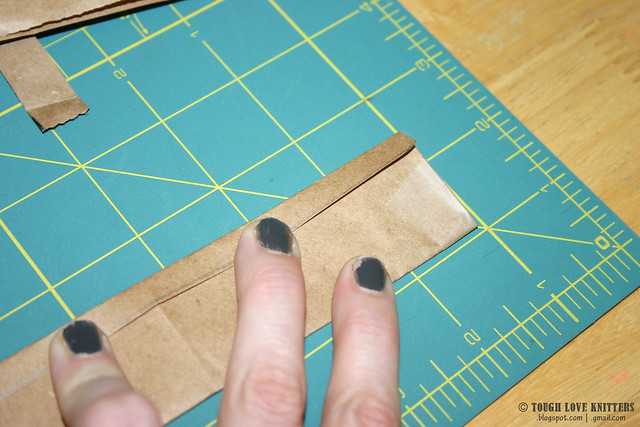
Do that 19 more times.
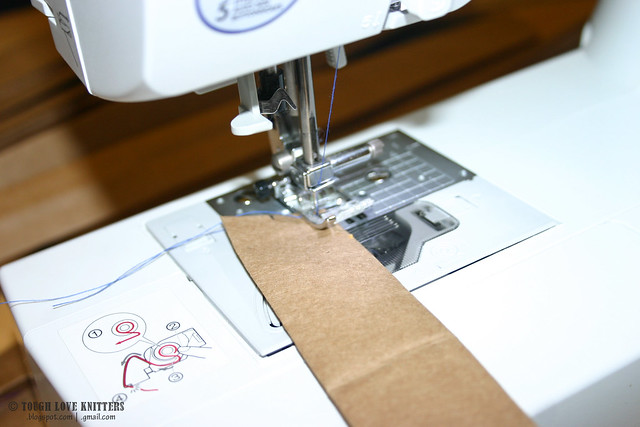
5) Now pick your color! Sew around folded strip, back-stitching or lock-stitching at the beginning and end.
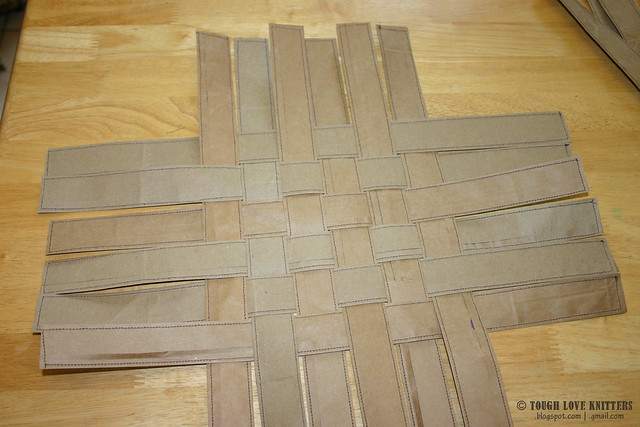
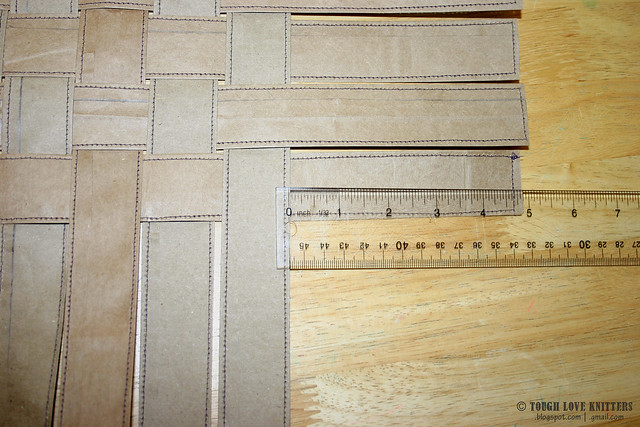
Check that the weaves are centered by measuring the strips on each side.
7) Hot glue the corners and under each strip along the edge.
8) Fold up each strip to make a crease for the corner.
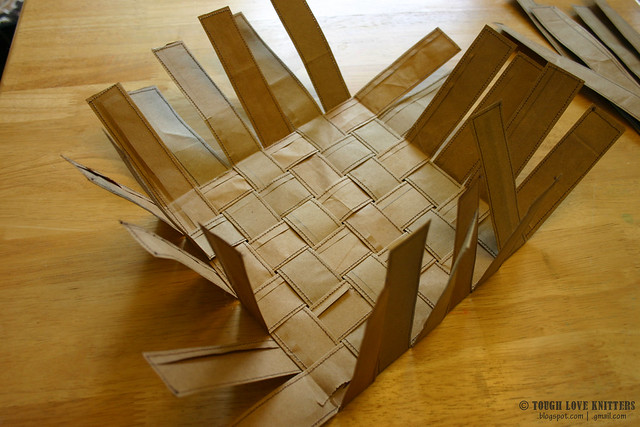
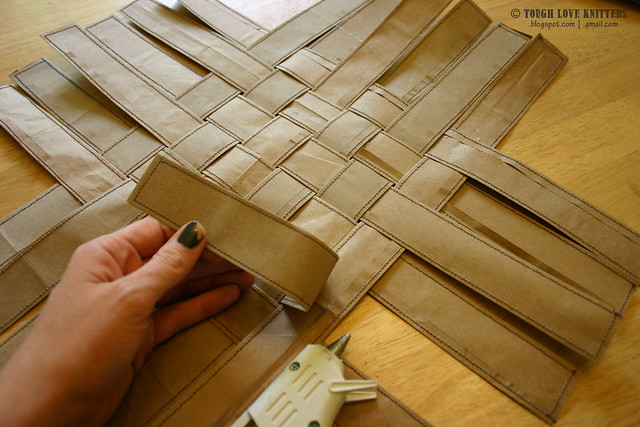
9) Attach another strip, following the basket-weave pattern around the edge.

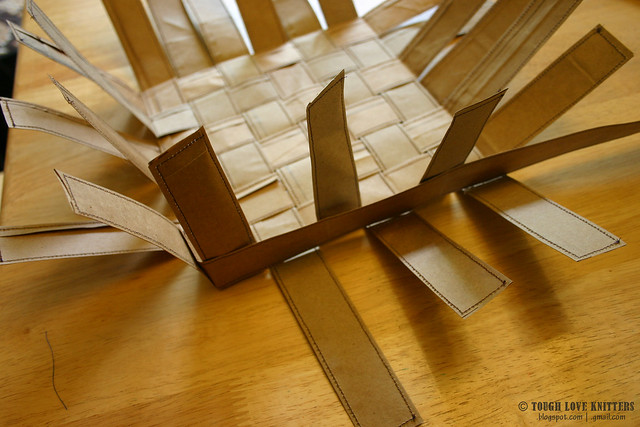

Attach another to make it all the way around, if needed.

Attach with hot glue.
Repeat with more strips around until you reach the top of your basket.
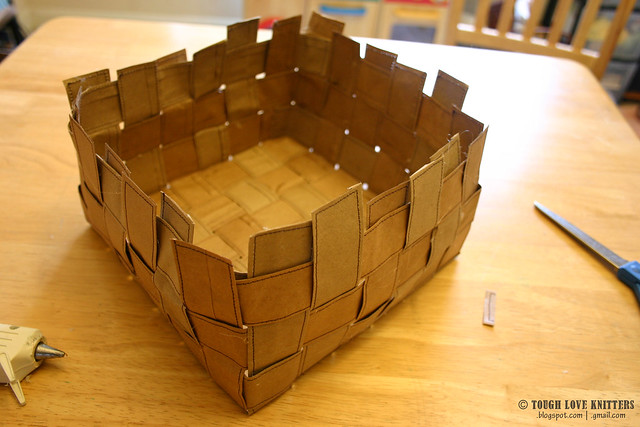
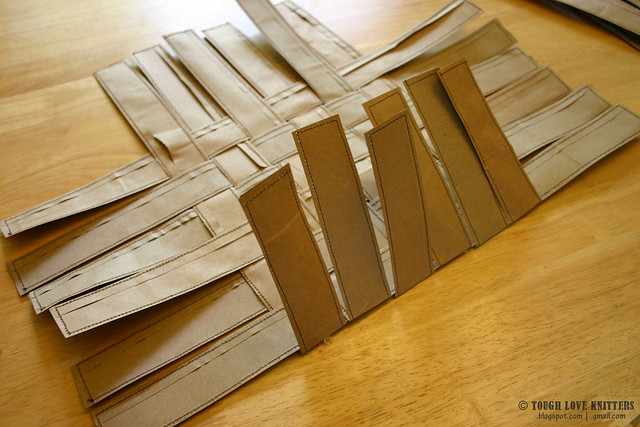
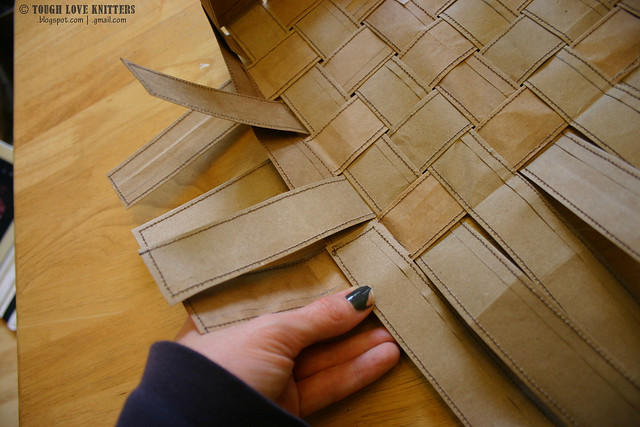
10) Fold over any excess strips so the top is even all the way around.
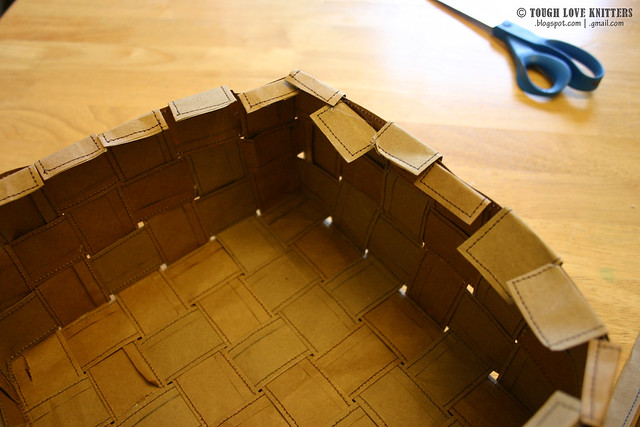
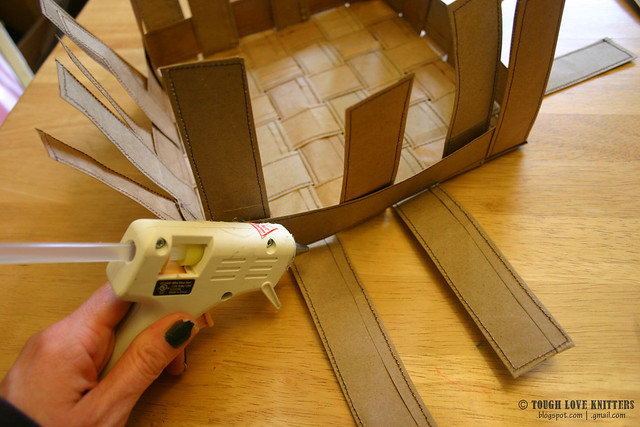
11) Take the final two strips and fold them hot-dog style.
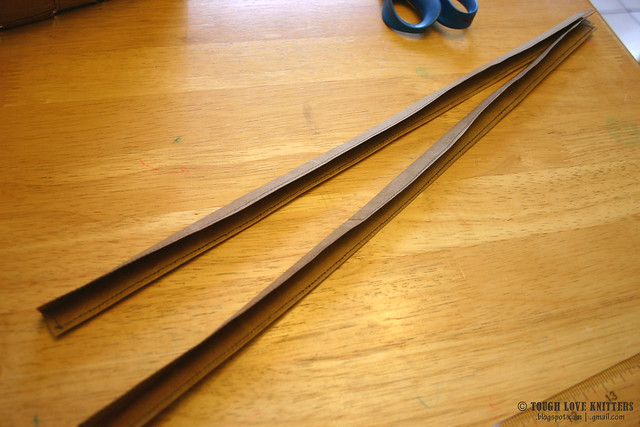
12) Glue the folded strip over the top of the basket, all the way around.

Trim any tips of strips still poking out.
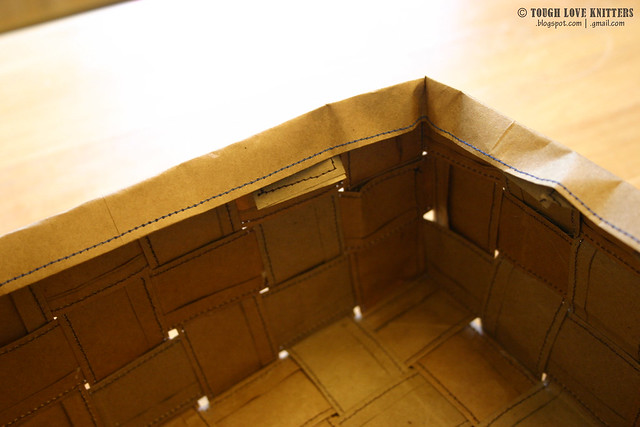
Make sure to glue underneath all folded pieces to the top layer lays flat.

And you're done!

**Note: because this is made out of paper bags, it will NOT be water-proof. I might try a clear spray-paint on one someday, but until then, it's just for dry things.


0 comments:
Post a Comment